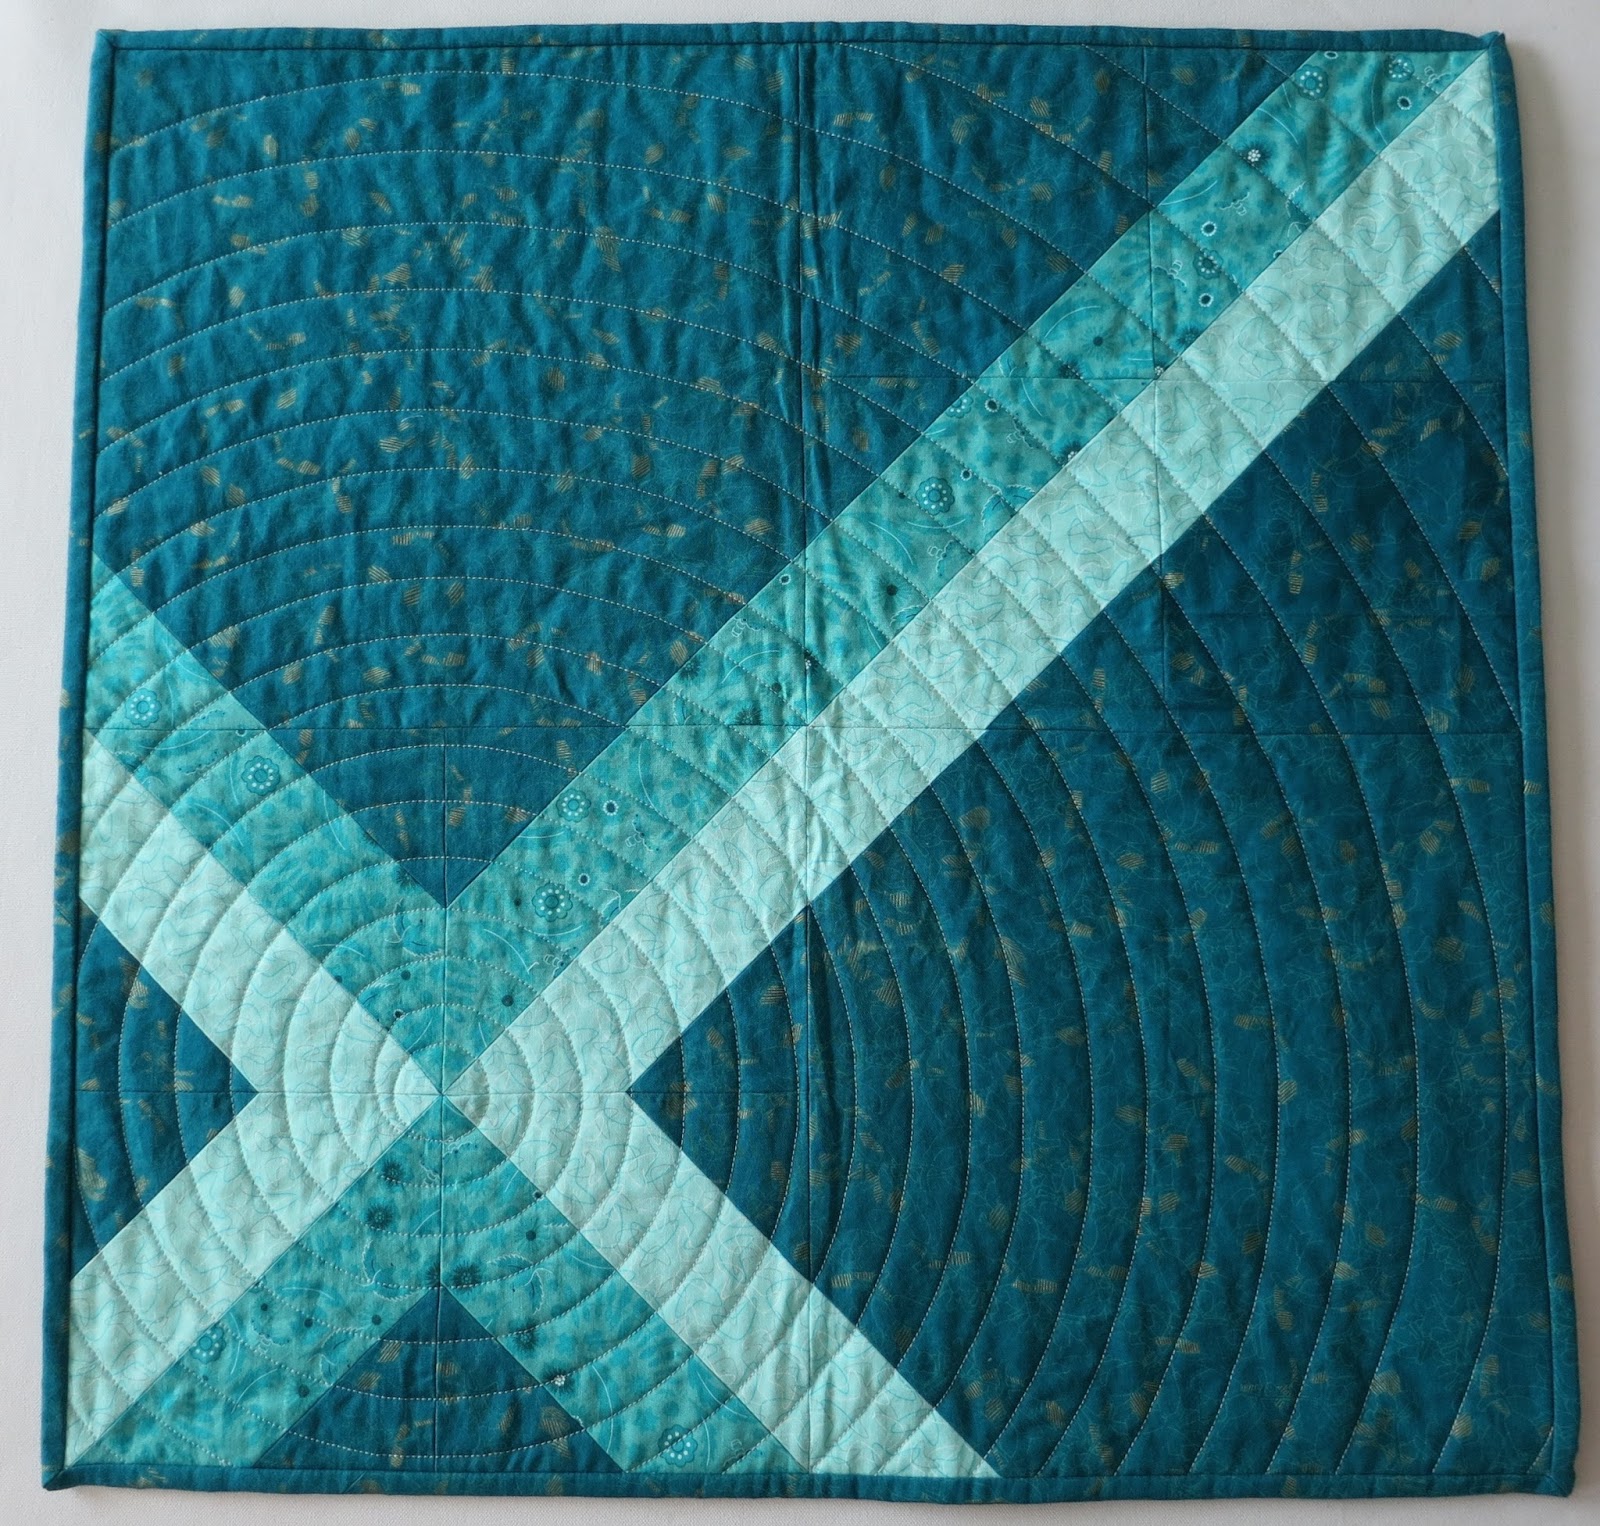
I'll admit that before spiral quilting for myself my thought was, "How hard can it be?" Well, it was trickier than I expect, so I'll give you the advantage of my experiences and share a few tips.
Tip 1: Approach spiral quilting with a positive attitude. No matter what size project you're quilting, expect that quilting will be v-e-r-y slow-going. At first, it will be!
Tip 2: Expect that your shoulders will get a little workout. All the cramming, shoving and quilt repositioning - especially for a large quilt - might give you enough of a workout that you'll it feel later! My arms ached a little and I'm in pretty good shape.
Tip 3: The walking foot you choose to use makes a difference! Here you see two walking feet. On the left is the foot for my Pfaff Grand Quilter; on the right is the foot for my Bernina 440. Notice that the widths of each foot are different? I intentionally chose to quilt on my Bernina so I could use the wider foot as a guide for the distance between spirals.

Tip 4: If your walking foot has the option of different feet, choose the open-toe foot for better visibility as you're quilting.


For the quilting example that follows, I set the distance between spirals at 3/4".


Tip 7: My Bernina's default stitch length is 2.4. For quilting, I like to set it at 2.6. I can't suggest a length for your machine, as each brand is set differently, but I definitely prefer to have a slightly longer stitch length than what I use for piecing.
Tip 8: Use the "needle down" option on your machine. When you're repositioning the quilt, like you need to do about a ga-jillion times, it helps that the needle stays in place.
Trace the circle with a blue wash-out marker, or disappearing ink pen.


Tip 10: If your sewing machine has a knee lift, use it! You'll develop a sort of rhythm:
Stitch (up/down)
Raise foot
Move quilt
Lower foot
Stitch (up/down).... and so on. Eventually, you'll make it around the drawn circle.

When you've completed the circle, continue following the drawn tail until you reach the desired distance between spirals. Once you've hit that mark with your guide bar, or the side of your walking foot (or, if you prefer, eyeball a space slightly wider than the side of your walking foot, as I have also been known to do), continue quilting one stitch at a time.

Don't rush! Quilting one stitch at a time may seem to go on forever, but remind yourself that the number of stitches you take at one time will eventually increase. In the photo below, I've continued to stitch one stitch at a time.

When I reached this point, I was up to two stitches at a time.

And even while stitching this slowly, and turning the quilt every time, the slightest bobble can be seen just to the left of the guide bar tip.


As you continue to stitch, you'll gradually be able to take more stitches at a time, and when you hit four or five stitches at a time, you'll feel good that "the worst is over." Then, by the time you get to the 12th spiral or so, you know you've got it made!

Though one spiral on a quilt is impressive, consider the possibilities of a more dramatic effect with several quilted spirals. I plan to pursue this further. How about you? Linda