Saturday, April 18, 2015

A Very, Very Good Day

I just had one of my best days... ever!

And it wasn't just because I got to go here. Though, this was pretty amazing. 

I'd heard of Hamilton, Missouri, and how Jenny Doan has put the city on the map since buying up several stores to expand her quilting empire. Goodness knows, I passed by that Cameron, Missouri exit on I-35 quite literally hundreds of times when traveling from West Des Moines (where I lived for more than 22 years) to Kansas City, when visiting my family. But I'd never driven that extra 12 miles east from the Interstate, to Hamilton. 

Did you know that James Cash Penney put Hamilton on the map the first time? He was born in Hamilton, and after becoming successful, returned to his hometown to open the 500th J. C. Penney's store. It's now one of several Missouri Star Quilt Company store fronts.

That particular store is where I found quilter extraordinaire, Angela Walters, signing her latest quilting book. She now has four books under her belt (check out Shape by Shape), offers several Craftsy free motion quilting classes, and is simply a really nice person.

Angela and I had met before, at a Kansas City MQG meeting, but it was my Flourishing Palms name that brought recognition to her face. Just like old friends, we had a nice chat, even talking about her recent trip to Australia, visit to the Blue Mountains (one of my favorite places in Australia), and her workshops in Katoomba. 

Later in the afternoon, I had the chance to meet Alexandra Ledgerwood of TeaginnyDesigns, and author of Improvising Tradition. I've been one of Alex's Instagram and blog fans because her modern designs are always fresh and innovative.

In just two of the half-dozen Missouri Star Quilt Company shops, I gave a great boost to the Hamilton economy! Alex's book is among my purchases as well as the elusive In-R-Form Plus, a fusible foam product for making bags. Crafty Gemini friend, Vanessa, (also president of the Gainesville, Florida, MQG) made a video with Jenny Doan, using In-R-Form Plus to sew a tote bag. That's all it took for the product to sell out and become unavailable, for several weeks, on Amazon and Missouri Star! 

But the most wonderful, fantastic, super-special part of being in Hamilton, Missouri for four glorious hours, was getting to spend time with these dear, dear women - quilter best friends from the Des Moines 'burbs who were, and will always be my besties.
L-R: Bug, me, Mary, Michelle
I made our meet-up plans with Linda (AKA "Bug"), and knew Michelle was coming too, but I didn't know Mary would also be there. Literally running to meet them, I embarrassed myself by crying. I knew I missed these precious women, but I surprised myself with how much I miss them. It's been three years, come May, since we've been together, so my heart was full to bursting over our reunion.  God blessed me when He placed these women in my life at Lutheran Church of Hope, and strengthened our relationships through quilting with Hope Quilters and Stitchin' Mission (my interdenominational ministry that's no longer exists).

If today was a foretaste of heaven, the real heavenly reunion is going to be phenomenal! Linda

Monday, April 13, 2015

The No-Trimmed Quilt, or What Happens When You Do!

I've learned so much from teaching No Tails Binding! Mostly, I've been surprised to know that some quilters:

1) aren't familiar with the concept of squaring-up blocks, squaring up a quilt center, and how to add measured borders that square-up the whole quilt.

2) are accustomed to making binding that leaves less binding showing on the front of the quilt, and more binding showing on the back.

While I don't mean to sound like an authority on binding, I do know that in a judged quilt show, it's binding that quickly separates the "men from the boys."

Quilt bindings are critically examined for these components:
  • Corners that are sewn closed, either by hand or machine.
  • Binding that's straight.
  • Binding that shows equally on the front and back.
  • Binding that is fully stuffed.
I'll explain further with my examples. In all these, I'm demonstrating with 2-1/4" wide binding.

Here's the way many quilters sew binding to a quilt.

The quilt is trimmed to remove backing and batting, so it's all even with the quilt top. Then, placing the raw edge of the binding even with the trimmed quilt, the binding is machine-sewn to the quilt with a quarter-inch seam,

When the binding is wrapped to the back of the quilt, pulling it against the edge of the quilt, less binding shows on the front than the back. Technically, this is incorrect.

Of course, it only matters if you care! Like if your quilt is going to be examined closely, or judged. For demonstration purposes only, I pulled this binding all the way to the back and hand-stitched it down. This is what I don't want.

And, to further make my point, if I hand sew this binding to the back correctly, aligning the binding fold with the machine-stitching line - so the front and back binding widths are the same - this leaves part of the binding unstuffed, as you can see along the edge. Again, this is what I don't want.

So you may ask: "How do I sew binding to a quilt so the front and back bindings are even, and the binding is stuffed?"

The answer is: "Do not trim the backing and batting even with the quilt top."

This means if you're hiring a longarm quilter, be sure to ask that she doesn't trim your quilt! 

Here's the way I sew binding to a quilt.

1) Use a marker to draw a straight line around the untrimmed edges of your quilt. Not only is this used as a guide for sewing binding, it ensures that the sides of your quilt are straight.

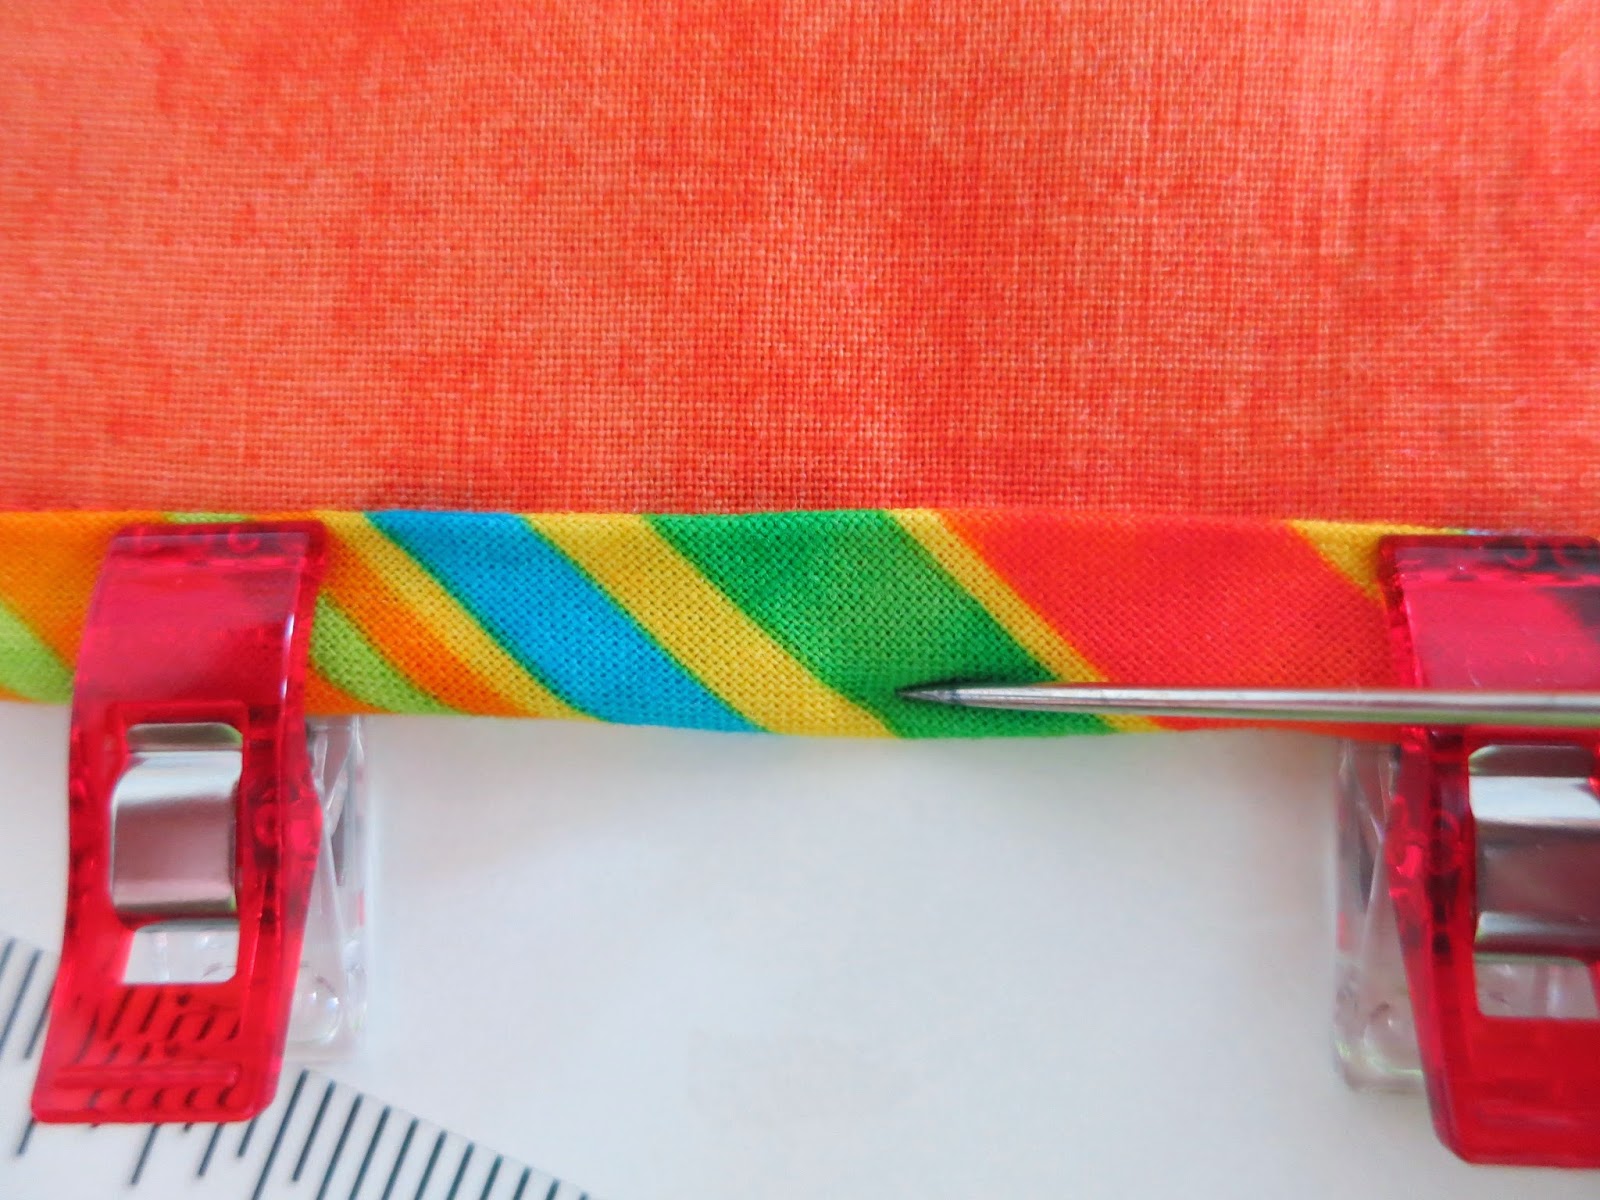
2) Align the raw edge of the binding with the line you've drawn. Sew 1/4" from the drawn line. 

2) Then trim just right! This is key. "Just right" is 3/8" from the machine stitching line for binding that is 2-1/4" wide.
For 2-1/4"-wide binding, trim 3/8" from machine stitching line
If you prefer binding that's 2-1/2" wide, trim 1/2" from machine stitching line.

The result is binding that's:

1) fully stuffed with backing and batting that wasn't trimmed away; and
2) the same finished width on the front as on the back!
Aim for binding that's the same width on the front and back.
And if you use my favorite No Tails Binding method, you'll have crisp, machine-sewn mitered corners too.

I could share more about what I've learned while teaching, but admittedly this stuff is difficult to explain in photos. Hopefully though, I've given you some food for thought, and perhaps helped you improve your own binding. After all, binding is the best part of making a quilt because it means you're done! Linda

Thursday, April 9, 2015

Really Random Thursday

This is a very late Thursday post, but I had a full day - a stress test and blood drawn, a grocery store stop, line dancing, and Skype time with an Iowa friend. Still, I want to participate in Really Random Thursday, because this week found me with a hodgepodge of (perhaps) interesting doings. Cindy at LiveaColorfulLife in California does Really Random Thursday every Thursday, in case you'd like to check out her post.

First, a happy Easter to my Christian friends! I am always humbled by Easter, and the sacrifice Jesus made for each of us. We worshipped Easter morning - at a Baptist church (yes, a very different religion for this lifelong Lutheran!) - and then came home to watch a live sermon feed of Pastor Mike at Lutheran Church of Hope in West Des Moines, Iowa. I miss this church so much!

I still have two basted quilts that need quilting, with one in progress. I'm not close to being finished. Do you, like me, procrastinate about what most needs doing?

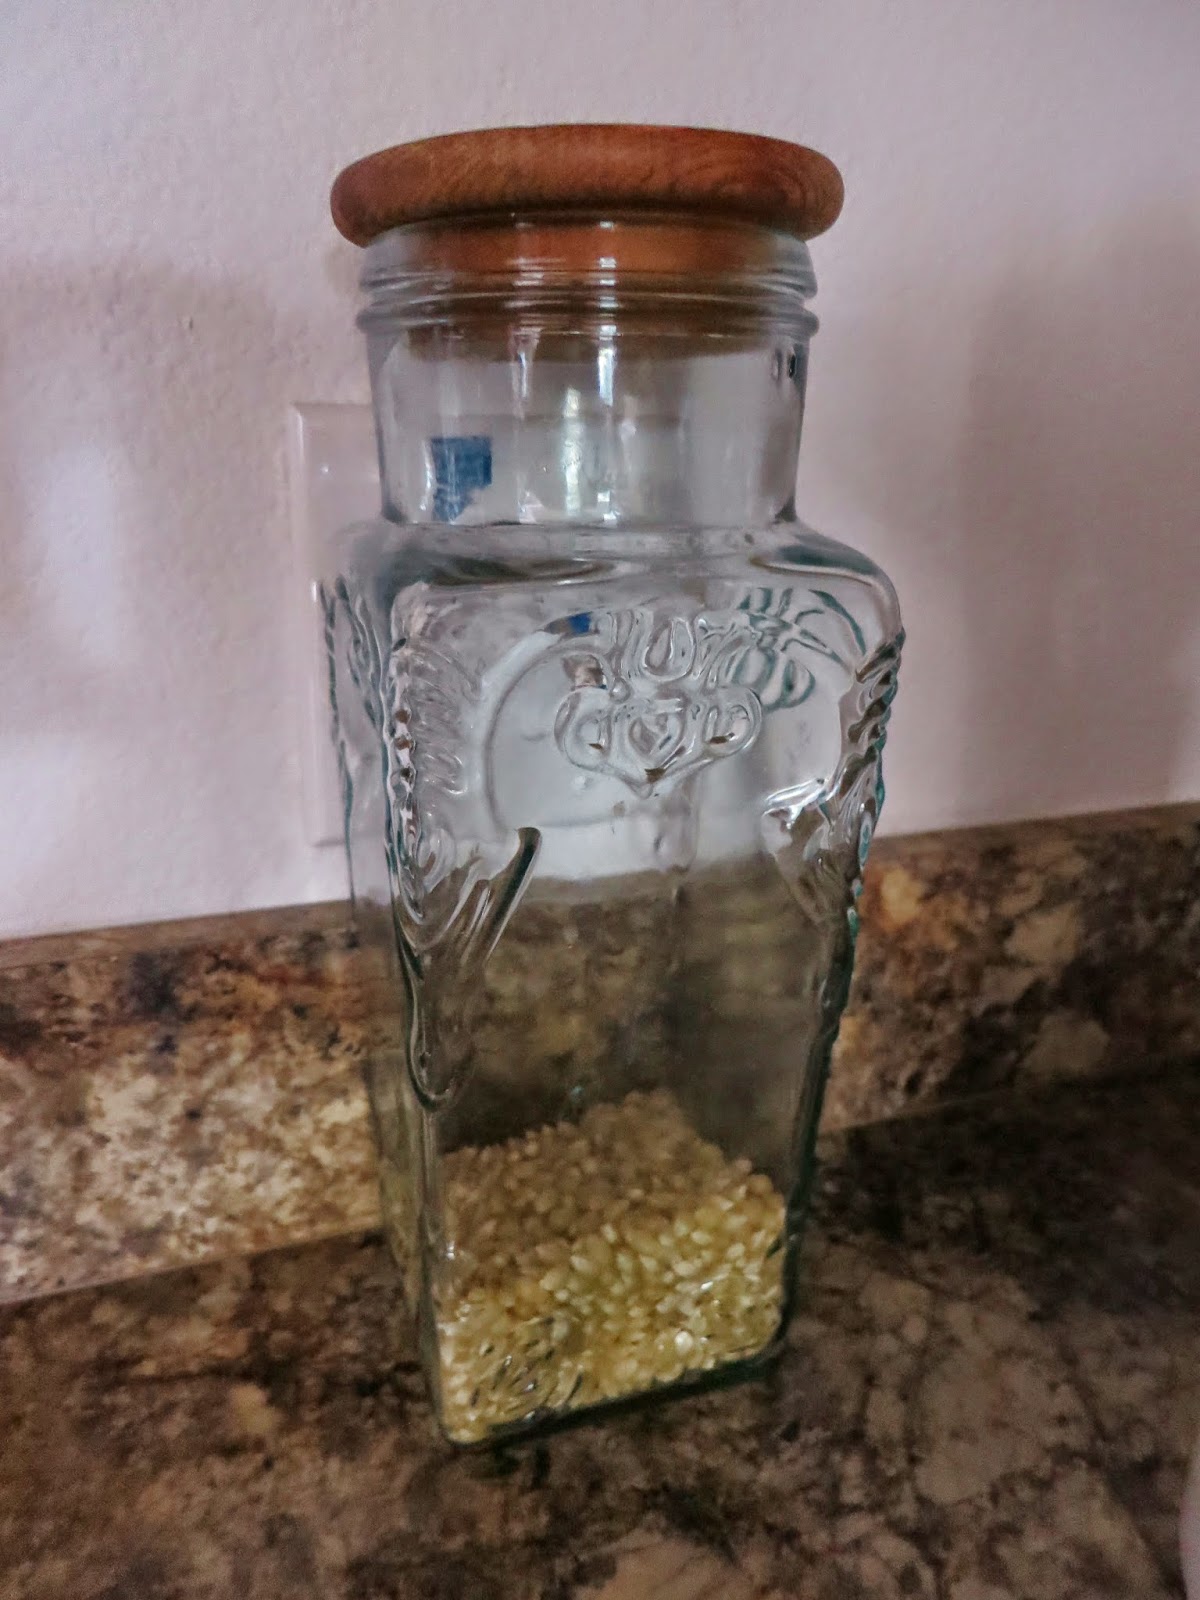
Something that you may not know about me is that I'm a fiend for popcorn. Not the microwave sort, though that's tolerable. About four nights a week, I make stovetop popcorn in my Whirlypopper. I swear, I could live on popcorn. Sprayed with I-Can't-Believe-It's-Not-Butter, and sprinkled with white cheddar seasoning from Bed, Bath and Beyond... it's yum, and low-cal. Since moving to Florida, I found that local grocery store whole kernel popcorn is terribly expensive. Now, I stock up on popcorn from Hy-Vee, in Kansas City. For those who don't know, Hy-Vee is a grocery store chain that started in Iowa (my first job in high school was as a checker at a Hy-Vee in Newton, Iowa) and the chain is now in eight Midwest states. My brother and sister-in-law both work for Hy-Vee, and in a point of irony, hubby Dan and I first met in a Hy-Vee grocery store parking lot, in Mason City, Iowa!

The best popcorn, for the best value, comes from the Midwest. It's quite timely that my popcorn container is near empty just as I'm getting ready to visit family in Kansas City.

My last blog post generated a lovely comment from a teen friend in Iowa. Elizabeth and I met when she and her mother participated in Stitchin' Mission, a quiltmaking for missions ministry I led for five years before we moved from Iowa. I had the wonderful opportunity to go into churches of all denominations, in the Des Moines area, to teach beginner quiltmaking to hundreds of women, children, and a few men, who then donated their quilts. I even got to lead one Stitchin' Mission at St. Mark's Episcopal Church in in Sydney, Australia!

Elizabeth is still making quilts. She sent pictures, and here's her blog post about a recently-made quilt she gave away. I'm so proud of her! Isn't this pretty?! The Minky on the quilt back makes it really special.

Last week I taught No Tails Binding three times, and discovered something really interesting about trimming quilts. Before returning a quilt to a customer, some longarm quilters trim the backing and batting even with the quilt top. If a quilt owner receives a quilt trimmed like this, the binding should be placed at least 1/8" (for 2-1/4"-wide binding) from the cut edge, to have enough excess backing and batting (3/8") to fill the binding.
This quilt has been trimmed to the quilt top edge,
so binding should be positioned at least 1/8" from the cut edge.
This isn't a problem if the quilt has a border, or a broad negative space, but it is a problem if the quilt top design has blocks with points along edge of the quilt top. Either the binding has to be sewn only a 1/4" seam from the edge, or the points have to be sewn over when the binding is stitched to the quilt top!

I know pictures would help a lot to explain this. I'm preparing a whole post about it.

Here's a little video to show you what our new golf cart looks like, now that it's tricked-out with lights. Fun for nighttime driving!
Linda

Monday, April 6, 2015

Metro Waves

It hasn't taken me long to learn that if you're going to teach anything related to quilting, you have to plan w-a-y ahead and make the projects. That's what I did when I decided to offer Beyond First Time Quiltmaking classes about curves using the Quick Curve Ruler (QCR). After making Urban Abacus, I made one more quilt for a total of four QCR quilts under my belt. I love every one of them.

However, the last one, Metro Waves challenged me the most. First, as I mentioned in a previous post, the yardages given in the instructions work only if you're using solid fabrics which are wider than prints. If, like me, you want to make Metro Waves with prints, you need more fabric.

Second, I started thinking scrappy would be great, and... oh how wrong I was! It was difficult to select the "right" fabrics to go together.

After cutting out a gazillion convex and concave curves, I finally figured out that Metro Waves looks much better with a controlled color palette.


Batting is a single layer of Quilter's Dream Puff. This is the first time I've quilted with Puff, and while I like it because it's lightweight, and well... puffy. It gives dimension to the quilting. But I found the sandwich didn't stay together well with 505 Basting Spray. Puff is too fluffy to hold together with spray baste. The next time I use Puff, I'll definitely pin-baste.

I quilted the entire quilt without marking. In all the print areas I quilted straight lines, not with a walking foot, but a straight Fine Line Ruler.

In the solid white (Kona) spaces, I free-hand quilted a variety of round and curved shapes. 

For styled photos of Metro Waves, I wanted a water view to mimic the waves in the quilt. While an oceanside picture with crashing waves would have been ideal, I wasn't up for a 90 minute drive to the beach, nor the inevitable spring break crowds I would encounter.

So, a bit closer to home these pictures were taken at Lake Sumter Landing in The Villages.


Metro Waves, 53" X 71"
These colors. This design. This style. The quilting. They are all me expressing my best, happy self.

One more water view... of an alligator. While they're commonplace here - a gator in every body of water - when our city is full of northern visitors, a gator attracts a crowd. About 15 golf carts pulled off the path to stop and admire this big boy. He was eight to nine feet long, by our estimation.

I hope everyone found a blessed way to celebrate Easter and our risen Lord Jesus. He is risen indeed! Linda

LinkWithin

Related Posts Widget for Blogs by LinkWithin