Showing posts with label Periwinkle Stars. Show all posts

Thursday, February 3, 2011

Lightbulb Moment

Have you ever gone along with something because everyone else is doing it, and then surprised yourself to realize you don't want to do it?

That's the "brick" that recently hit me . In college, we called it a "lightbulb moment." It's when I admitted to myself that I really don't like hand applique.

Here's how it transpired.

A couple weeks ago I decided to go through my small bins of UFOs and really access what I had, and what my honest intentions are. Too smugly I thought I had about a dozen UFOs. I counted more than that and I still can't bring myself to  share the exact number with you. 

But what surprised me most was the number of hand applique projects I've begun and not finished. I accessed each one. That's when I had my lightbulb moment... when I was completely honest.  

I asked myself, "Honestly, Linda. Will you ever finish these?" To my surprise, I answered, "No, I don't particularly like hand applique."

But I do it, and with fairly good success. It's the prep work I don't care for... drawing templates, the cutting, glueing, layering, pressing, and basting required, depending on the method. I only like stitching.

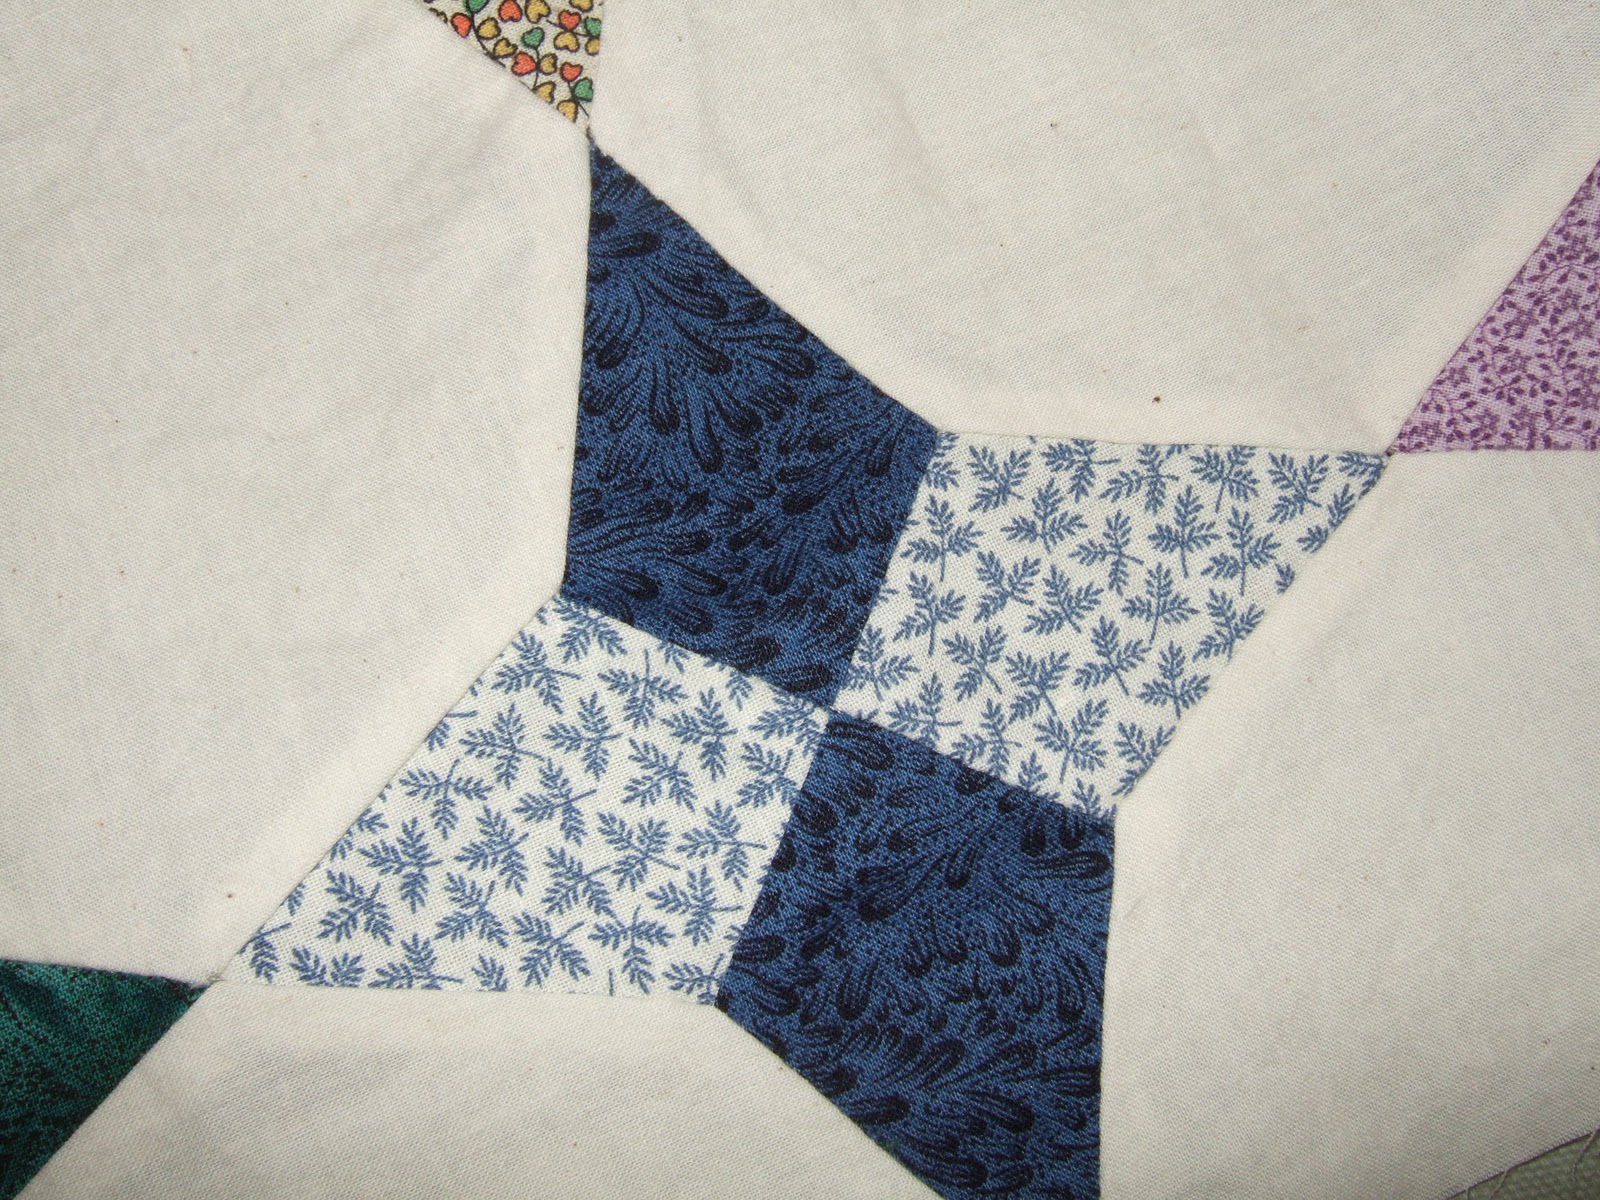
This is a block of one found UFO.

I thought about what I could do with these UFOs, and decided the best thing would be to offer them to someone who enjoys applique. I'm happy to say that after asking, Carrie P. of A Passion for Applique (Goodness, she couldn't have a better blog name.) agreed to take them off my hands. I mailed a parcel to her and now feel exonerated. Carrie accepted two of my started and far-from-finished hand applique projects and I feel as light and as happy as can be. A good home... someone who appreciates and enjoys applique... how could I ask for more?

I have set aside several other UFOs to be given to just the right people. The UFOs I'm keep total 12, and I have every intention of finishing them. 

One of a couple hand-applique projects I'm keeping is this one. It's a pattern copied from an antique quilt purchased by a friend. The original quilt is in solid shades of purple and green. 

Mine is appliqued with solids: three values of yellow, and one solid green. These 16" blocks will be turned on point and connected by diagonal woven-looking, straight appliqued lines. I need 12 blocks to complete the quilt.  
Last week I spent four days in Kansas at our daughter's house. It's been since January 2 that I was there, and I needed a grandies fix. The grandies are doing very well and thankfully, are completely healthy.
16 month-old Tay on his new rocking horse, with Celina 
Tay in the rocking chair his Mommy once used
12 week-old Aesa who's recovered from bronchiolitis
It was wonderful to see them, and note how the boys are growing. That Tay is such a talker! When I first arrived at their house, Tay couldn't stop chattering with excitement. He pointed out my "glasses," my "nose," my "earrings" and my "necklace. Then, pointing at other items he said, "candle," "book," and "fire" (fireplace). Then he said "happy baby" referring to a made-up song that he likes to hear me sing. I felt such a crush of love for this smart little guy. Whenever a grandparent tells you how wonderful it is to have grandchildren... believe them! I never imagined I would have these feelings.

At home again, I've returned to hand applique because it's too darned cold (-7F/-22C Wednesday night) to be sewing in the basement. I'm continuing to applique leaves and flowers on the borders for my Periwinkle Star quilt. With a dog laying at my feet, how much cozier could I be?

On another, more serious note, I have been deeply moved to hear about the devastation that Cyclone Yasi wreaked on Australians along the northern coast of Queensland. Thankfully, I have heard from a blog-friend in the area of Charters Towers who made it through Yasi when it was "only" a category 3! My prayers and thoughts have been with them, as well as with all Australians who are reeling from weeks of too much rain, flooding, and now incredible, damaging winds. God bless you all.

Sunday, January 16, 2011

Hand Piecing

Do you hand piece?

Hand piecing sure isn't often (ever?) mentioned in blog posts. So when the February/March issue (No. 420) of Quilters Newsletter magazine arrived, with an article about hand piecing, I was tickled. The opening paragraph reflects my own thoughts about this somewhat neglected technique:
"Many hand piecers find the pastime relaxing and some say they're able to make more quilts because it's easier to find a few minutes here and there to hand stitch, even when they're on the go. Hand piecing is easy to learn and ideal for quilters of all skill levels with little or no dedicated studio space for a machine."
Let me add, "Hoorah for hand piecing!" When I thought about it, I realized I have three quilts that I've hand pieced, and I have enjoyed every moment of doing so... mostly while a passenger on long road trips, or while away from home. With a little pre-planning (less effort than applique), you take a hand-pieced project anywhere.

My first hand pieced quilt top is this Winding Ways. It isn't finish, but the hand piecing is! The quilt top is 51" X 69", (each block is 8-1/2" finished) and my plan is to add an appliqued border. I don't get around to hand applique as easily as hand piecing. 
These are the homemade templates I used to trace the pieces onto fabric. 
Don't the seams look good?

Are you noticing all the curved pieces? My philosophy about hand piecing is that if you're going to make the effort to hand piece, you might as well piece something that's a bit more challenging than just straight lines. Straight line piecing is much easier to accomplish on a sewing machine. So when I decide what I want to hand piece, I intentionally select a pattern with curves or set-in seams. That's why my second hand pieced quilt is this Periwinkle Star. 

Most often, when I've seen this as a finished quilt, the octagon shapes are pieced into quarters (straight seams). Again, my thought was make it a whole octagon with set-in seams. Gosh, I got so carried away piecing scraps (only the octagons are the same muslin fabric) that this quilt center is 80" X 80". I'm currently hand-appliqueing four borders for it. I'm on border #3. 

Get a load of that piecing! Come on, look closely! Check out those points! 
This kind of precision is very achievable when it's done by hand. 

My third hand pieced quilt, Candied Hexagons, is also unfinished. While this one involved quite a bit of straight seam piecing, some of the hexies have set-in seams. This quilt center also still needs hand appliqued borders. (sigh)

But the two points I want to make about hand piecing is that: 1) it's easy to do; 2) and, it's a great travel project.

Hand piecing stitches can be done in a couple different ways. Some make a simple running stitch. I prefer to load my needle with three to four stitches, pull those through, and then backstitch through the last stitch when I reload the needle. The thought behind this concept is that should a thread ever break, the entire seam won't pull out.

When you hand piece, you know exactly where to stitch because the line that's drawn around a template is the stitching line. I prefer to cut out a shape with a 3/16th inch seam allowance. The hand piecing stitches themselves are about 1/16th of an inch apart.
 

In the QN article, four different hand pieced blocks are featured including templates for tracing. Blocks are Orange Peel; Rainbow Flower; The Painted Daisy; and The Gay Cosmos. The latter two have the additional element of hand applique. You know how well I don't get along with that!

It's the Orange Peel that got my attention. Here are my homemade templates, ready to be traced onto fabric.

The book from which these four QN designs were taken is The Quilters Album of Patchwork Patterns by Jinny Beyer. It's a hardbound, full color book that contains 4,050 pieced blocks! Now wouldn't that keep a hand piecer busy for a while!

For those who want to know... our two month-old grandson, Aesa, is back at home after a two night hospital stay. He's recovering from bronchiolitis, a viral inflammation of the small ends of the bronchial tubes. We've learned that it's congestion and wheezing that most often strikes infants who are one to nine months old. We're extremely thankful he's improving, and we're grateful for your prayers.

After three weeks, I'm still trying to get over sinusitis and unhappily trying to get used to a plugged right ear. Let me tell you, it really is tedious to listen to myself so much! But I'm grateful to have energy again, and feel like getting back to my quilting. My next hand piecing project has my attention. Will you be hand piecing too?

Thursday, August 19, 2010

Stitchin' Mission Voting and Sewing


I've gotta begin this post by asking, "Have you voted for Stitchin' Mission today?"

The contest is still on to win a $1,000 grant, and Stitchin' Mission can win only by capturing the most votes. With the grant, my dream is to make a DVD of Stitchin' Mission's five free beginner quiltmaking lessons. Stitchin' Mission will win only if you help by casting your online vote daily, until noon on August 31.

Please vote for Stitchin' Mission every day at http://tinyurl.com/vote4SM

Now that I have made that important request, here's some of what else has been going on.


Our daughter and her family left our house early Monday morning after spending one-day-shy-of four weeks with us. The house seems extraordinarily empty without the baby bed, high chair, jumper, toys, the baby/dog gate to walk through, and no bottles and baby spoons drying across the kitchen counter. So empty. Though I've spent a bit of time vacuuming, mopping the floor and doing laundry, I haven't yet been able to bring myself to wipe the baby hand prints from the front picture window.

I got such a kick out of this picture of Tay playing hide-and-seek with me. Whenever he was hiding under the quilt, he noticed the fabric prints, pointing at one and "talking" to it. It made my quilting heart sing whenever he headed toward any of my quilts and began pointing at the prints.

After the family left, I plunged into my sewing space. In fact, I've been so excited to be amongst my quilt-y things that I've had trouble sticking to one project! Here are several that I've had in my hands this week.

I pulled out these containers of fabric rectangles and squares that I cut at least two years ago. I began piecing them into the scrap quilt pattern "Stacked Bricks" from the 1985 book Scrap Quilts, by Judy Martin.
I thought it looked like a good pattern for using up the seemingly excessive number of ugly prints I managed to acquire. Did I really like them when I purchased them?

The pattern called for cutting triangles to sew onto each rectangle. I opted to cut and sew squares onto each rectangle. Then I cut the squares on the diagonal.
Though I still need to insert fabric strips, or perhaps scrappy four-patch blocks, between each of the eight columns of 27 bricks, I'm happy with this week's progress. Much of this was accomplished while I sewed at home Friday evening, participating in a blogospheric Friday Night Sew-In organized by Heidi. It's fun to sew, knowing others are "out there," doing the same.


I also made these Asterisk blocks. They turned out nice, didn't they? I needed to make up some to show quilters at my church who are meeting for a sewing day on September 18. We might make a whole quilt like this. I love this block! It's a design that comes from the talented Karen Griska who, on her Selvage Blog, has easy-to-follow instructions for making them. I made mine just a wee bit larger. Karen's blocks finish at 5-1/2" X 5-1/2". My blocks will finish at 6" X 6".
Trying to maintain my commitment to my Ten in '10 challenge (see list at right), I've been hand-piecing to join the Periwinkle Star quilt center to the appliqued border. It would be much easier and faster to join these by machine, but since I've come this far, piecing and appliqueing by hand, I decided to keep the quilt "pure."
This stitchery is coming along as I continue to work on Snowmen A to Z. This is the letter "A."
Oh. And another update, I didn't win any ribbons at the Iowa State Fair this year. I entered Celina's Big Sister quilt and denim slippers made from upcycled blue jeans and got nada. But I'm okay about it. Hundreds of talented quilters and sewers entered the fair and the best deserved their wins.

A group of us at church were asked to make 27 school uniforms for kids living in Robin's Nest Orphanage in Jamaica. Since a mission team is heading to Jamaica in another week, we discovered we have very little time to put the uniforms together. Wednesday evening a group met to cut and begin sewing. This afternoon at 12:30, I too began sewing... navy blue shorts, in sizes 4, 6, and 7. At 2:30 two friends came over to join me.
We sewed until 6:30 and managed to make 17 pairs of shorts and two skorts. There's more sewing to do, including 27 shirts, but we were pleased to accomplish so much in our own little production line.
These are my sewing companions, Kim (L) and Linda (R). You girls are wonderful!
I'll close this long post with another joke that came in during my giveaway a few weeks ago.

A blonde walked into the library and said "I'd like a Big Mac, a large fry, and a Coke."

The librarian, surprised, stammered, "Well, ma'am ... this is the library."

"Oh, oh, I'm sorry!" said the blonde.

Then she whispered, "I'd like a Big Mac, a large fry, and a Coke."
Don't you just love a good blonde joke? Thank you Megan, MusicMaiden, for that cute one.

Hey! Don't forget vote for Stitchin' Mission! Please? http://tinyurl.com/vote4SM


Friday, July 2, 2010

Periwinkle Stars Progress

Because I'm taking my own "Ten in '10" Challenge" (see right menu bar) very seriously, when I traveled to Florida recently, I opted to take along my Periwinkle Stars quilt project, instead of the traveling Candied Hexagon quilt that has been to Australia with me twice. Periwinkle Stars is on my Ten in '10 list; Candied Hexagons is not.

This is the Periwinkle Stars hand-pieced quilt center measuring 80" X 90". It has been this way for more than a year.
I've been hand-appliquing four borders that will bring the quilt top size to a whopping 92" X 102"!

As you can see, two appliqued borders are ready to be hand-pieced to two opposite sides of the quilt center. I'm liking how this is going to look.
In more than 30 years of making quilts, this is my first try at adding hand-appliqued borders. This is also the first time I've designed my own borders. I can see problems ahead!
Getting the vine to wrap prettily around each of the four corners will not be easy to figure out. Also, I started hand-appliquing the borders using the needleturn technique. Since then I have discovered how much more I prefer back-basted applique. So I'm now making excuses not to work on it.

Anyone have some corner inspiration, or motivation for me?

Tuesday, April 6, 2010

I'm Quite Biased

Preparing to teach binding to Tuesday evening's Stitchin' Mission class means I had to get the lead out. What does that expression mean!?

For me it meant I had to get my quilt quilted so I have a quilt to demonstrate how to sew binding to a quilt!

The quilting design is easy free-motion quilted loopy-loops,
alternating directions from each 6" X 6" block to the next.

The binding strips are joined with diagonal seams, pressed and ready to sew to the quilt.

Since I was already joining strips to make binding, I moved onto another project... sewing together bias strips to make vines for the borders of my Periwinkle Star quilt.

Appliqueing borders for a quilt, either by hand or machine, is a totally new experience for me. I'm well onto border two of four.

Appliqued vines, flowers and leaves look like this. The "flowers" are the Periwinkle Star block with an appliqued center.

I'm sewing Celtic bar vines because they appear sort of "stuffed" when appliqued. That look goes well with the flower centers which are slightly raised by a piece of batting sewn inside.

The vine looks stuffed because the seam allowance is on the back.

To make Celtic bias vine the fabric is sewn wrong sides together. After the excess seam allowance is trimmed away, to about 1/8 inch, a 1/4-inch metal Celtic bar is inserted into the tube (plastic bars don't make as crisp of an edge). The seam is centered on the bar and pressed.

This is nearly eight yards of bias vine, so it took a while to slide the metal bar through the tube.

Pressed, it's wrapped onto an old ribbon spool, and ready for appliqueing.
I like Celtic bar bias because: 1) the seam is unseen; 2) the edges don't move as I'm appliqueing; and 3) the vine has a slightly raised look. It works for me!

Thursday, April 16, 2009

Before beginning to hand-applique the vines, flowers, and leaves onto the border background (solid ivory fabric), I drew this arrangement on a long strip of paper. I also drew a pattern for the four corners, so the vine, flowers and leaves meander nicely around them. When I've finished all the applique, I will hand sew each border to the Periwinkle Star quilt center.

Because I'm very easily distracted by faster, machine-sewn quilt projects, I'm pretty sure this hand-applique will take me a while to finish. And even when the quilt top is done, after spending that much time (100s of hours) hand-piecing and hand-applique, it demands hand-quilting.

Did I mention I'll be at least 80 years old before this is finished?

Thursday, March 26, 2009

Flower Stars

I've decided to make a vine-y, flowers and leaves border for the Periwinkle Stars quilt center. "Flowers" will be individual Periwinkle Stars to which I'm adding a center...to make the stars look more flower-like!

From one gold fabric, I've cut circles. Bits of batting were cut into circles too so each fabric circle has a batting circle inside it. This gives the flower a little dimension as well as preventing any shadowing from fabrics beneath the circle. I baste around the edge of a fabric circle so I can draw it up over a heat-resistant template plastic circle. After it's pressed, I remove the template plastic, making a nice round circle with a smooth edge to hand-applique to the center of each star.

Friday, March 20, 2009

Hand Piecing - Periwinkle Stars

Several years ago I wanted a travel project. Something I could work on while riding on long road trips. I came across this design called Periwinkle Stars. The quilt I saw was also pieced in the "snowball" part (the ivory fabric), so it could be straight-stitched on the sewing machine. On my quilt, the snowball is a whole, single piece of fabric. That's because it's my preference, when hand-piecing, to join pieces that are more challenging to accomplish on a sewing machine. Set-in seams, like those on this quilt, require a little more precision which I am able to accomplish when I stitch by hand.

With no specific size in mind, I cut out oodles of snowballs from a solid ivory fabric. Then, using my scraps and scraps from quilter-friends, I pieced the stars, being sure to have a light and a dark for contrast. Notice how each star alternates the placement of lights and darks.

Now the quilt top is 80" X 90"! I briefly entertained the idea of calling it enough, but one of my favorite quilt effects is a geometric pieced center surrounded by a border of softly curving applique. So, bordered it will be!

LinkWithin

Related Posts Widget for Blogs by LinkWithin