Showing posts with label Stitchin' Mission. Show all posts

Thursday, April 9, 2015

Really Random Thursday

This is a very late Thursday post, but I had a full day - a stress test and blood drawn, a grocery store stop, line dancing, and Skype time with an Iowa friend. Still, I want to participate in Really Random Thursday, because this week found me with a hodgepodge of (perhaps) interesting doings. Cindy at LiveaColorfulLife in California does Really Random Thursday every Thursday, in case you'd like to check out her post.

First, a happy Easter to my Christian friends! I am always humbled by Easter, and the sacrifice Jesus made for each of us. We worshipped Easter morning - at a Baptist church (yes, a very different religion for this lifelong Lutheran!) - and then came home to watch a live sermon feed of Pastor Mike at Lutheran Church of Hope in West Des Moines, Iowa. I miss this church so much!

I still have two basted quilts that need quilting, with one in progress. I'm not close to being finished. Do you, like me, procrastinate about what most needs doing?

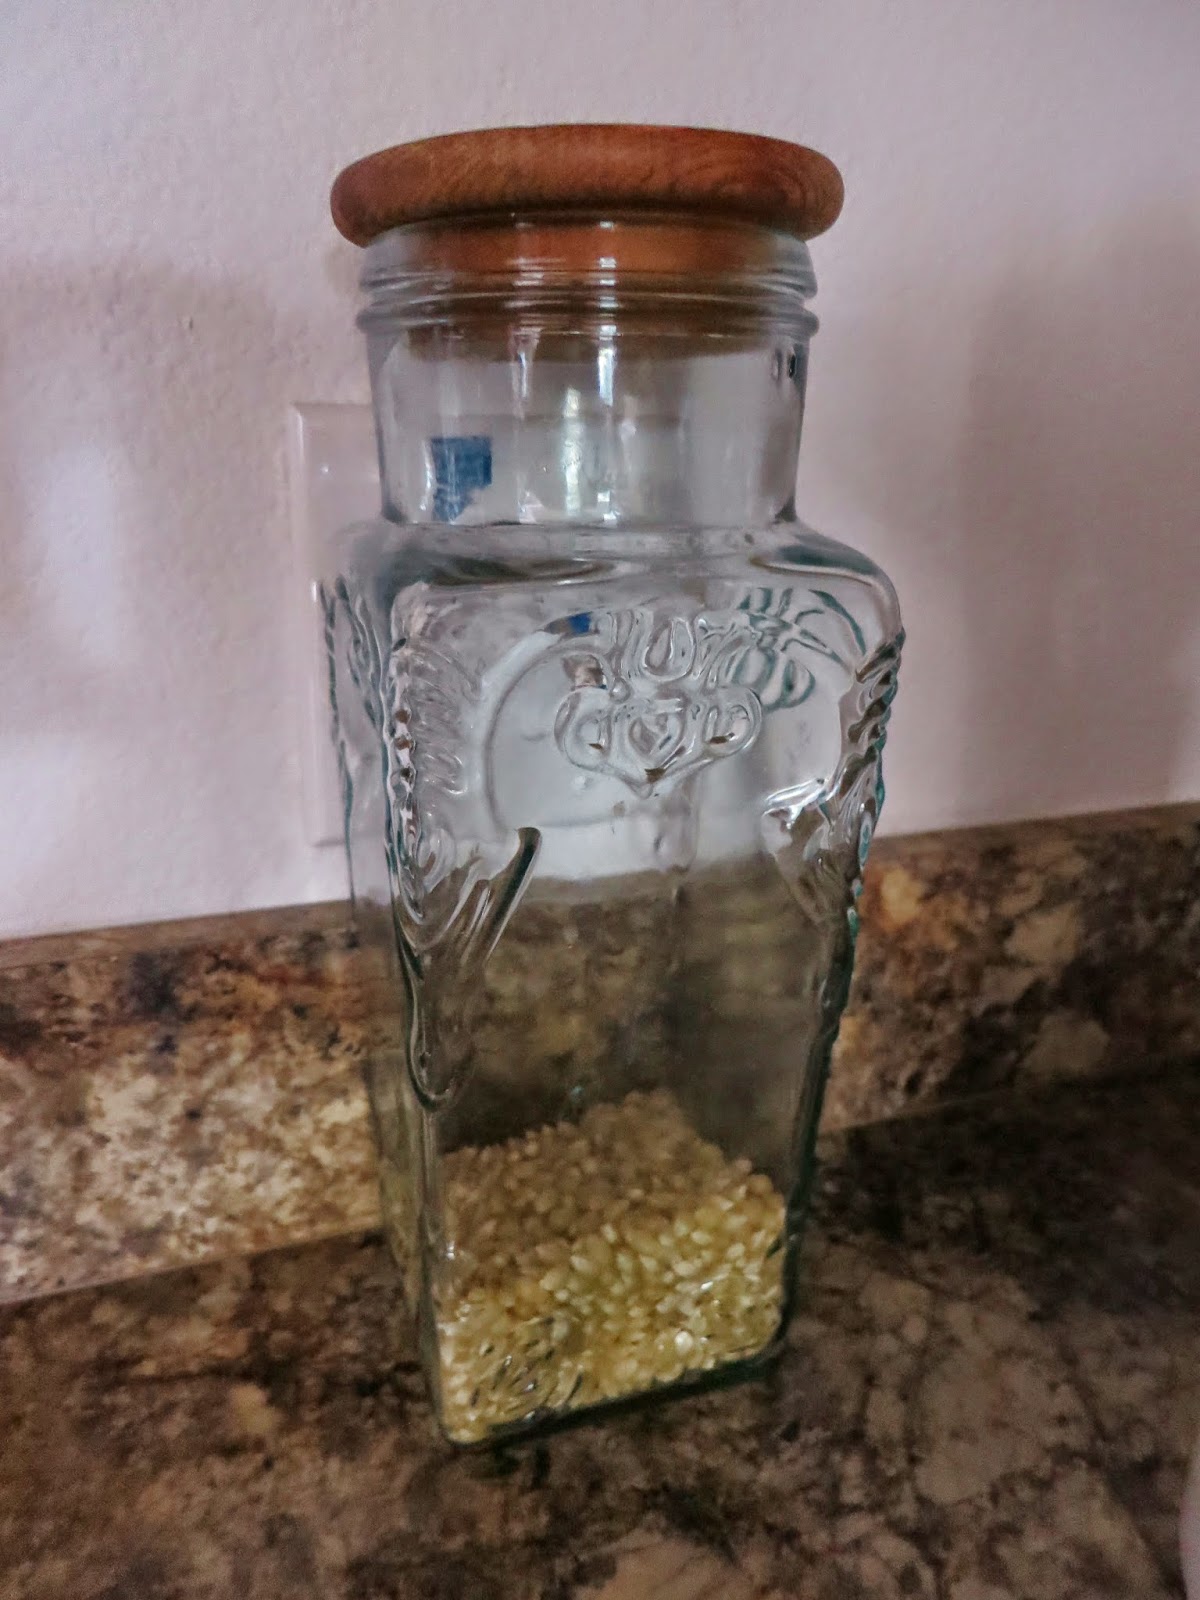
Something that you may not know about me is that I'm a fiend for popcorn. Not the microwave sort, though that's tolerable. About four nights a week, I make stovetop popcorn in my Whirlypopper. I swear, I could live on popcorn. Sprayed with I-Can't-Believe-It's-Not-Butter, and sprinkled with white cheddar seasoning from Bed, Bath and Beyond... it's yum, and low-cal. Since moving to Florida, I found that local grocery store whole kernel popcorn is terribly expensive. Now, I stock up on popcorn from Hy-Vee, in Kansas City. For those who don't know, Hy-Vee is a grocery store chain that started in Iowa (my first job in high school was as a checker at a Hy-Vee in Newton, Iowa) and the chain is now in eight Midwest states. My brother and sister-in-law both work for Hy-Vee, and in a point of irony, hubby Dan and I first met in a Hy-Vee grocery store parking lot, in Mason City, Iowa!

The best popcorn, for the best value, comes from the Midwest. It's quite timely that my popcorn container is near empty just as I'm getting ready to visit family in Kansas City.
My last blog post generated a lovely comment from a teen friend in Iowa. Elizabeth and I met when she and her mother participated in Stitchin' Mission, a quiltmaking for missions ministry I led for five years before we moved from Iowa. I had the wonderful opportunity to go into churches of all denominations, in the Des Moines area, to teach beginner quiltmaking to hundreds of women, children, and a few men, who then donated their quilts. I even got to lead one Stitchin' Mission at St. Mark's Episcopal Church in in Sydney, Australia!

Elizabeth is still making quilts. She sent pictures, and here's her blog post about a recently-made quilt she gave away. I'm so proud of her! Isn't this pretty?! The Minky on the quilt back makes it really special.

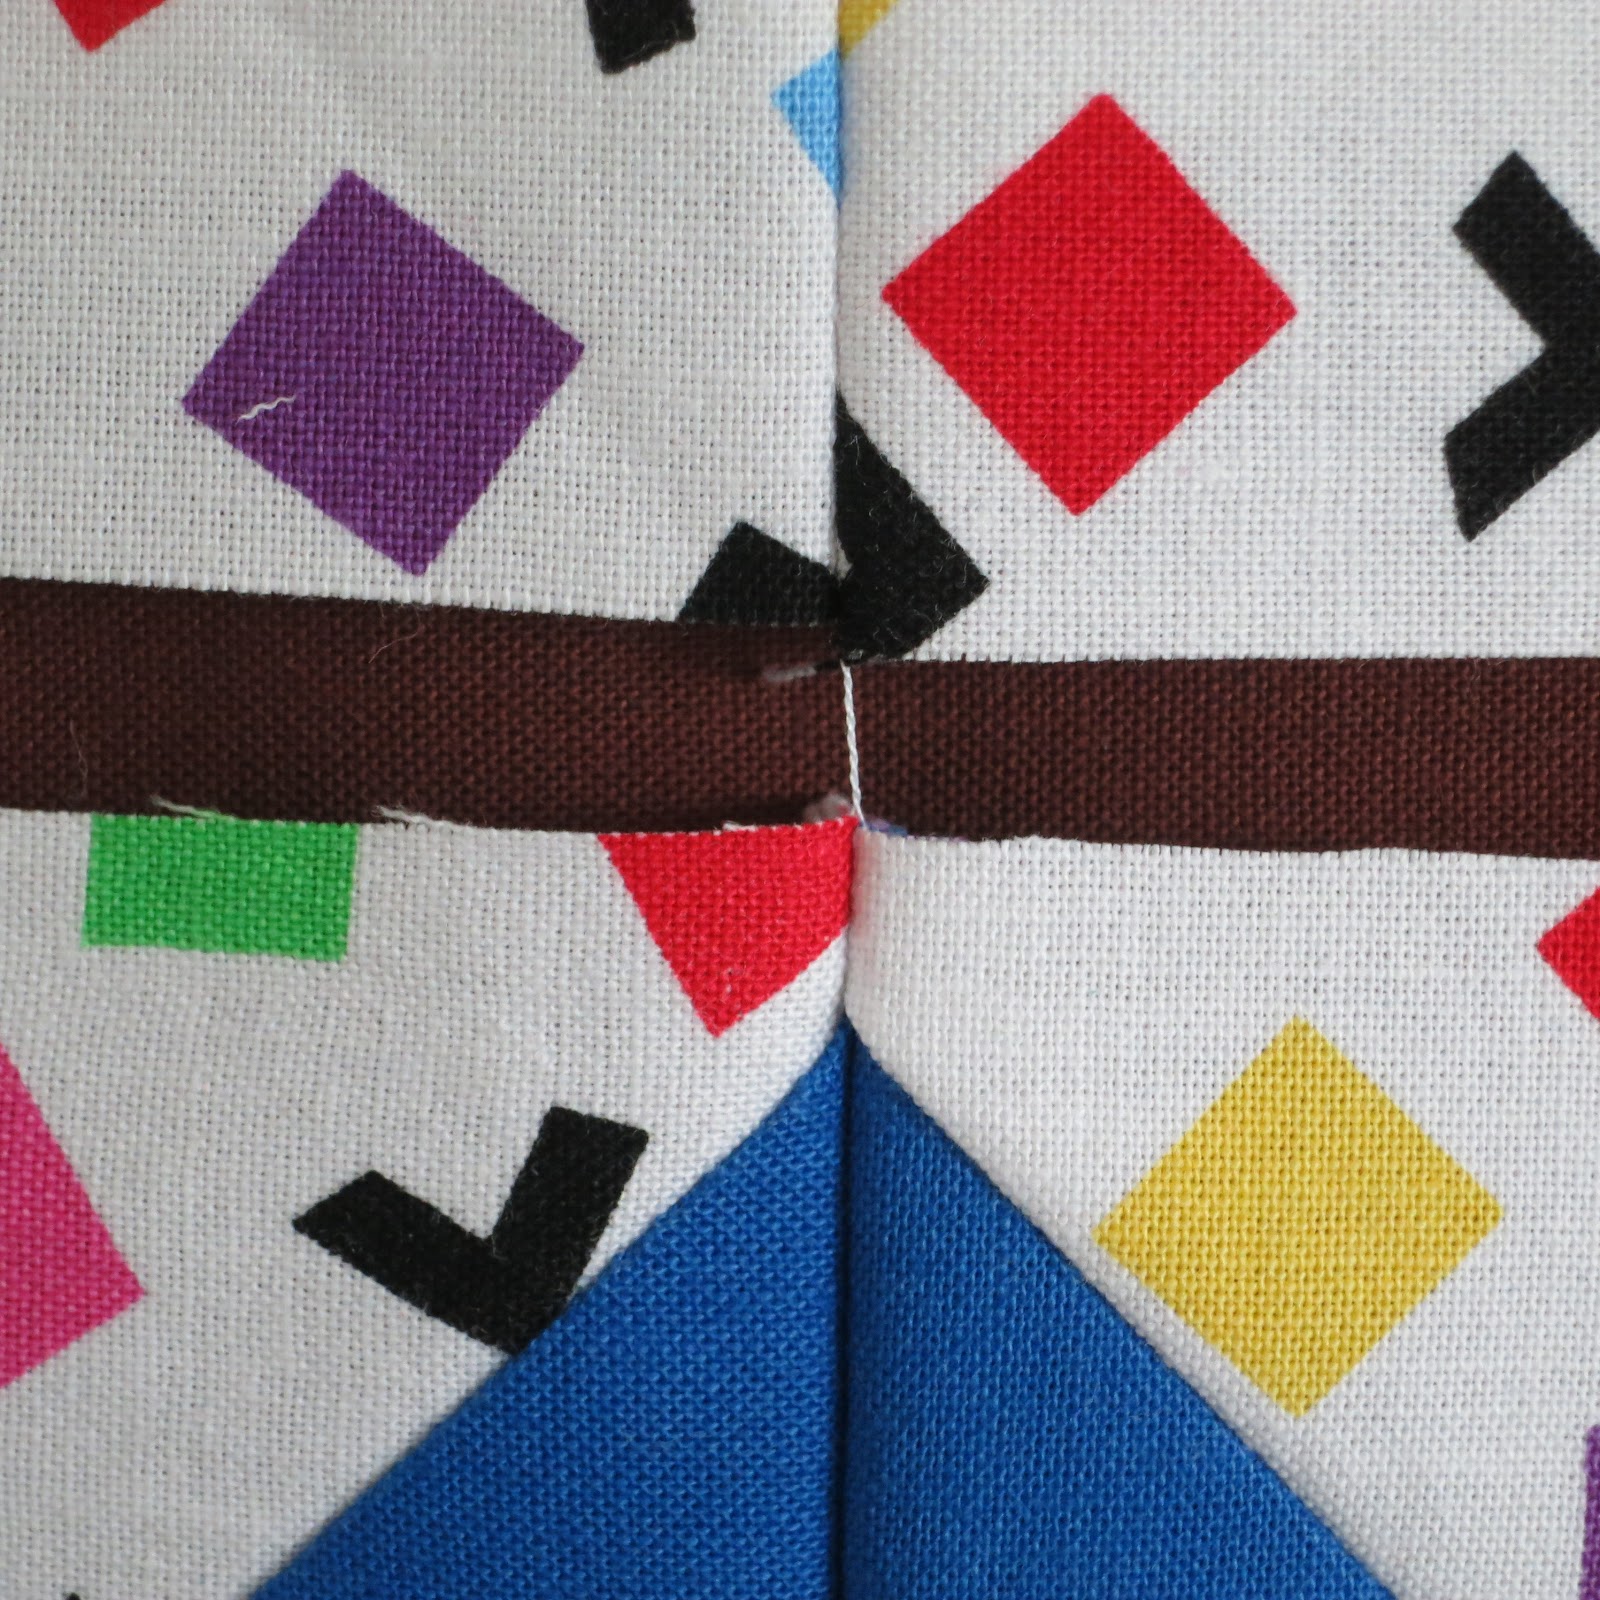
Last week I taught No Tails Binding three times, and discovered something really interesting about trimming quilts. Before returning a quilt to a customer, some longarm quilters trim the backing and batting even with the quilt top. If a quilt owner receives a quilt trimmed like this, the binding should be placed at least 1/8" (for 2-1/4"-wide binding) from the cut edge, to have enough excess backing and batting (3/8") to fill the binding.
This quilt has been trimmed to the quilt top edge,
so binding should be positioned at least 1/8" from the cut edge.
This isn't a problem if the quilt has a border, or a broad negative space, but it is a problem if the quilt top design has blocks with points along edge of the quilt top. Either the binding has to be sewn only a 1/4" seam from the edge, or the points have to be sewn over when the binding is stitched to the quilt top!

I know pictures would help a lot to explain this. I'm preparing a whole post about it.

Here's a little video to show you what our new golf cart looks like, now that it's tricked-out with lights. Fun for nighttime driving!
Linda

Tuesday, July 16, 2013

Reflecting

The bedraggled thing in the picture below is a beloved stuffed dog that my hubby cherished when he was little. Dog (he didn't have a name) endured many hugs, with one particularly vivid memory being when hubby was hospitalized for having his tonsils removed, and his parents brought Dog to him in the hospital. I'm sharing this because wee doggy was accidentally left behind when we moved in May, 2012! The poor fellow was tucked away on the top shelf of the master bedroom closet where he wasn't seen until the new homeowners recently found him. We're grateful for their thoughtfulness in contacting us, and then going to the effort to mail him. Some lovely people are still to be found, aren't they?

Another lovely person, Cindy in our Mid-Century Modern Bee, sent me these two gifts, a scarf and trivet, along with the blocks she made during my June Queen Bee month. Cindy shared that breast cancer awareness is a very dear cause to her and her husband Keith who made the 12" ceramic trivet.

Since a few of you have inquired about the status of my health, I share that am doing extremely well, tolerating without side effects a daily dose of the keep-cancer-away drug (Arimidex) I've been on since April 18. Two weeks ago I returned to the imaging doc for a recheck and was given an "all clear" until another check in December. Before then, I'll keep regular appointments with my general practitioner, oncologist, surgeon, and radiation oncologist, so if anything untoward pops up, I'm in good hands.

If you can't remember when you had your last mammogram, it's time to have one! The ONLY way my breast cancer could have been found was through a routine, annual mammogram, and I thank God it was! I had NO - zero, zip, nada - risk factors for breast cancer, and got it anyway. Your check-ups aren't anything to pooh-pooh, ladies!

Last Thursday morning I started teaching again - First Time Quiltmaking - and boy-o, was it a nice class! Eighteen women signed up, and 18 women showed up! I think that's a first - to have every registrant attend the first class. Guess that's the different between free lessons and paid-for lessons! 

It was somewhat daunting to face this roomful of empty chairs, but shortly afterward, many smiling faces put me at ease. Students were attentive and, based on their thoughtful questions, very engaged about learning how to make a quilt. I'm looking forward to lesson two this Thursday morning.

I'll have to add that though I am thrilled to be teaching again, these different circumstances are making me miss the thoughtful and supportive Iowa women who always helped me teach. They quite spoiled me by helping unload/load my car; set up/take down my sewing machine; unpack/pack-up quilts and bins of supplies, and answering questions and generally help students. Among my most supportive friends were Norma, Michelle, Bug...

Kim 

Susan

Lola (me on the left)

Mary, Deb, Suzanne... and many others who helped with six years of Stitchin' Mission lessons... You're the best! I miss you!

At home, between activities, I'm steadily FMQing Bloom. It's coming along as I'm now filling in open spaces with feathers.

I especially like to quilt feathers. A glass of wine alongside - in the evenings only - help take the edge off, so quilted feathers are smoother. That's my story, anyway.
Linda

Wednesday, February 27, 2013

Web Tutorial

In 2006, I was asked by Landauer Publishing to write a beginner quiltmaking book: "First Time Quiltmaking." It is based on the series of free quiltmaking lessons I've offered through my program, Stitchin' Mission.

In classes, I teach a step about how to put together sewn blocks. Initially, this was called "making a spiderweb" because that's what it looks like. Landauer suggested spiderweb wasn't such a pretty word, so it was shortened to "web." For the book, I sewed samples and we photographed the web-making process. Then, editors decided not to include it in the book because it was too difficult to see!

So after being asked several times for a tutorial on this (thanks Des Moines MQGer's), that's what you're getting.

In a nutshell, making a Web is a process for:

  • keeping blocks organized just the way you laid them out;
  • and, economizing on time and thread to put together a quilt top.

For this tutorial, I prepared 6-1/2" X 6-1/2" (unfinished) blocks to make a 36" X 48" baby quilt for Project Linus.

Terminology
Eight blocks running vertically are in columns - column A; column B; column C; and so on.

Six blocks running horizontally are in rows - row 1; row 2; row 3; and so on.


Remember this by thinking of an electronic spreadsheet with alphabetical columns and numbered rows.

Marking
Until you get the hang of columns and rows, it's helpful to use flat-head flower head pins, or sticky notes to remind you of positions.

You don't need to do both. Just mark according to your preference.


Sew a Web
Place blocks in column B, right sides together, on blocks in column A, as shown in this photo.
Row 1 column B block is right sides together on row 1 column A block; row 2 column B block is right sides together on row 2 column B block, and so on.

After putting block pairs together, pick up pairs keeping row 1 on top, followed by row 2, row 3, and so on. If you've used a pin at the top of the block, this will be a reminder that, "I'm the first pair of blocks." Otherwise, you can pin your sticky note to the top block.

Take the stack to your sewing machine, keeping the pin on top. Sew together A-B from row 1.

Without cutting threads, feed A-B row 2 under the needle. This is called chain-piecing, or chaining. 

This is what the thread looks like between blocks.

Continue chaining together all A-B blocks through the last row. For my quilt, this was eight pairs of A-B blocks.

Here, the A-B pairs are sewn and back on the design wall, ready for the next step. Only the chaining thread between each row is keeping them together.

The next step follows, but please read ahead before continuing.

Place column C blocks - right sides together - onto column B blocks.


Here, each row of column C blocks are, right sides together, on top of column B blocks.

At this point, you are probably noticing that this will be awkward to take to the sewing machine. It's necessary to explain it this way so you can understand why it's better to do the follow:

Simply pick up and make a stack of every row of column C. Keep row 1 on top, followed by row 2, row 3 and so on. Take the column C stack to the sewing machine.

More than likely, you've kept the sewn A-B columns at your sewing machine anyway, as shown in this picture. That makes it easy enough to return to your design wall and pick-up/stack column C and return to your sewing machine.

As when sewing together columns A-B, join column C to column B. Chain-piece together each row of column B-C blocks.

I bet you have this figured out now, so it won't be a surprise to know that you'll continue putting your top together by stacking column D and sewing it to column C; stacking column E and sewing it to column D, and so on.

And if you've got it down pat, you can stack and line-up all the columns. No hopping up and down from the machine to the design wall and back again.

When you've sewn together all the columns you've got a Web! Yay for you!

I pinned my Web to the design wall so you could see what it looks like. Every block is where it's supposed to be, with columns joined to one another and "Webs" connecting each row.
A big picture, to see those connecting chain threads.
Pressing
The first time pressing is needed is now. With the back facing up, press seam allowances one direction in each row. It doesn't matter which direction you press, only that each row alternates direction.

Here's a close-up of seam allowances going opposite directions, and chaining separating rows.


Joining the Web
This step can be done at your sewing machine, but for purposes of explanation, I put my Webbed quilt on the design wall.

With the quilt facing up, lay row 1 on top of row 2, right sides together.

If you're a person who likes to pin, feel free to do so.

When pinning at seam allowance intersections, do not pin through the seam. Doing so only pushes apart the accurate intersection we're aiming for. Instead, butt together the seam allowances and pin on both sides of it. 

This is what you're striving for. A tight joining - also called "nesting" - with seam allowances aiming opposite directions.

Sew to join row 1 to row 2, backstitching at the beginning and end of the row.

Still with the quilt facing up, place row 2, right sides together, on top of row 3. Pin if desired. Sew to join row 2 to row 3, backstitching at the beginning and end.

Another nested and pinned intersection.

Continue in this manner, sewing row 3 to row 4, row 4 to row 5, and so on, to complete your quilt top!

Final Pressing
Press row seam allowances one direction. Whether you choose to press them up or down doesn't matter.

My completed quilt top didn't take long to sew together, and more importantly, none of the blocks got turned the wrong direction.
36-1/2" X 48-1/2"
Please let me know if you use this Web method of piecing your quilt tops. Nothing would be better "payment" than knowing this tutorial has been helpful. Linda

Monday, April 30, 2012

Last Lasts

The past week has passed in a whirr of packing, address changes, and last-minute details. 

Neither of us has good short-term memory.

Where's my cigar box? Did you check your prescription refills? Have you cancelled phone service? What are you planning to do with those books? We need another mirror box. Where's the box of miscellaneous stuff? Do we want to keep this (fill in the blank)? Have you changed our address with (fill in the blank)? 

It goes on and on.

My sewing room was out of commission last Thursday. Everything sew-y and craft-y I own filled two dish barrel size boxes; 19 full-sized bins; 6 half-tall bins; and 8 medium-sized clip-lid bins. Along with two fold-up tables, two hollow core doors, two sawhorses, and five sewing machines, there was more stuff than I thought. Oops! And there are three dish barrel size boxes full of quilts! Though I don't expect to use the quilts in Florida, there are unknowns about teaching, and whether Stitchin' Mission will continue as it has. For now, I'm keeping those quilts.


Last week we hired a college age fella to carry all the bins and boxes from the basement and house to the garage. The pile is missing the last of the kitchen stuff; several picture frame boxes; a bed; wooden rocking chair, floor quilt rack, and wine rack. (Everything else has been sold.) We're pretty sure it will fit into the 17-foot U-Haul truck we'll be loading Wednesday.

In between bouts of feverish activity, sorting and packing, and donating even more stuff to Goodwill, I've had my last, last good-byes. Thursday evening Batting Buds took me to dinner at an Italian restaurant.
Chianti raised in toast
Dinner conversation was about how we met one another, memories of activities together, quilting retreats, numerous Stitchin' Missions and how life will be so different. Dinner ended with that pink squirrel, just for me! It's creme de Noyaux, creme do cacao, and light cream for those of you, like me, who didn't know what constitutes a pink squirrel.
L-R: Bug, Norma, me, Lola, Susan
These gals, and several others who couldn't make it to dinner (Mary, Erika, Kim, Michelle - You were missed!) gave me fat quarters. Knowing how much I like modern prints, each one gave me a print that represent themselves. They've challenged me to make a quilt - once I get settled in Florida - with all these prints. 

Saturday, these same buds hosted a reception for Stitchin' Mission, the quiltmaking ministry I've offered in the Des Moines area for the past seven years. The reception was at church, and this is what I first saw when I arrived.


The room was decorated with some recently-made mission quilts. 


And look! More cake! I will very likely be heading to Florida carrying a few extra pounds of junk, and it won't be in the back of the U-Haul truck!


Here are the lovely, wonderful, smiling friends I was blessed to first get to know through Stitchin' Mission.
L-R: Ann, Andrea, Michelle
me and Lola
L-R: Norma, Kim, me, Rachel, Bug, Andrea 
Sara and Suzanne
me and Abigail
Missy
Again, it's pretty much impossible to sufficiently express my thanks to these special, thoughtful and giving friends. Each of them have blessed me with their support and friendship these past seven years. I've already shed a few tears at partings, but I'm sure the waterworks will flood on Thursday as I'm driving south on I-35 toward Kansas City. That's where we'll unload and stay with our daughter for a couple weeks.

As for these fat quarters... They're quite a unique collection, aren't they? Initially I was stumped as to how I might use them in one quilt. But then...

... I received this card from Erika. Doors. All of them different. Are you tracking? "When God closes a door, He opens a window." Each fabric a door, unique to the friend who lives behind it. A window. Some embroidery. Some creativity. I'm itching to get started.

Doors will wait for a few more last last things that need taken care of. God-willing, a truck to be loaded, and house closing papers to be signed Thursday. Later in May, after quilt market and the Machine Quilter's Showcase, we'll head to The Villages to begin hunting for a new home... and opening all kinds of new doors into the future. Linda

LinkWithin

Related Posts Widget for Blogs by LinkWithin