Thursday, July 30, 2020

Labels, Hotpad, Bag, Pillow; No Quilts

Quilt-making has come to a halt, but that doesn't mean my hands have been idle.

Label-Making
It was past time to make labels for eight of the ten quilts I've made thus far in 2020. 

I design labels on my computer. Being on a MacBook means I design in Pages. The PC version would be Word. For me, creating a label isn't about making something pretty, but to provide information. I tend to add details, imagining that sometime in the distant future, someone will come across one of my quilts and be curious about it. 

My labels usually include:
  • quilt name
  • quilt dimensions
  • "my original design" or pattern name
  • piecing technique - example: English paper piecing; foundation paper piecing
  • domestic machine quilting info - walking foot; ruler quilting; free motion quilting
  • sewing machine brand and model number
  • who it's been made for
  • my full name including my maiden name
  • my blog/Instagram name
  • month/year started and/or month year finished
  • city/state I live in
  • special characters like a palm 🌴 and a Christian cross
  • optional: a photo pertinent to the quilt

When several labels are laid out, leaving about ¾" between labels, print on paper first, for proofreading. Inevitably, I find an error or two, so it's worth taking the time for a review before printing on fabric.

 
In the past, I've use Printed Treasures brand of paper-backed fabric for labels. However, after purchasing Printed Treasures that did not work as directed - the paper backing is impossible to peel off the back, and must be soaked in water and scraped to remove - I found another brand that's much better.

⇦ EQ Printables is also fabric, but backed with clear plastic for an inkjet printer. I purchased a 6-sheet package for $16.95. (I have no affiliation.) 

The negative about printing labels on a 8½" X 11" page is that, to make it economical, several labels should be printed at once. That means "saving up" labels to print four or five to a page. It's nearly impossible to lay leftover label fabric pieces in the printer tray, though I've been known to try by taping it onto a sheet of regular paper to send it through the printer. It doesn't always feed properly. So, play it safe and print multiple labels on one page,

After printing and cutting out each label, leaving ⅜” on each side, I piece narrow fabric strips to all four sides. It’s easier to hand-sew through fabric than the stiffer edges of the label fabric. 
Blank places are where personal information has been removed

The blue-edged label in front was printed on EQ Printables. The rest were printed on old Printed Treasures fabric (trying to use it up) that had to be soaked and scrubbed to remove paper. Also, the printer colors appear brighter and clearer on EQ Printables. 

Other makes...

Crocheted Hot Pad
My friend, Selina (the same friend who sold me her peg loom) posts her makes on her Selina Quilts blog. When I saw the crocheted hot pads she's been making, I asked for the pattern. This free Turn on Itself Hotpad is made with Sugar 'n Cream yarn, a size H hook, and a single crochet stitch. It took only an evening to make my 7¼" X 7¼" hot pad (without the hanging loop). Once it's been hubs-tested and approved for usability, I may/may not make more.
     L: starting side with 42 chain stitches   R: finish side with slip stitches
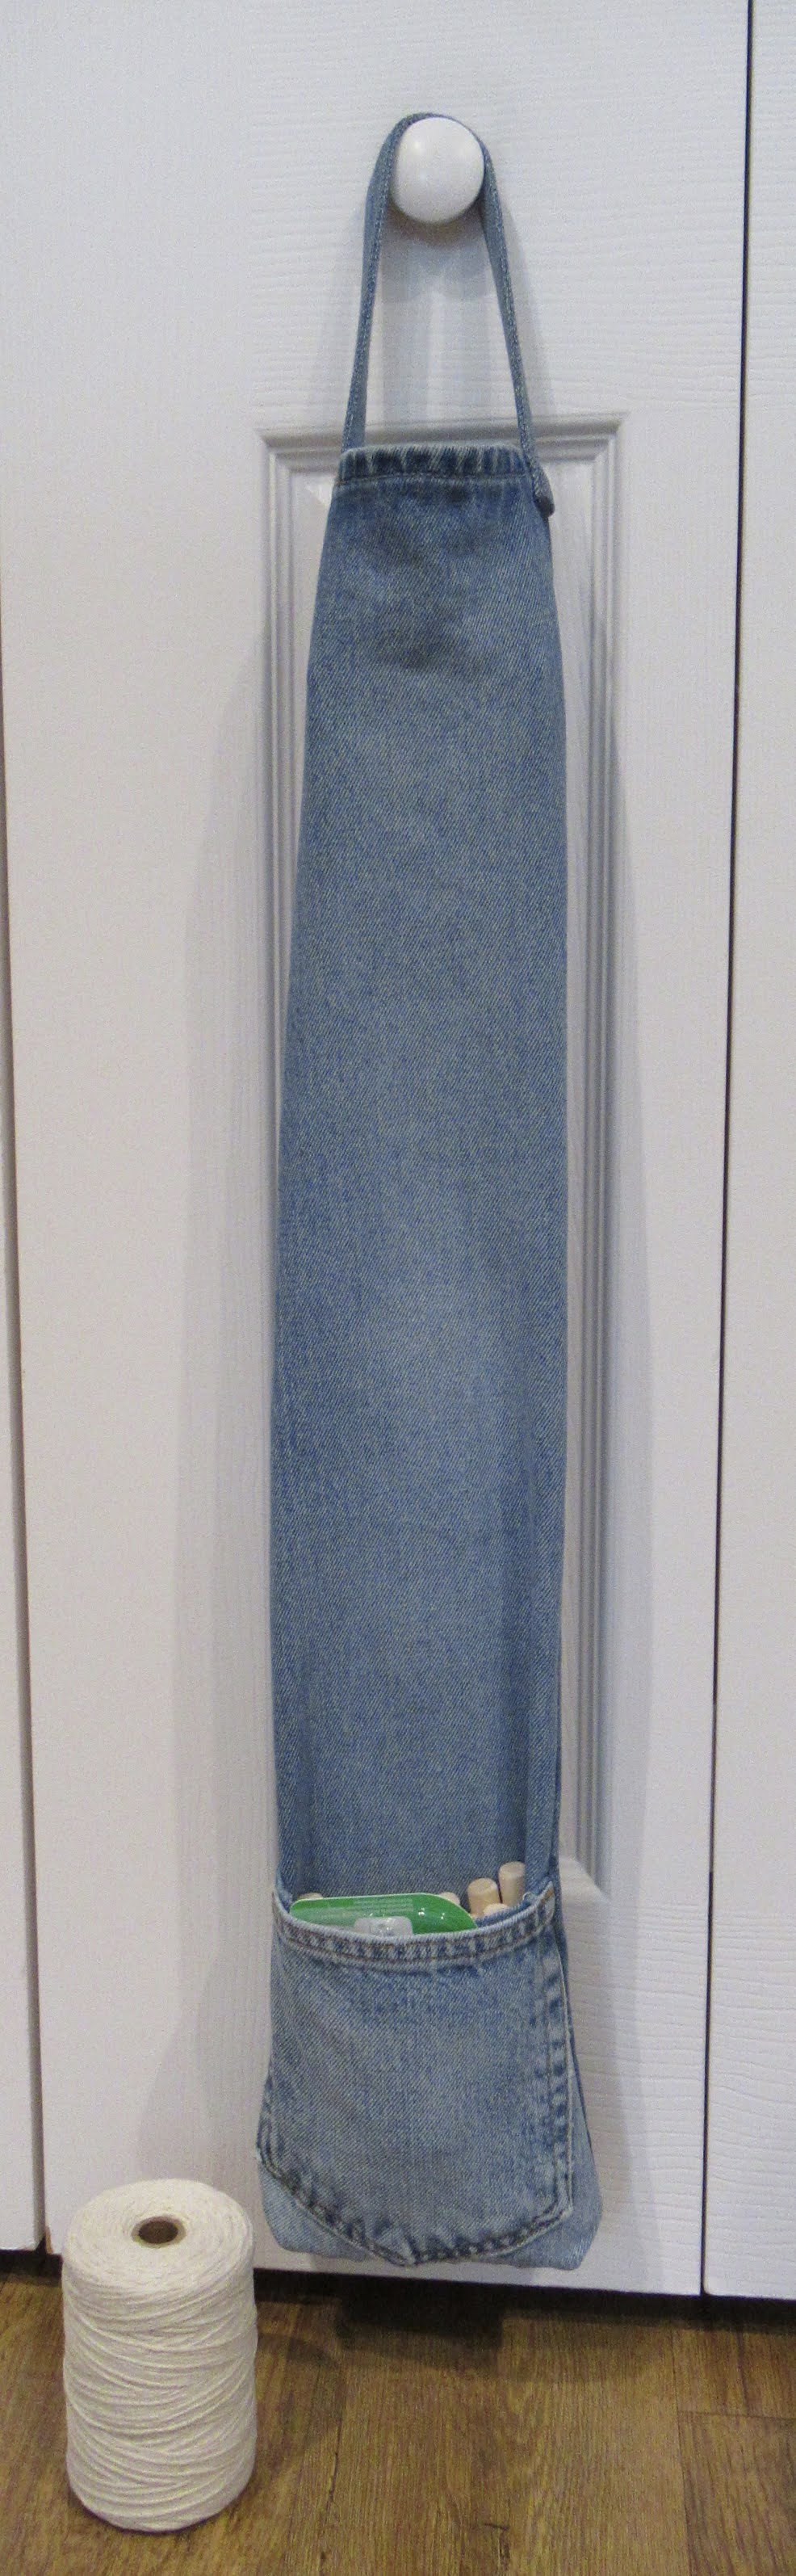
Peg Loom Bag
I made a bag for my peg loom! After seeing it, hubs commented that I obviously "don't have enough to do," but I thought I was being pretty creative. I used an already cut-up pair of old blue jean legs and pocket to fashion this bag. The pocket holds the loom's 24 pegs, and the package of floss threaders used to thread the pegs. My order of 4/4 cotton warp thread just arrived from The Woolery, so I'm all set to begin my next peg loom weaving project using fabric. 

Pillow-Making
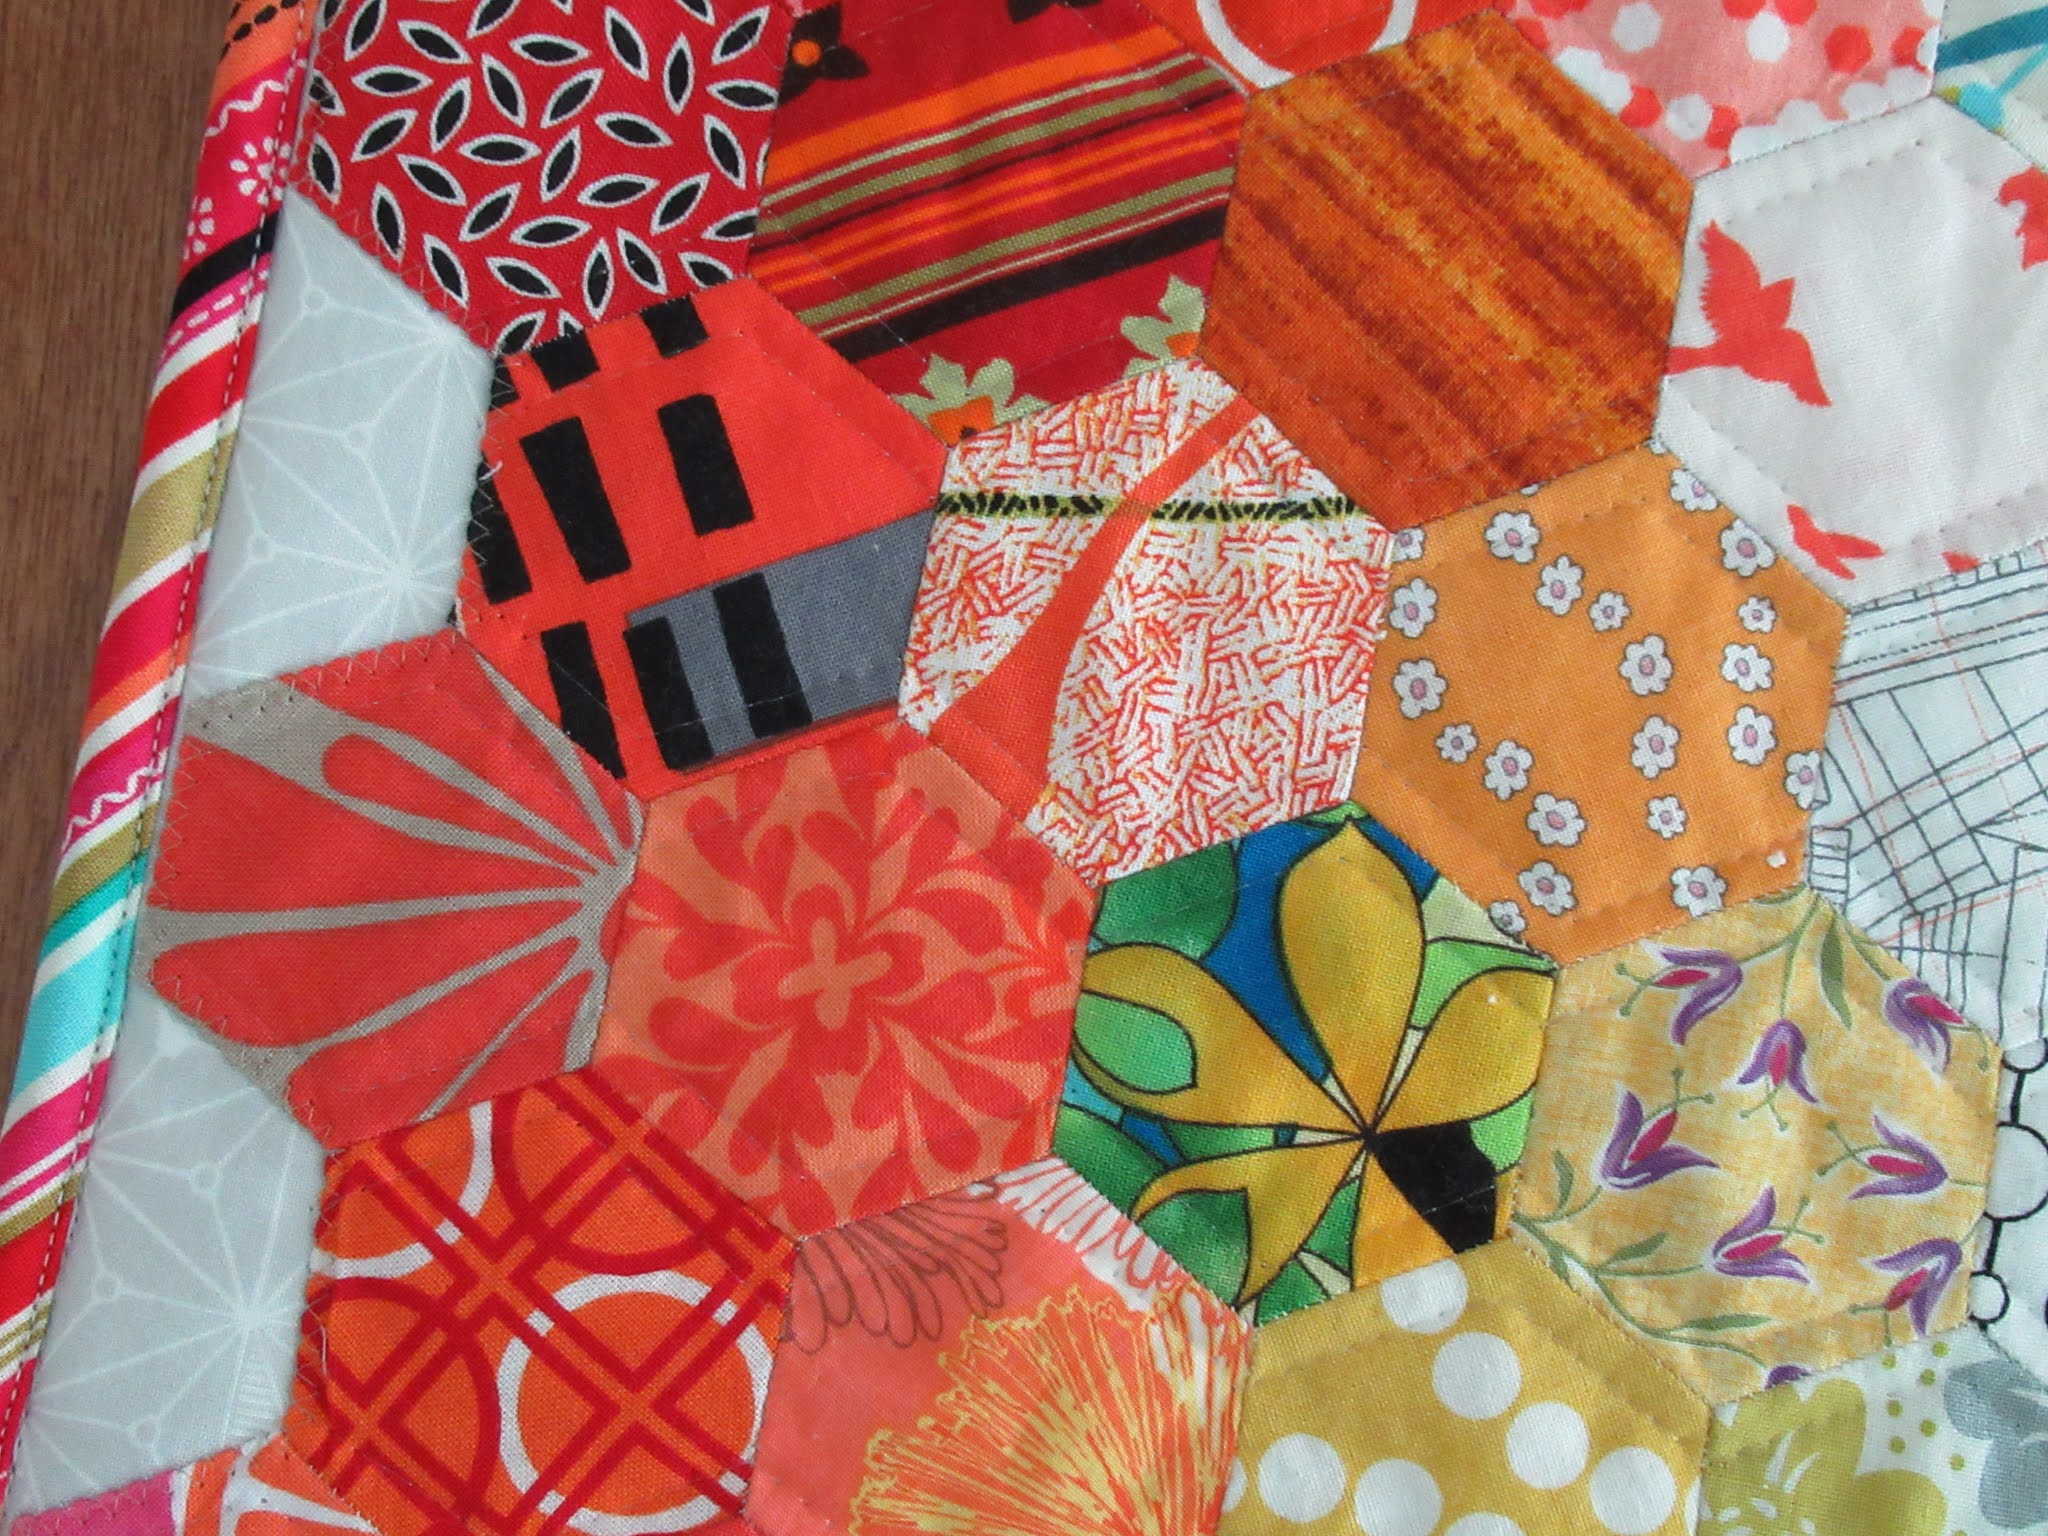
The English paper pieced square in my previous blog post is now a 16" X 16" pillow.

I machine appliquéd the square onto a background square, sandwiched it with white Quilter's Dream Cotton Request batting and white muslin, and walking foot quilted with Mettler Transfil (invisible thread) with 50-weight Aurifil in the bobbin.

For the envelop back, I used Christina Cameli's Moongate fabric (purchased locally at Sew Together Quilting) and I was happy to discover the print had a diamond-shaped design that could be walking foot quilted to make a diamond grid! Without marking, it took no time at all to quilt! I used 50-weight silver-gray Aurifil. 


With an envelop backing a pillow form can be removed when the pillow needs to be washed.

It's easy to assemble a pillow with a binding. Just place the pillow parts wrong sides together, baste around the sides, add 2¼"-wide binding by machine, and finish with machine edge stitching. Love my Bernina edge stitch foot #10D for easily accomplishing that! Doesn't it look like cording?


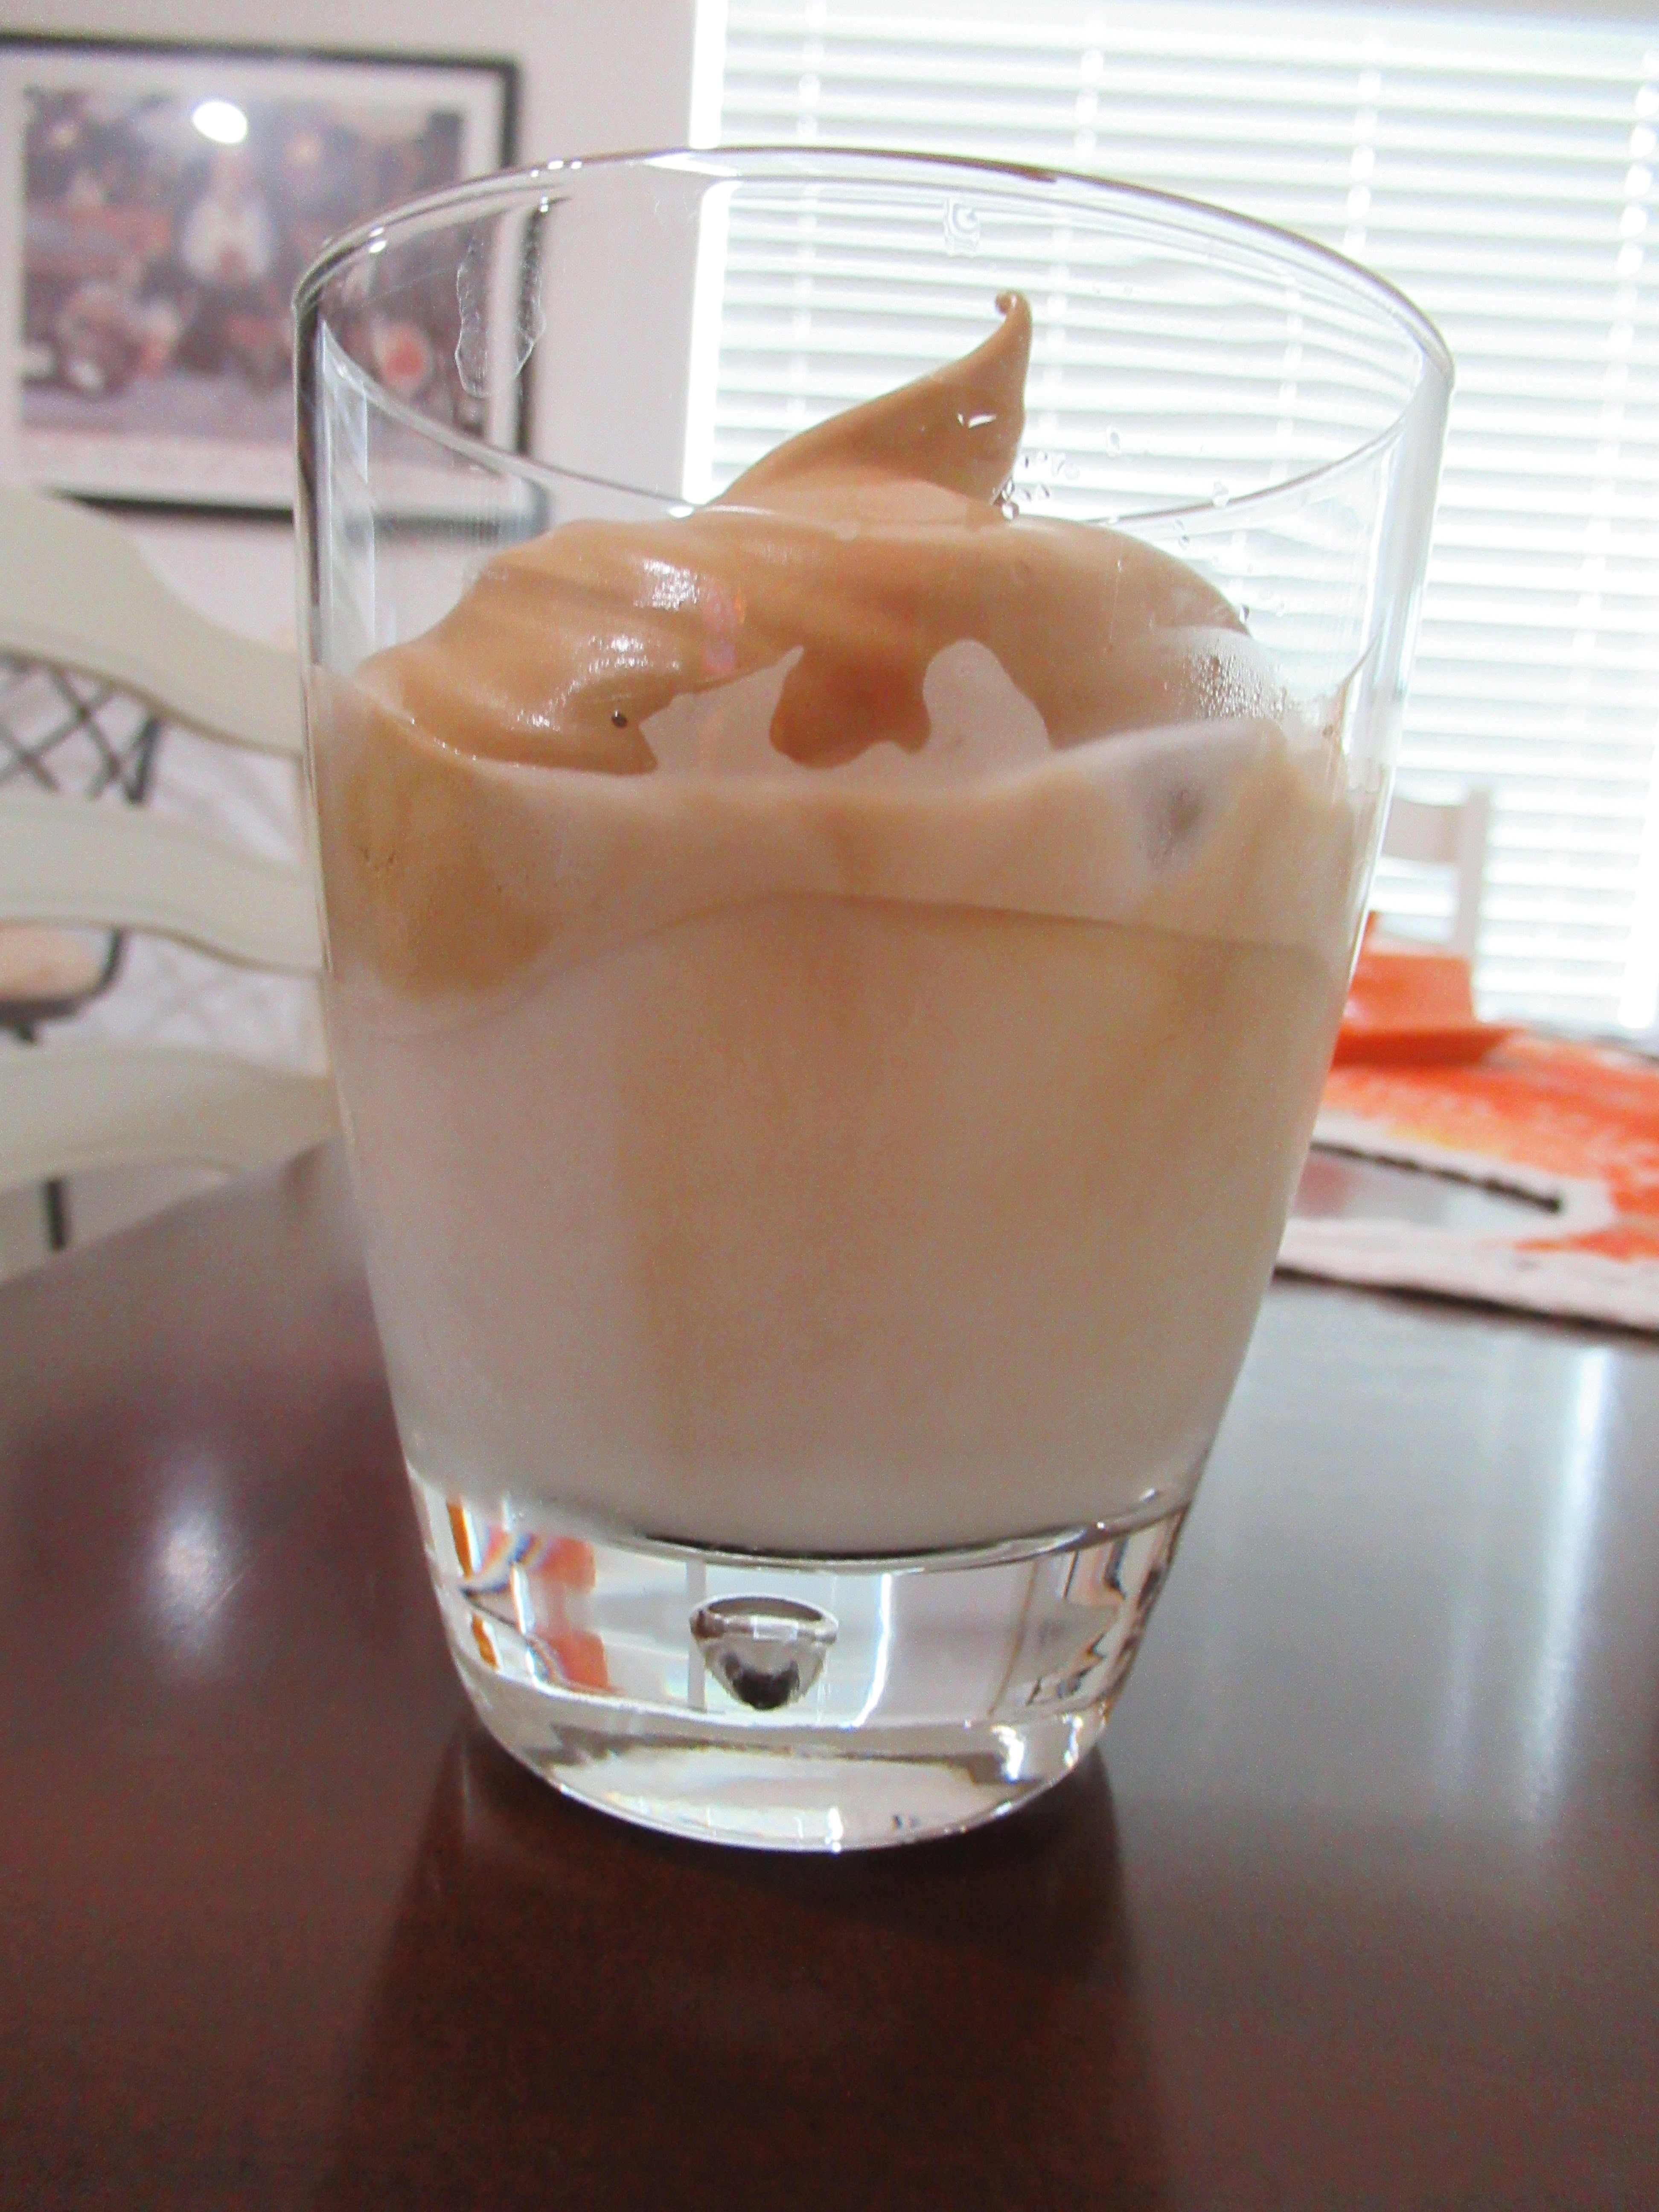
I continue to have a love-affair with Dalgona. I find it's very filling, perhaps because it's on top of iced milk. This has to be good for me, right?

Book Recommendation

Another great read! American Dirt by Jeanine Cummins follows Lydia and her eight year-old son Luca, the only two people who survive a massacre of 16 family members. While fleeing Alcapulco, trying to second-guess how widespread may be the reach of the cartel tracking their escape, Lydia recalls meeting the charming Javier who is head of the cartel, and Lydia's journalist husband who writes about Javier.

The story is riveting - about middle class people escaping for their lives. How desperate la migra/immigrants leave Mexico on la bestia/trains to go el norte/North, and face the uncertainty of what they're running toward.

Narrator Yareli Arizmendi was excellent, speaking English, but also Spanish. In context, it wasn't difficult to understand. Linda's score: 4.5/5.0

My goodness. This is my 45th book finish in 2020! I read 43 books in all of 2019. That’s what a pandemic will do for your literary enlightenment! Linda

Saturday, July 25, 2020

Pandemic Stuff

After the busyness of making my Jiggle-Joggle-Jee quilt (previous post); taking step-by-step pictures; writing a blog tutorial and pattern; and scanning and uploading the pattern and FPP templates to Google Drive, the last few days have felt like a vacation! 

I've continued to sew - mug rugs and and several EPP Prudence blocks. Next up is to finish this too-old EPP into a pillow.

Oh! And I must make quilt labels! These eight quilts all need labels!

Though my intentions for 2020 have been to slow down quilt production, the pandemic has given me time to finished nearly all my WIPs. I still have just two, slow-going quilt WIPs. I'm relieved to feel caught up, and embrace the arrival of a new direction for me - to do more handwork, and make other non-quilt things. When an order of 4/4-weight cotton warp thread arrives, I'll begin another peg loom weaving project. By the way, I ended up buying the peg loom from my friend. 

Recently, Dan golf-carted to Barnes and Noble to come home with new games to learn. After months now of playing gin rummy, we're ready to try something different to change-up our evenings - Rummikub and Backgammon. Notice that he picked up the "large numbers edition" of Rummikub. Perhaps is's no surprise that's the only version our B&N sells!

As many of are doing in our area, we're still staying home, postponing haircuts, and going to the grocery only when necessary. Also, Farmer's Market is on the weekly schedule for buying fresh produce. A trip to the post office was necessary to mail Nana-made face masks to our granddaughter who will return in August to her last semester of college. 

And speaking of her.... Celina and I received the best news on Friday. The quilt she and I made together was accepted for publication in Curated Quilts! 

If you're not familiar with this journal, read more about it here. Curated Quilts is printed quarterly on high quality paper, without advertising. Subscribe here with the code PALMS and you'll receive a 10% discount.

Celina and my quilt, "The Road Between Us" will appear in the October 2020 issue, in the "Youth Challenge" gallery.
The Road Between Us, 10-1/2" X 10-1/2"

Celina improv-pieced the quilt top with me over FaceTime. Then she mailed me the little top and the leftover fabrics. I added the burgundy hand-appliquéd "road" and "roundabout," hand-quilted, and finished it with faced binding. 

It was such a treat to call Celina, put the whole family on speaker phone, and share the happy news that our quilt was accepted into the journal's quilt gallery. We all chuckled that Celina could add this recognition to her job search resumé. Her degree will be in finance.

Have you tried this trendy whipped coffee drink? It's called Dalgona. Lots of pictures/recipes have been showing up on Pinterest.
Dalgona

It's easy to make. Use an electric mixer to whip together equal portions - 1:1:1 - of hot water, instant coffee, and sugar. I used 2 tablespoons of each (decaf instant coffee for me), and spent two minutes with the mixer, whipping it into beautiful peaks. Put ice and milk in a glass, top it with the whipped mixture, and spoon it together for drinking. I like it!

The taste is unusual - somewhat like very strong coffee, but with a tang. Since I didn't use all of the whipped part for this drink, I stored the leftover in an airtight container in the fridge. The next morning I used it as coffee topping. I'll be making it again. 

Book Recommendations


Good Girls Lie by J.T. Ellison is about the Goode School in Virginia, a prestigious all-girls boarding school where the elite send their daughters before admissions to ivy-league universities. The story follows Ash, a newly-arrived student from the UK, and her introduction to the school, the dean, and some of the students. Ash is bright and capable, but her experiences aren't as positive as she wishes, beginning with the sudden death of a teacher. When a student dies, Ash understands that someone knows what she's been trying to hide. This fast-paced physiological thriller is on the order of The Lying Game by Ruth Ware. I couldn't put it down.

Linda's score: 4.3/5.0


Hidden Valley Road by Robert Kolker is the (unbelievably) true story of a family, raised in Colorado Springs, near the Air Force Academy, in the 1940s to '60s. Donald, who worked for the Academy and NORAD,  and Mimi Garvin had ten boys and two girls. Their household was turbulent, and when the girls came along, the abuse began. Six of the boys developed schizophrenia, an incurable illness that made them subjects for further study. Schizophrenia research has continued into the 2000s in the form of genome research. Though the story of this family's experiences with schizophrenia is difficult to read, an understanding of the illness - from Sigmund Freud to today- is completely fascinating. If you're familiar with CRISPR (this YouTube video explains CRISPR well), you'll appreciate the way this family has impacted genetic understanding.

Linda's score: 4.0/5.0

Linda

Tuesday, July 21, 2020

Jiggle-Joggle-Jee Quilt

Jiggle-Joggle-Jee Quilt, 43" X 43"

When Kristy @quietplay invited me to use her new Create fabric collection by Riley Blake...

...to design a project, I headed to EQ8 to come up with this foundation paper-pieced design. 

The quilt name comes from a repeated phrase in the poem The Baby Goes to Boston.
What does the train say? Jiggle-joggle-jiggle-joggle
What does the train say? Jiggle-joggle-jee
The quilt's jiggle-joggle-looking bars made me remember that nursery rhyme. 

Here's the free pattern, and/or keep reading below for the quilt tutorial.  


Jiggle-Joggle-Jee Tutorial
Note: The supply list and cutting instructions are also on the printed quilt pattern. 


Supplies – all fabrics should be 100% cotton; yardages based on 40"-width

Foundation Paper for Piecing - My preference is to use 8½" X 11" unprinted newsprint paper

Print foundation papers (link here), remembering:


Fabric is sewn to the paper on the back (unprinted side)

Machine-stitching is done on the paper from the front (printed side)


Printed blocks should measure 5½" X 5½" unfinished. (Finished blocks are 5” X 5”.)

  • 31 MIRROR blocks
  • 30 RIGHT blocks
  • 6 Top/Bottom side A blocks
  • 4 Top/Bottom side B blocks
  • 6 Right/Left side C blocks
  • 4 Right/Left side D blocks
  • 1 each of four CORNER blocks: Corners 1, 2, 3, 4


Fabric Cutting - for 61 full blocks, and 24 partial blocks. 


From PRINTS, cut:

    36 - 5¾” X 5¾" squares for block
    49 - 2" X 8" rectangles for a block center strip


From BACKGROUND fabric, cut:

    2 - 8" strips. Subcut 8" strips into 40, 2" X 8" rectangles (36 rectangles will be used)

    7 - 5¾" strips. Subcut 5¾" strips into 42 5¾" X 5¾" squares


From binding fabric, cut 

5 - 2¼"-wide strips


Foundation Paper-Pieced Blocks - 
In this example, we're using a MIRROR paper. Note that the printed side of the paper looks like the insert is "facing" right. Fold paper on the lines. 

To make a print fabric block (with background insert), pin a 5¾" X 5¾" square to the wrong (unprinted) side of a paper. 

Use an Add-A-Quarter ruler to trim 1/4" from a fold line. 

Pin a 2" X 8" background rectangle to the trimmed edge, being sure background fabric covers the left-hand tip of the paper (as shown). 

Pin and sew, using a shortened machine stitch length (1.90 on my Bernina 770QE). 

Press.

Fold foundation paper to trim the raw edge of 2" X 8" background rectangle.

Pin the remaining print fabric to the 2" X 8" background rectangle to the trimmed edge.

As shown, be sure print fabric covers the right-hand tip of paper. Pin.

Stitch.  

Press.

Trim block to measure 5½ X 5½”.


Remove papers. It's okay to do this now, rather than wait until the quilt top is finished. Because the fabric edges are on the grain or cross-grain, we have no worries about fabric-stretching. 

This is a MIRROR foundation paper that makes a MIRROR block. 

Keep making blocks for a total of 61 blocks as shown below. These designations M-P, M-B, R-P, R-B are used on the diagram as a guide for laying out your quilt top.

I found it helpful to arrange full-size blocks on my design wall, laying fabrics in the openings that I then sewed as I went along. 


Foundation Paper-Pieced Partial Blocks
Once you've made the full-size blocks, you'll have no problem making the 24 partial blocks for the quilt sides and corners. Simply use the printed foundation papers to make them in the same manner, noting that all side and corner blocks are pieced with a print strip and background fabric. 

Again, I found it helpful to arrange the print strips along the outside edges, to see where I wanted to place them. Then, I pieced them. 

Complete the Quilt Top

I used my favorite web-piecing method to assemble the quilt top. 
  1. Join blocks in diagonal columns - upper left to lower right. Press seams open.
  2. Join columns. Press seams open. 
  3. Your completed quilt top should measure approximately 43" X 43”.
Though the block seams are pressed one direction. I prefer to press-open joined blocks seams, to reduce bulk for domestic machine quilting.

Completed quilt top.


Quilting
I used a combination of walking foot quilting, ruler quilting, and free motion quilting.

First was walking foot quilting on both sides of insert strips, following along the "jiggle-joggle" to quilt from one side to another.

I've drawn the ruler quilting and free motion quilting on my acrylic board, so you can clearly see where the gentle curved arcs appear. Those were done with a curved ruler. 

Quilting was completed with free motion quilting an open ribbon candy wave through the inserted strips. All quilting was from one side of the quilt to the opposite side, so no stops and starts for thread-burying (unless your bobbin runs out!) 

For backing, I dug into orange stash to cut and piece 11-1/2" X 11-1/2" squares for this 16-patch. Binding is made from 5 - 2¼"-wide strips of solid orange fabric. 

Another finished quilt hanging in our Bismarck palm! My favorite view.

I am happy to share my Jiggle-Joggle-Jee quilt with you, and hope you will make a quilt with this pattern. If you do, please let me know so I can see a picture! Tag me @flourishingpalms on Instagram, and use the hashtag #jigglejogglejeequilt. Linda

LinkWithin

Related Posts Widget for Blogs by LinkWithin