Every time I look at a binding tutorial, either on quilters' blogs, or on Youtube, they're pretty much all doing it the same way - one continuous strip that's folded at each corner. Those mitered corners take some practice to make them come out square. There's an easier way.
Some of you have previously read my blog posts about my preferred binding method which is to
machine sew those mitered corners, perfectly. For a complete tutorial, either click on the "Nine Quilt-y Tutorials" tab above, or
go here.
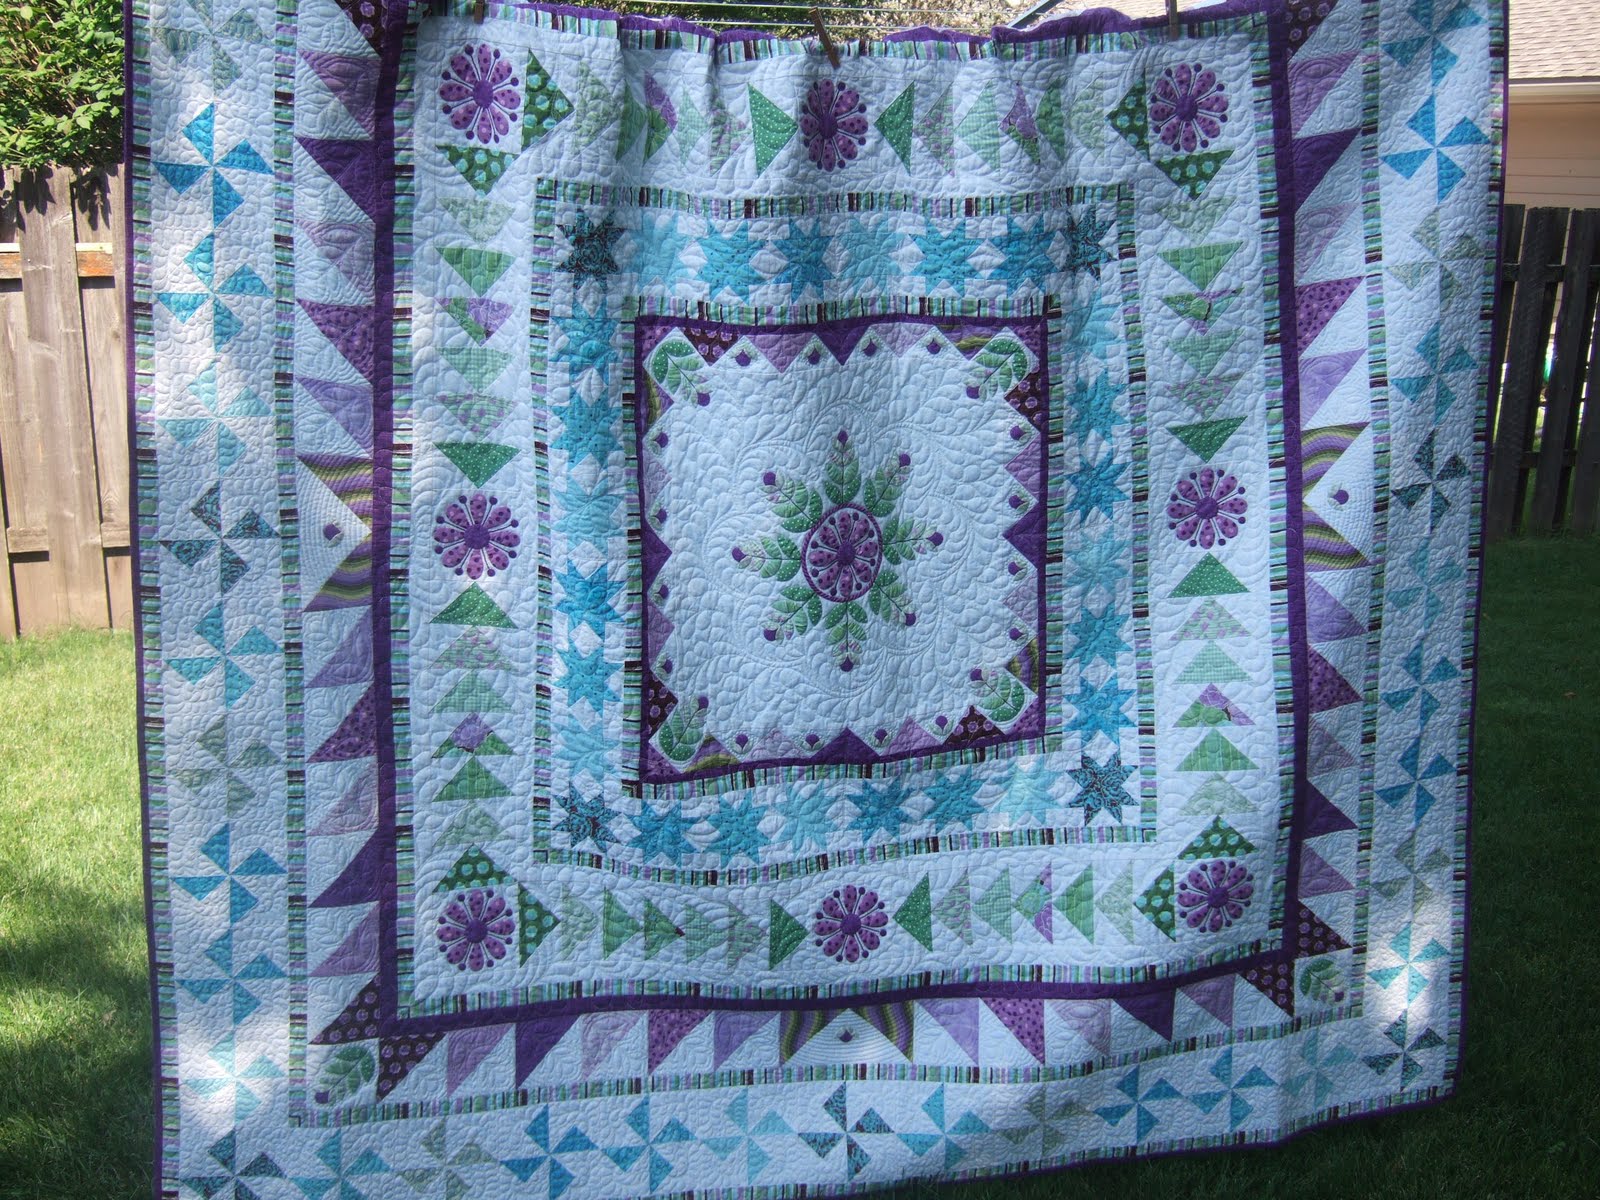
When I considered how to put binding on this particular quilt, Snowflake Medallion, I knew I wanted it to be as perfect as I can make it. I'm entering it in our Iowa State Fair, August 11-21, and I've heard award-winning quilters say that judges really inspect the binding. So, after watching a Youtube binding video by award-winning quilter Sharon Schamber, I applied a couple of her tricks.
First, I starched my binding. I like to make homemade starch which is much less expensive than the aerosol type, and handy because I have a long-lasting jug of
Sta-flo liquid starch. I follow a recipe offered by Mark Lipinski (see that recipe toward the bottom of my blog menu bar). I fill a spray bottle for use at my ironing table, and store the extra in the refrigerator.
Starch the binding between the folded layers so they stick together during handling.
I measured across the quilt. Adding 6" to that measurement, I
cut two binding strips this length. (This is where the binding method begins to be different than the common method.)
Notice that I trimmed off the excess batting and backing
before binding the quilt. My friends know that I prefer (and teach) to leave on the backing and batting until after the binding is sewn on.
I put a light bead of Elmer's School Glue along the edge of the quilt.
Edited to add: Australians can find Elmer's School Glue at Officeworks.
Then I pressed to adhere the binding to the quilt. As Sharon Schamber states in her video, Elmer's School Glue is much like a very thick starch. I would agree. I liked that I didn't need to use pins to hold the binding in place while I sewed it to the quilt.
I glued, pressed and sewed to attach two separate binding strips to two opposite sides of the quilt. From the back, you can see that the sewing stops 1/4" from the edge of the quilt.
Then, I measured the quilt top again and cut two more binding strips to sew to the remaining opposite sides.
After sewing all four strips to the sides of the quilt, each corner looks just like this. You can see how the stitching just meets 1/4" from the quilt edges. Next I'll sew those two tails together with a mitered corner.
The quilt is folded at a 45-degree angle aligning the binding tails.
Using a Clover marking pen (white on purple fabric) I drew a 45-degree angle that marks where I need to sew.
Sewed and trimmed.
Turned inside out. Voila! It's the perfectly sewn mitered corner.
Once you know how to draw and sew one mitered corner, repeating that three more times is easy. Please refer to the tutorial for a complete explanation.
I used a blind stitch to "applique" the binding to the quilt back. I say applique because I've heard that to make the judges happy, hand stitches need to be close together. Mine are 1/4" to 3/8" apart.
Now I'll add quilted "beads" (circles) to the 1"-wide outside border. I could have done that earlier, but I was concerned that my quilting would land
under the binding. Then, it will make
me happy! I'll be finished with this project.
If you try binding this way - sewing binding strips to your quilt, and then machine sewing mitered corners - please let me know. I'd love to hear how it goes. Linda