With the relief of completing and entering three quilts into QuiltCon (notifications as to whether quilts have been juried into the show are expected around December 30), I've been reenergized to sew. Most of the sewing has been just because; a few items are gifts.
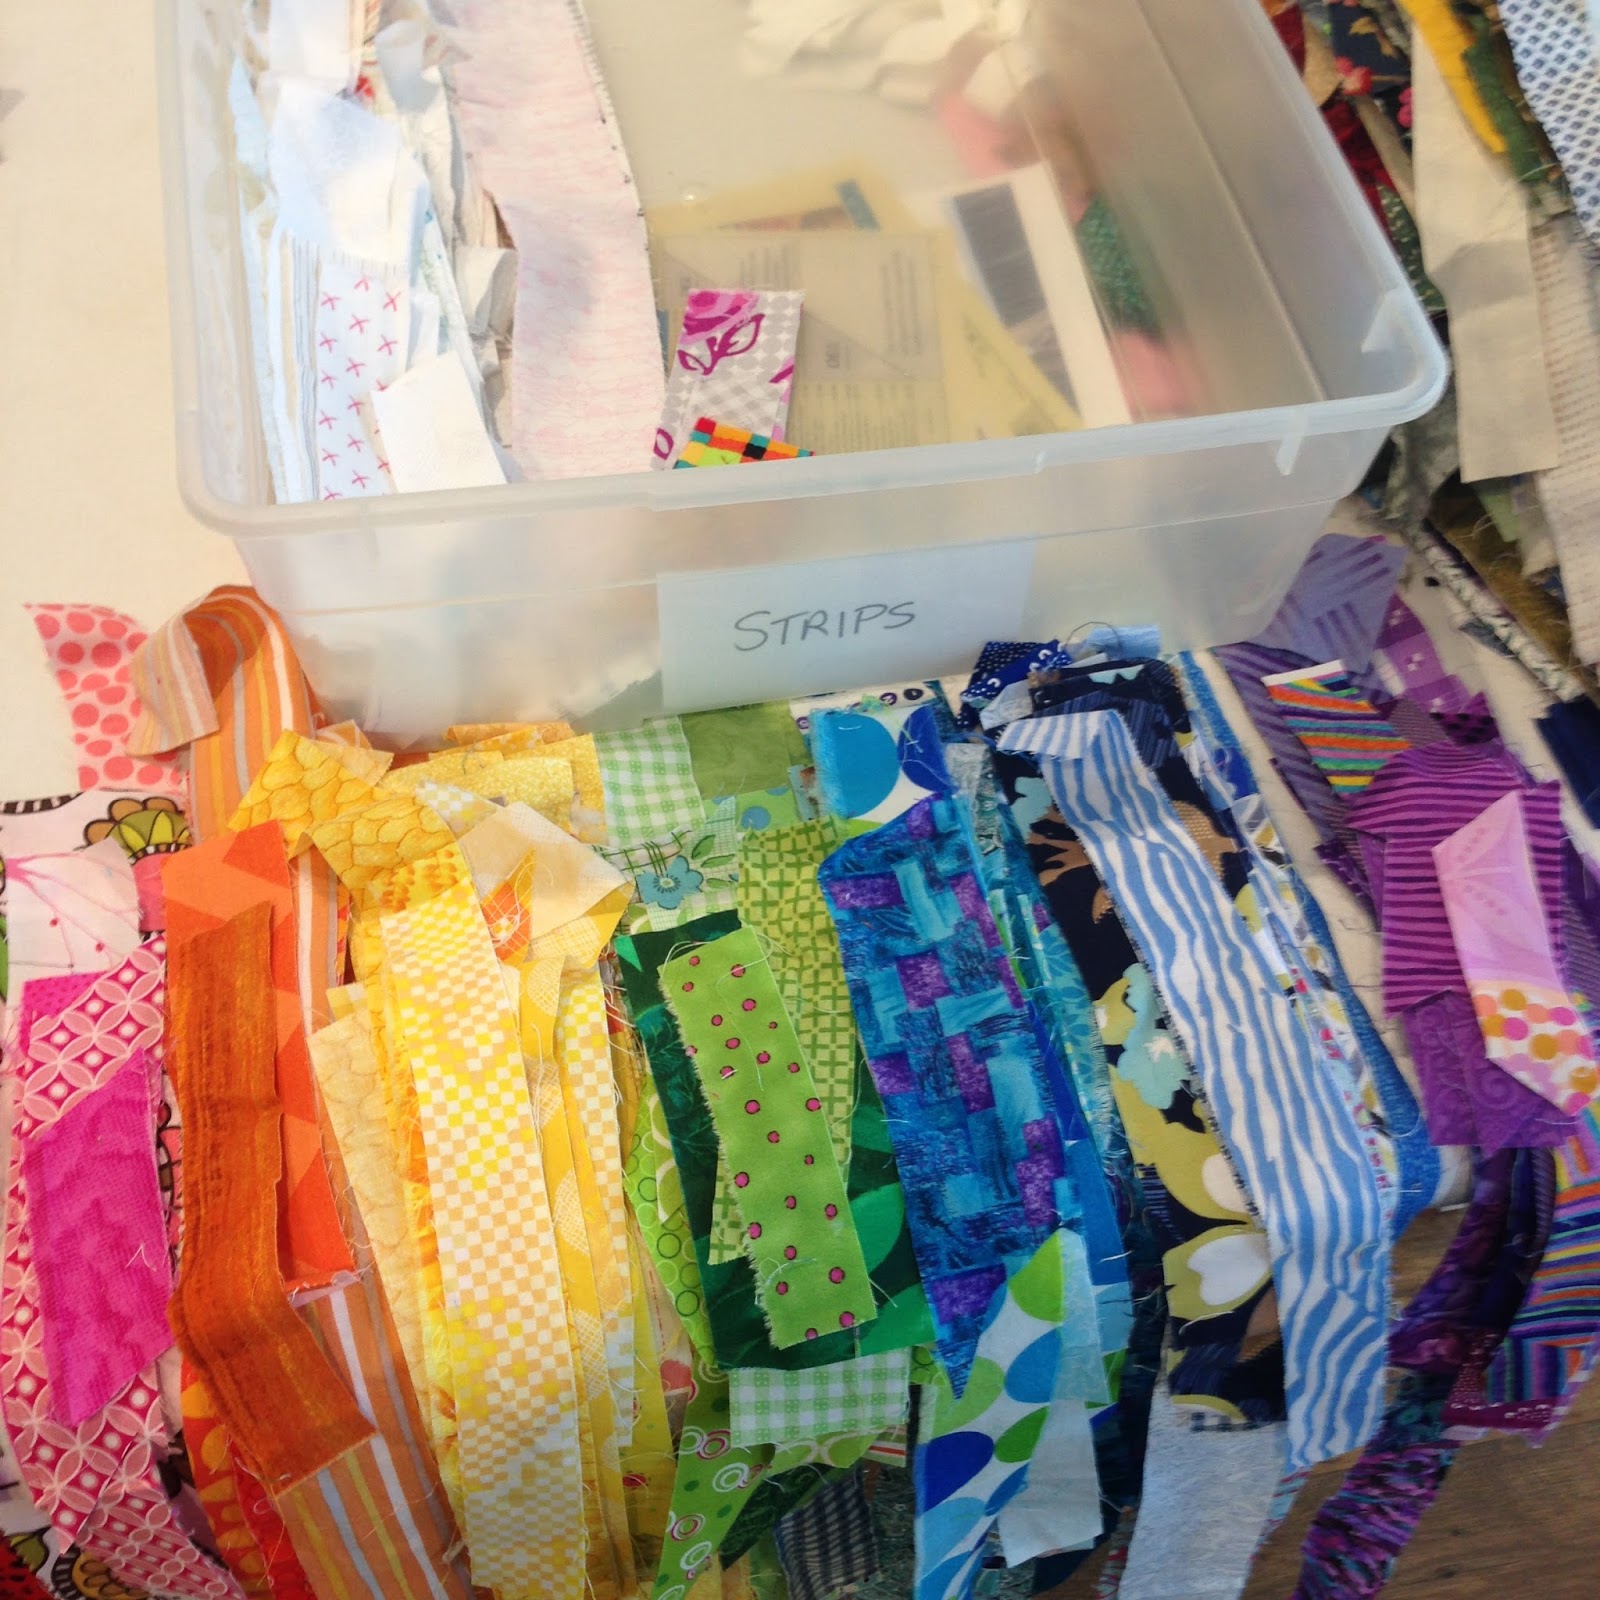
My first "just because" project was to sort through my overfull strips bin to weed out dark and traditional prints, leaving only the mostly white and bright rainbow colors that I love to sew with.
Then I returned to the stack of 45 8-1/2" x 8-1/2" blocks I'd already sewn - for a foundation paper piecing class I taught in October - to make 35 more, for a total of 80 for this quilt. Well, this is potentially the layout for it. Since I have yet to remove papers from the blocks, this has to be taken down from my design wall. When I put blocks back up again, I might go for a different arrangement. In any case, a rainbow of bright colors sure makes for a happy quilt!
I recommend making these blocks because they're fun to sew - one of those mindless kind of projects. Just tear pages from a phone book (You
do remember what a phone book is, don't you?!) and cut each to 8-1/2" X 8-1/2". I cut a stack of four or so at a time. Then, on each one, draw a diagonal line from one corner to another that's 1/4" away from each point.
Face up, lay a white fabric strip across the diagonal center of the paper with the raw fabric edge along the drawn line. Face down, position a colored (yellow) strip on top of the white strip. Sew a quarter-inch seam. Press open with a wallpaper roller, and proceed to lay white strips on the white side and colored (yellow) strips on the opposite side, until the paper is full. Though my fabric strips appear pretty straight, you certainly don't have to do this! Go for off-kilter, wonky strip-sewing. It will look great!
Trim to 8-1/2" X 8-1/2". My stack of pieced blocks is pretty impressive, but these sure didn't use up all my strips.
Though I'm donating a trash bag of black, brown, dark green, burgundy, deep purple, navy, and ivory strips, I still have enough strips for another project. Though now, at least the lid closes on the bin.
Thinking of the uses for strips - also known as strings - I remembered the crocheted fabric rug I started a couple years ago. I never finished it because I couldn't think of where I'd use it. But now, no longer having carpeting in our house, there are several places where it would look good.
So, I've begun crocheting again. The rug currently measures 28" X 38", and will continue to grow until I've used up that ball of fabric strings. This rug has been fun to make, and it's so practical. Here's the link to the
rug tutorial by one of my favorite scrappy quilters, Amanda Jean -
CrazyMomQuilts. Amanda Jean is coming to our
Central Florida MQG next October, for a trunk show/presentation and workshop. Though I feel like we're friends already, it will be great to finally meet her in person!
When I'm done with this rug I plan to wash it inside a pillow case, to ease out my unpracticed crochet stitches, and block it to a regular oval shape. I've been told by more than one person that I need to make sure a rubber mat is under the rug or it will slip underfoot. Good advice!
For gifting, I made these two "Retreat Bags" over a couple evenings. A third is in the works, but I need to get one more 16" zipper.
Emmaline Bags out of Canada, offers the
Retreat Bag pattern for free, and gives instructions to make two sizes. I decided to go for the smaller size, which is similar to a man's shaving kit, and then purchased the hardware from Emmaline Bags.
These two frames are needed on either side of the opening. I also bought some of the zipper tags that say "handmade."
I will admit that I had problems making these bags, though through no fault in the instructions or my own abilities. My problem was with the Pellon fusible fleece which absolutely refused to adhere to the fabric/interfaced layers. No amount of ironing, pressing, dry heat, steam, or damp cloth-pressing made that fleece adhere. Unfortunately, I didn't realize that it wasn't sticking until the bag was partially sewn. It took some maneuvering to slip my hand between the lining and fabric/interfacing to squeeze and smear fabric glue across the bag sides. Very inefficient, but it worked. In the future, I'll be sure to check any fleece adherence before proceeding. Ergh.
The last thing I sewed this week was to finish piecing the top for our Central Florida MQG QuiltCon East charity challenge quilt.
I foundation paper-pieced the 10-1/2" beach chair block (the middle size), and after reducing and enlarging the original pattern Cindy made the 6-1/2" (reduced 62%) and 12-1/2" (enlarged 120%) FPPed blocks. This FPP beach chair pattern is free
here from Cotton and Steel.
Over the past several months, 15 of our 50 members have contributed to making this 70" X 91" quilt top, either by donating fabric, piecing improv blocks, or designing and sewing at our Sew-Ins. "Paradise Central," the name we've chosen for this quilt, will appear at
QuiltCon East in Savannah, Georgia from February 23-26.
Next up: a basting bee to pin-baste the sandwich so Karen and I can domestic machine quilt it! The completed quilt is due in mid-January.
I'm so looking forward to QuiltCon, not only for the event itself, but because my Sydney, Australia girlfriend, Di (the very talented, and award-winning quilter DarlingDi on Instagram) is coming! She arrives February 10, and boy-o will the fun begin then! Linda