
The first quilt I made was the black and white version. It's 72" X 79".

From the front, my quilting isn't very visible.

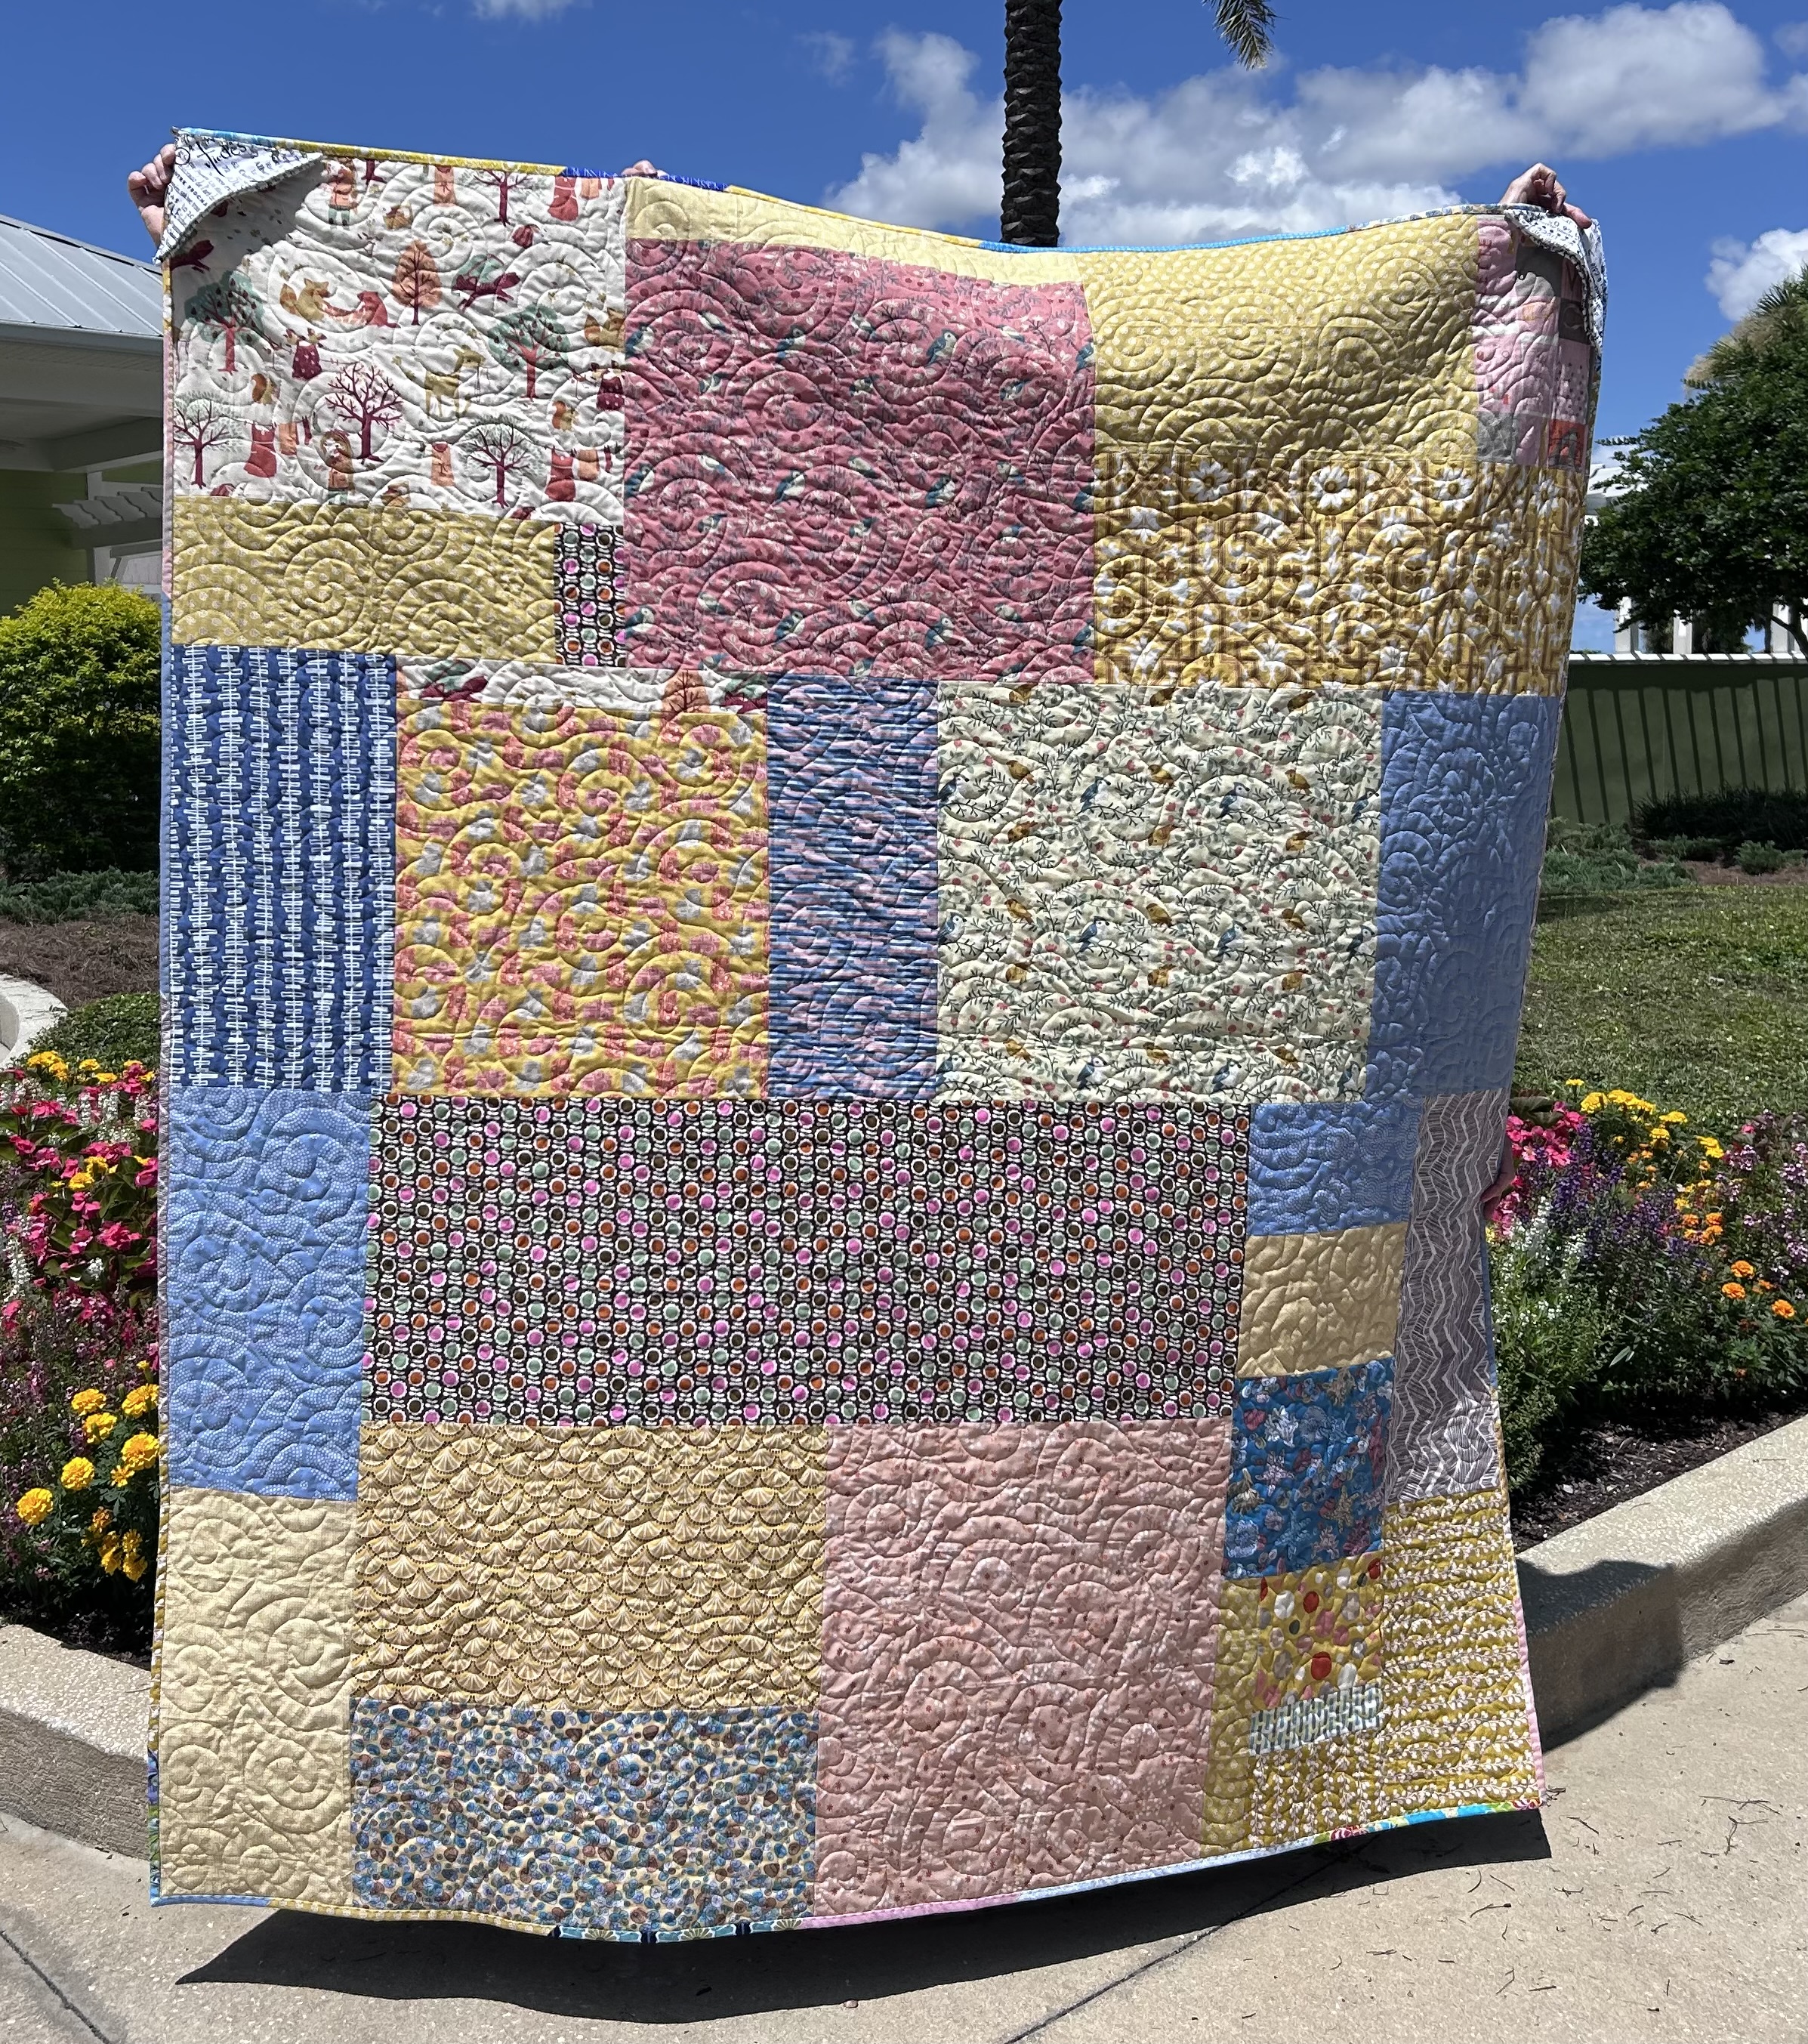
Even on the back, it was difficult to photograph quilting because of all the prints. But I found a spot where you can see the allover "Whisps" design I used. My go-to place for domestic machine quilting designs is Esther Frenzel's blog (I subscribe) I Patch and Quilt, and she's also on Instagram @ipatchandquilt. Esther is a lovely person. She and I met-up briefly at QuiltCon Phoenix in February, but we could easily have visited for hours over a cuppa.


The second version of the same Diagonal Scrap Quilt pattern is super-scrappy. My favorite! It measures 66" X 75".


Battings in both quilts is Quilter's Dream 100% cotton, Request (lowest loft).

Something I did differently with the scrappy version of this quilt, is binding. Though I still used my favorite method of attaching binding, and machine-sewn binding corners - "No Tails Binding: Mitered Corners by Machine" - I didn't hand sew down the binding as I typically do.
In a timely email, Bernina had just sent a link to a We All Sew machine binding method, so I thought I'd give it a try.

Here are notes for my Bernina 770QE:
- Sew binding to the quilt back.
- Use the Bernina #10D foot (the one with a guide).
- Choose #9 blind stitch.
- Select mirror image.
- Move needle to the right, to #3 position.
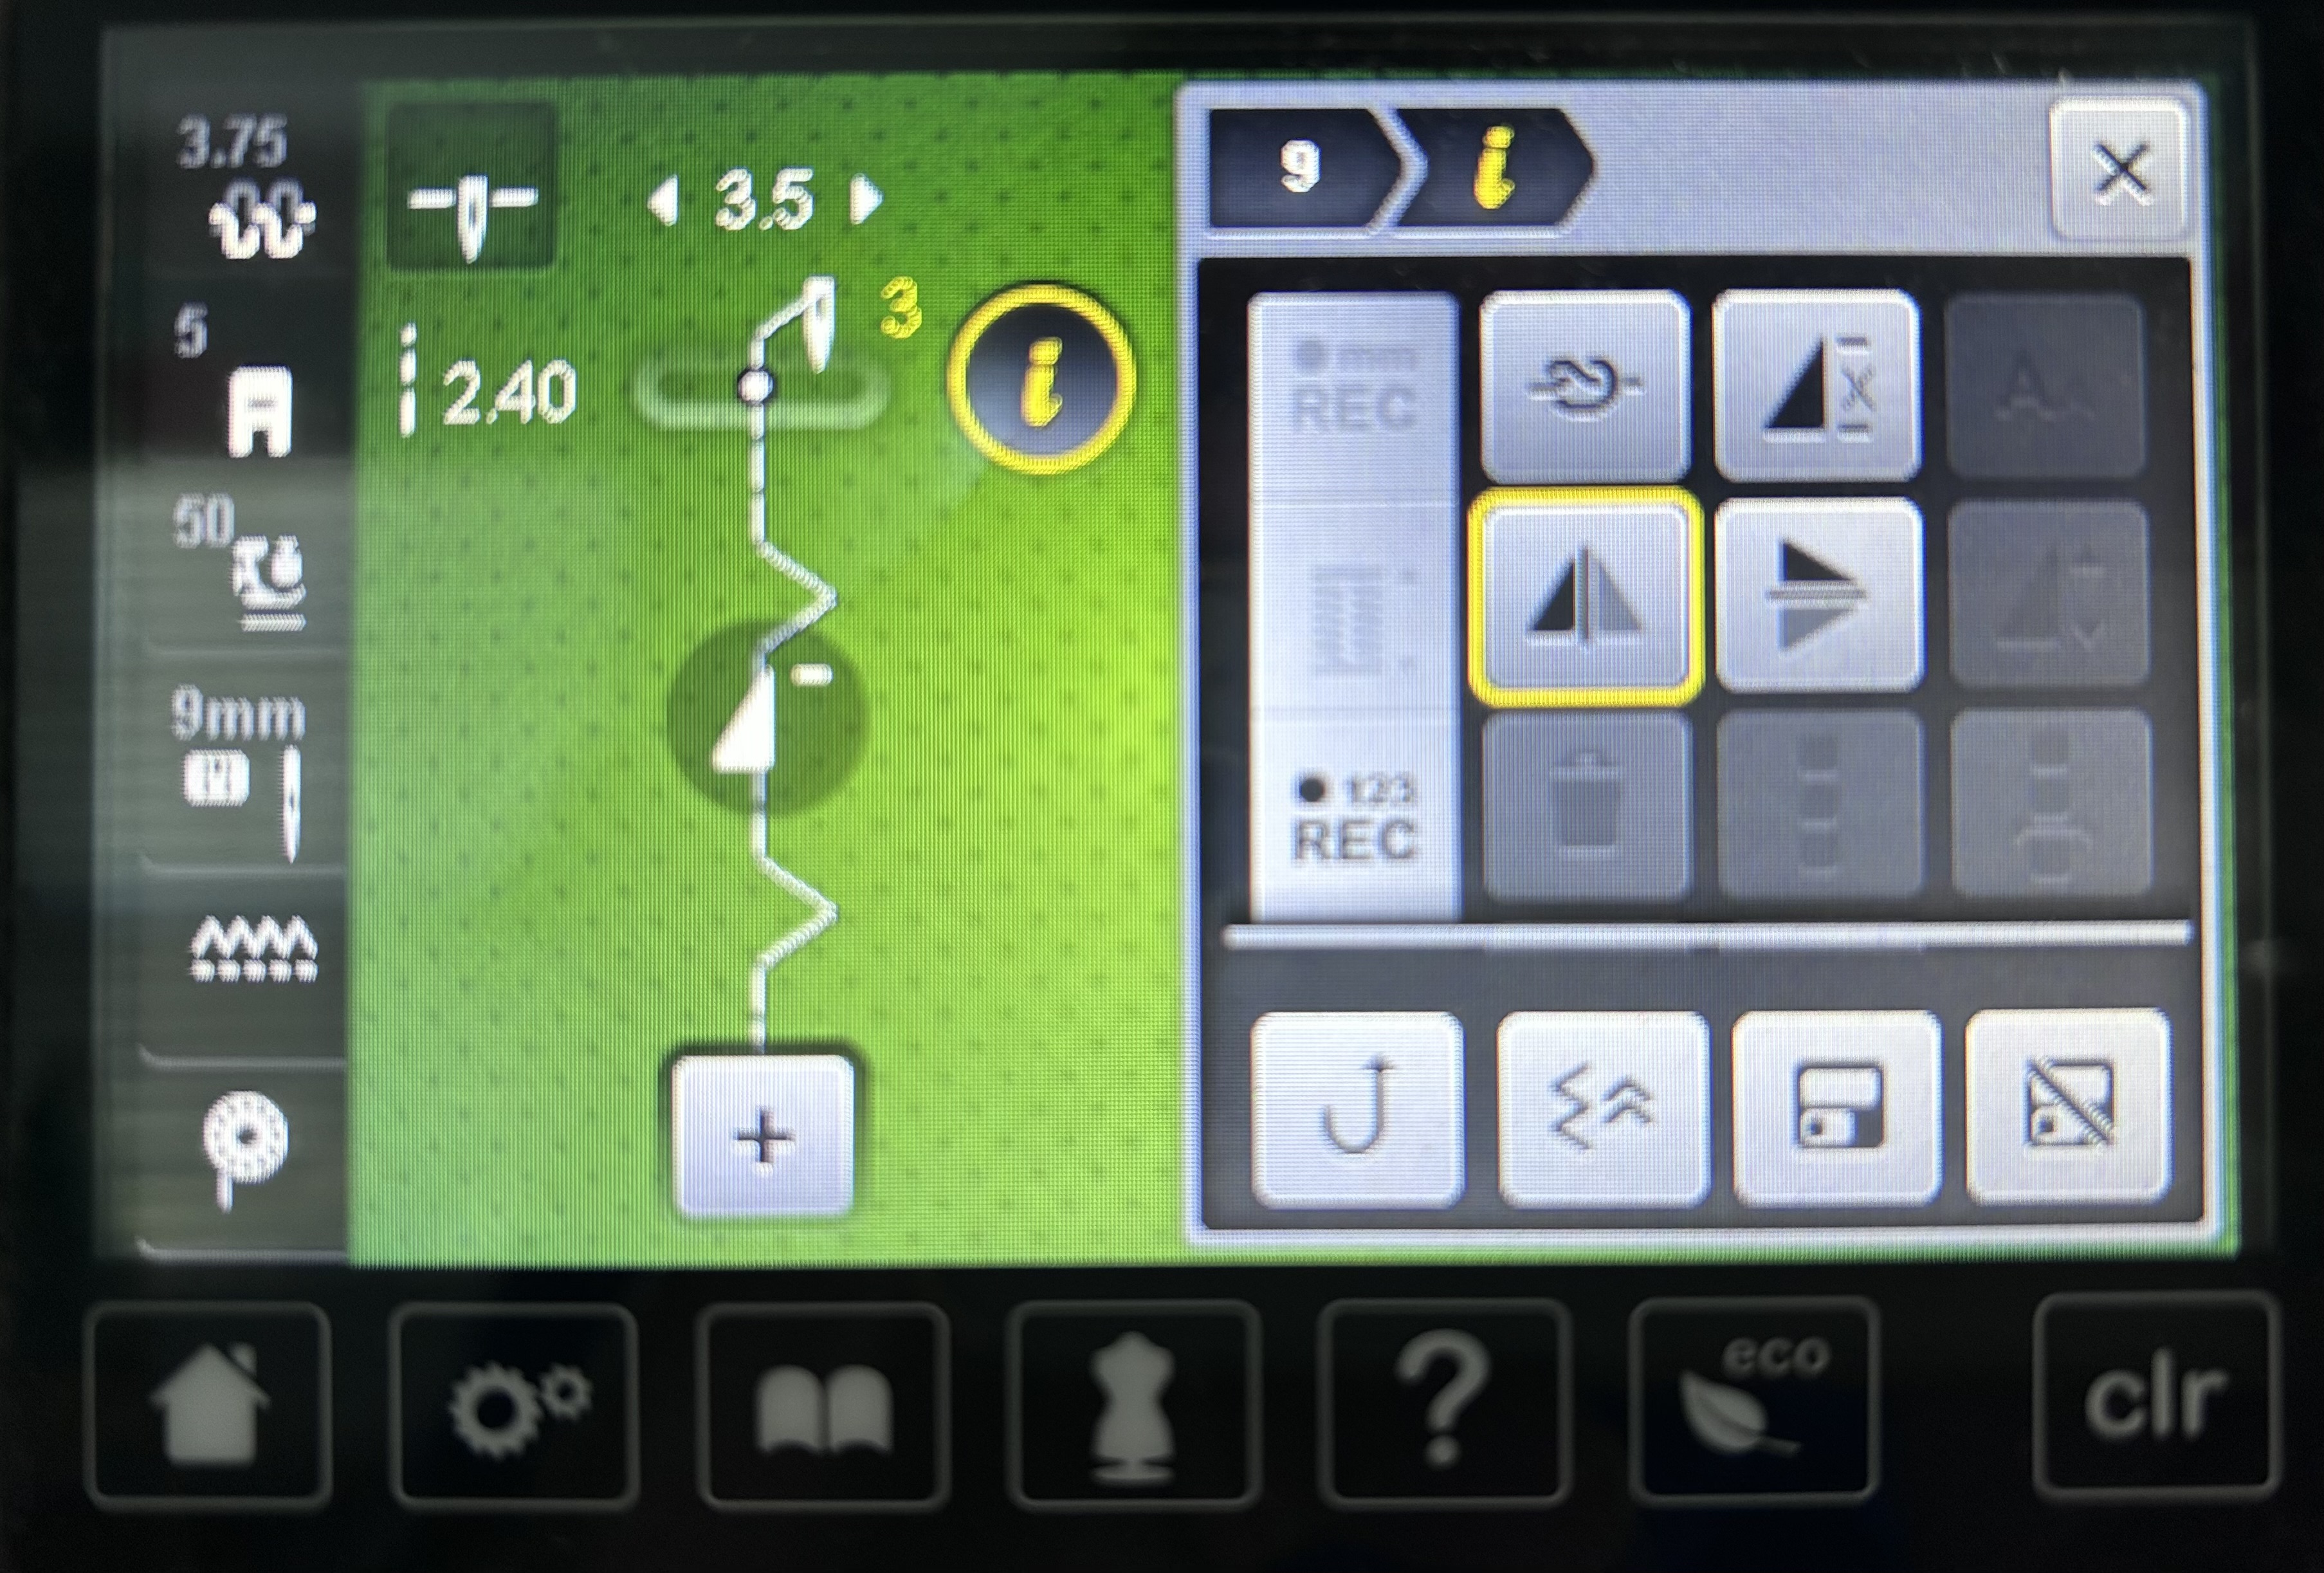 |
| settings for Bernina 770QE |
- Turn binding to the quilt front. Clip.
- Position the 10D foot guide on the seam.
- Sew.
If you click the photo and zoom-in, you can see the small zag stitch bite into the binding.
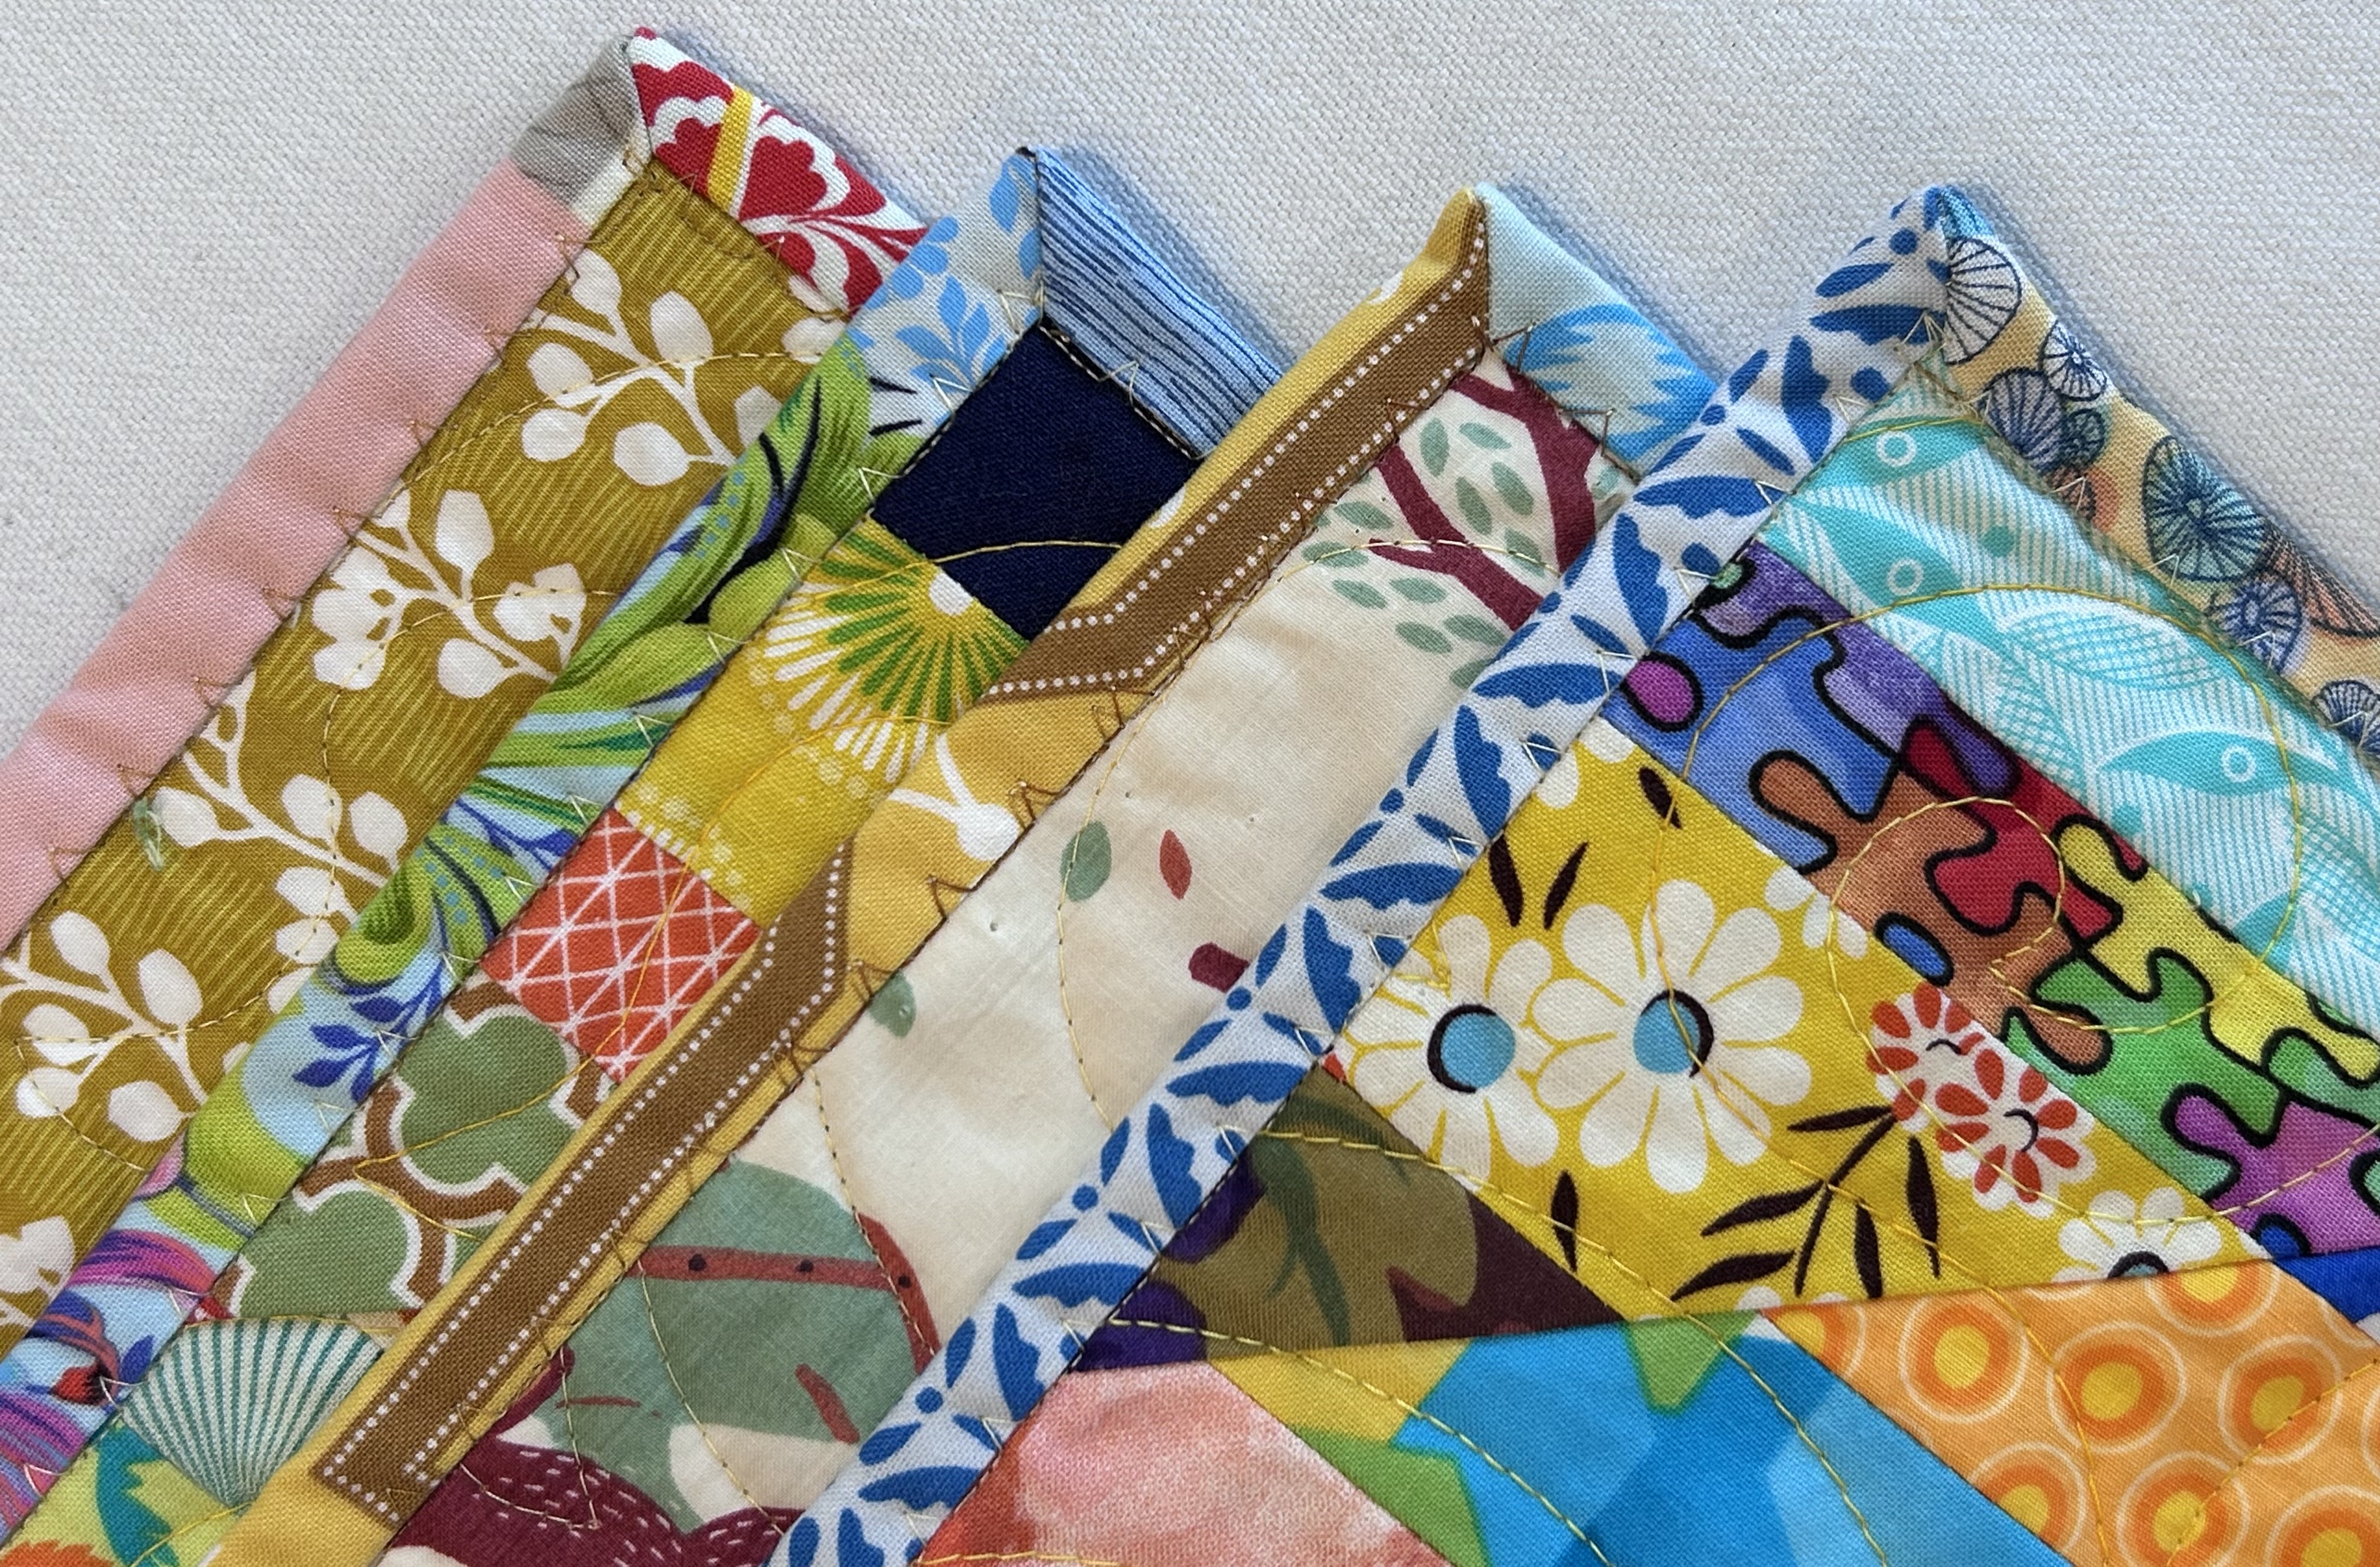
For a knock-around quilt, a machine-sewn binding seemed appropriate. I'm glad I tried it.
If you like this Diagonal Scrap Quilt pattern, buy it on Etsy from Maryline Collioud Roberts, MaryandPatch. It's available in English and French. I found this pattern because I follow Maryline on Instagram @mary_and_patch. She has other great designs too!
So, two quilts on the "finished" pile, and more used-up fabric prints. Just the way I like to roll. Linda


Two finishes, well done!
ReplyDeleteThese look fabulous I would love to know the fabric count on these, it could be in the thousands, very scrap inspirational
ReplyDeleteI love those diagonal quilts! That pattern is on my list, but it's a long list so don't hold your breath! You sure do get a lot done.
ReplyDeleteOnce again, thank you for sharing. These two projects make my scrappy heart sing. I'm still in awe of your free motion quilting abilities. I checked out your binding tutorials. Do you have a go-to method of squaring up a quilt? I'm a bit lazy on that aspect.
ReplyDeleteGreat job Linda. I love the machine sewn binding. What does the foot you use look like. I was wondering if I have a similar one for my Viking.
ReplyDeleteI love the diagonally scrappy blocks, something to consider one day. in the future when I run out of UFO's - ha! I wish my brain could wrap itself around that swirl hook fmq design, have tried it a number of times without success. Yours are just beautiful and really enhance the quilt.
ReplyDeleteCongrats on the finishes! You did a wonderful job with the quilting.
ReplyDeleteCongratulations on double the finishes. And yes, fun to try a new binding technique!
ReplyDeleteOh my, they are moving and I love it! Well done. The backings are noteworthy, too. What a fun pattern. Scrappy is always a good thing. - Nancy
ReplyDeleteLove these two, but they aren't really the same pattern, are they? They look so different (I must admit fondness for the B&W). Good to get another method of attaching binding by machine. My friend Lisa taught me hers, but I could always use another one, too. I agree--machine binding is great for those quilts that aren't for show!
ReplyDeleteDid you remove 1/4 in from base of blk/wh triangles? or is it more important if you have background directional fabric? My Bernina presser foot is almost 1/2in -- i.e. 7/16 so 7/16x4 would be 1.75 and middle strip is 1.5. Thanks from a fellow Villages quilter
ReplyDeleteHello fellow Villager! I'm not sure I completely understand your question, but if you're asking about the directional print of triangles cut from fabric print with direction, I can tell you I followed the pattern instructions. I didn't need to do anything special to ensure that a directional print was kept going the same direction. I didn't have to remove any fabric from each triangle. I am wondering why you would choose to sew a 1/2" (or nearly 1/2") seam. I used my Bernina quarter-inch foot, # 97D for all the piecing. I hope this helps.
DeleteThanks -- not was in your pattern link explaining why removing 1/4in from base of each of first two triangles before sewing middle strip so that directional stripes horizontally of "background" would align left to right and not be "off". Am planning to use black/white scraps so likely not an issue. It talks about inserted strip being wider than 4 time pressure foot width -- middle strip is that way -- taxing for the brain!!
Delete