
In January, Central Florida MQG announced the Pick-a-Decade Challenge, due in November. We're to choose a decade - any from 1900 to 2000 - to make a quilt inspired by that decade's color palette and design aesthetic. I've procrastinated about getting started.


The method I'm going with uses white interfacing to back, sew, and "pillowcase" a pink circle (turn it right side out), then fade and machine appliqué the pink circle to a black background. The process is repeated using black interfacing to back, sew, and pillowcase a second circle (turn it right side out) that's then machine appliquéd to the oyster-colored (Painter's Palette) background. It worked!


Oh, and this week I made another round loom knitted cap. I can't help myself!
The decade I selected is the 1950s because: 1) it's the decade I was born; and, 2) I like the designs popular during that era - starbursts, boomerangs, and atomic-looking shapes.


So off I go, trying to use a few of these colors and the above designs to make a big quilt.

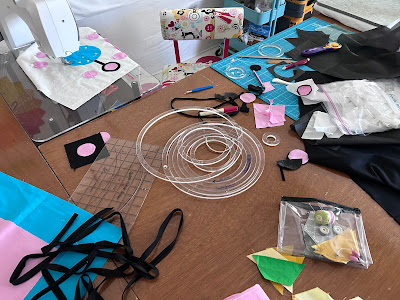
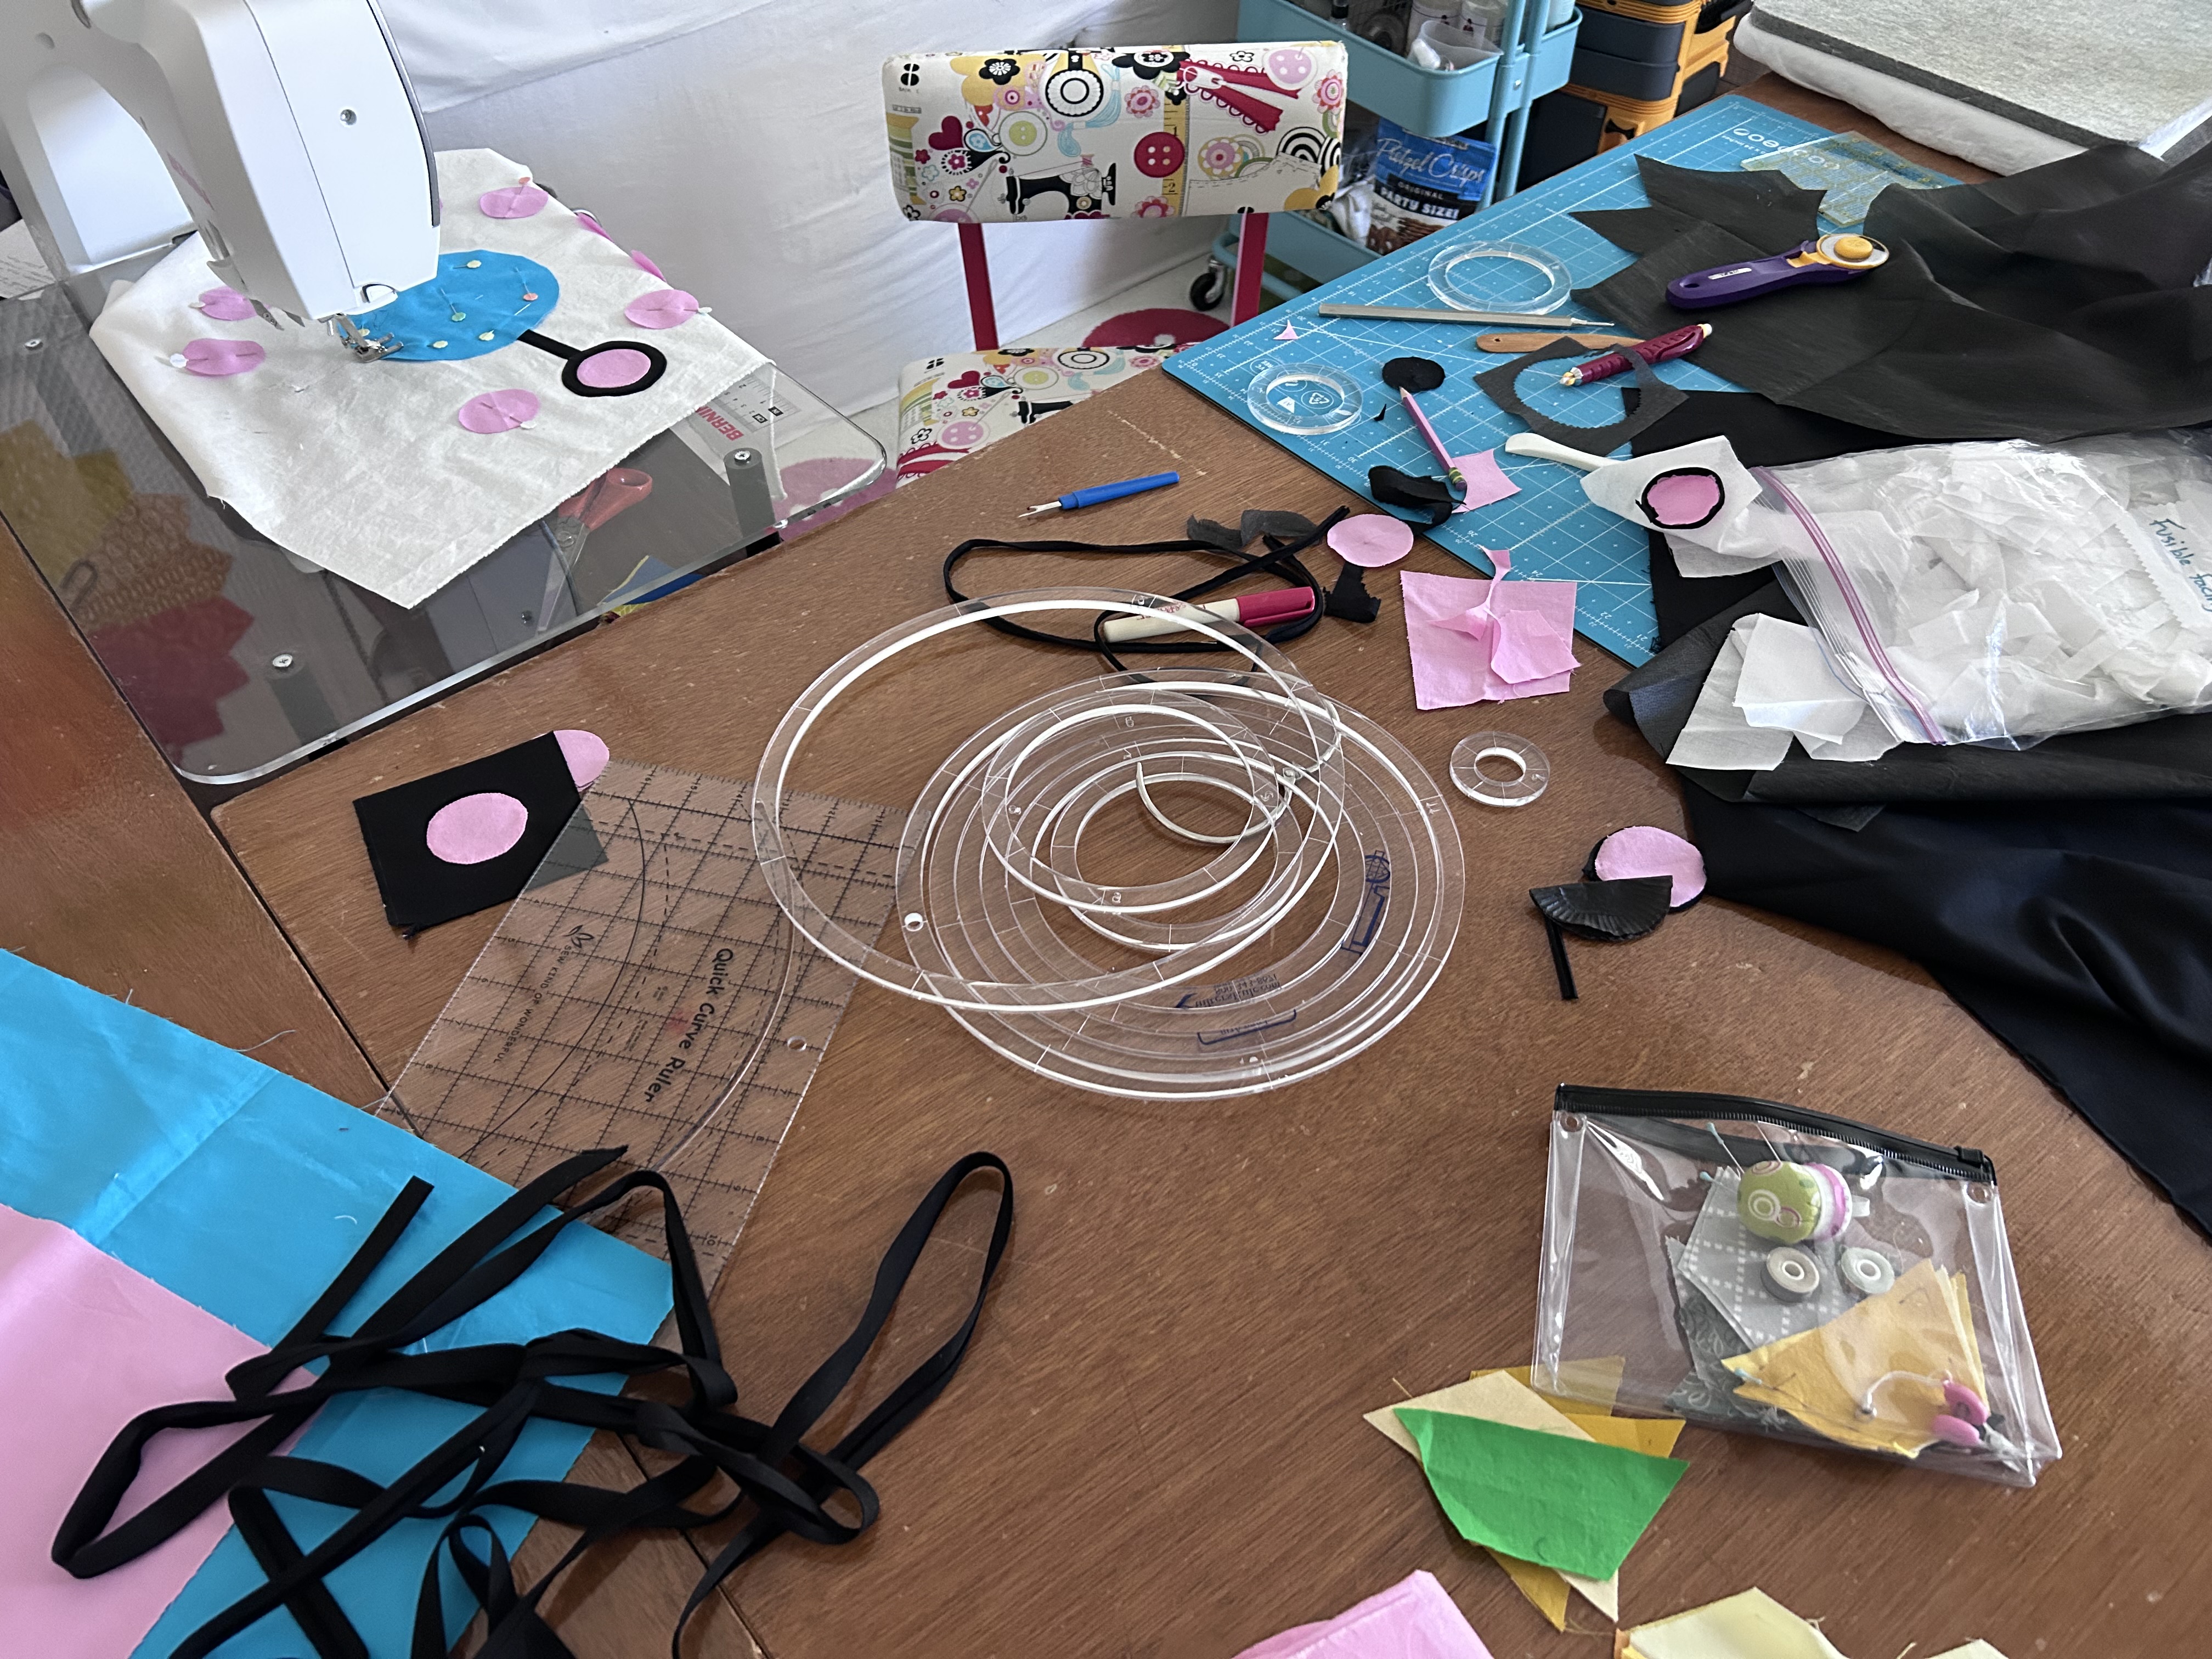
Attempting to create the upper right design - a large circle surrounded by spokes with 12 smaller circles. I started by making ¼"-wide bias tape to appliqué around a small circle. What a fail! After consulting with a Central Florida MQG friend about alternate methods for achieving the look I want, I got down to work. What a mess.

However, when it was time to appliqué the black circle, I was frustrated to discover I was out of black thread! I appliquéd with charcoal-colored thread instead, and itt doesn't look good.
Today I picked up two spools of black cotton thread from two different local shops. One is Wonderfil Konfetti (50-weight), and the other is Wonderfil Efina 60-weight. Good grief thread is expensive! I paid a little more than $21 for these two spools!

Anyway, I'm ready to make progress on this I-don't-know-where-it's-going, Pick a Decade Challenge.
At Big Cypress Quilters this week, those who participated two weeks ago in making confetti fabric, and turning their 11" X 14" piece into a zipper pouch, were asked to bring their finished pieces for a group photo.

It's great to see what everyone sewed using different pouch patterns.


Cindy couldn't join us, so sent a picture. I know for a fact that Cindy did a little "dumpster diving" at retreat to come up with the black and white piano keyboard print snippets.

Betty covered her confetti with tulle, rather than mesh. It look good too!

If you'd like to make confetti fabric, go here to my blog post to learn how to create it. Then follow one of these three patterns to turn it into a zipper pouch:
1) Simple, envelope-style Zipper Pouch tutorial by MellySews
2) Open Wide Zipper Pouch tutorial by Noodlehead
3) Zipper Pouch with Flat Bottom tutorial by Polkadotchair
On my June 13 blog post, Kara Kwilts suggested using BLACK mesh rather than white mesh on top of fabric snippets, I tried it. And I like it!

Did you note that I used twined fabric to make the zipper pull?


Everyone who saw the black mesh version of the pouch liked it. We all agreed that the mesh color choice may also depend on colors of your fabric snippets. Red mesh on Christmas scraps would be great! In any case, thanks Kara for your suggestion. We like black mesh too!
I finished the black mesh confetti fabric into a Wide Open Zipper Pouch by Noodlehead.


This one was knitted on a 41-peg loom, following the Seersucker pattern, here on YouTube.
I hope you've had a productive week! Linda

I love the "I don't know where it's going" projects and I love your inspirations about the 1950'. Enjoy the circles ;-)
ReplyDeleteLove your 50s color palette!
ReplyDeleteI'm impressed with your new quilt plans! Fun that you found a solution for that one design that should work!
ReplyDeleteThose confetti pouches are pretty, that's really making something out of nothing, using up tiny pieces.
ReplyDeleteI love reading your blog. Your mesh bag is adorable. Is it rough to touch? I have to try that. I have so many scraps.
ReplyDeleteHi Heidi! You're a "noreply-commenter," so I hope you read my reply here. Thank you so much for your kind words! They mean a lot. All the confetti pouches are adorable, I think! :-) They're not rough at all. Smooth-feeling, actually. You don't even need "scraps" to make these; just the littlest snippets. I've kind of gotten obsessed with making them, and find myself spending more time than I should, cutting and arranging little pieces "just so." I hope you try this. It's fun!
DeleteLinda, I admire your patience when it comes to trying new techniques to accomplish your goals. I don't think I have that much left in me.! I really enjoyed seeing all the ideas for the scrappy confetti pouches! I want to make these trying the black ones idea. but knowing it will never happen in my lifetime. Why couldn't I have seen these 20 years ago!!. You are my sewing hero. Dar in MO.
ReplyDeleteHa! I think I rescued myself from anonymous, but who knows! I see you knew who I was despite the anonymous post last time...thanks! I, too, have a question about the confetti pouches: can you iron the netting you use to hold the scraps on? I love the idea!
ReplyDelete