It's always interesting, at least to me, to tally-up a month of fabric purchases and usage. No fabric came in during June, and almost four yards was used.

The quantity used is low because I spent much of June domestic machine quilting to finish two quilts. Fabric used was only for binding those two quilts; making a zipper pouch; hand-piecing only two Inner City blocks...

...and piecing nine Posh Penelope blocks. I made my first PP block in April 2023. Now I've set myself a goal of making eight blocks a month. At this time, I have ten blocks made and need 42 for this quilt. The block at top left is one I'm questioning for use in the quilt front. It's too mushy, so it might end up in the pieced back.

Fabric use is low and slow.
Two other crafts distracted me from sewing. First was round loom knitting, and needle-knitting. For donations, I made three round loom knitted caps, a newborn cocoon, and used knitting needles to knit three face cloths.
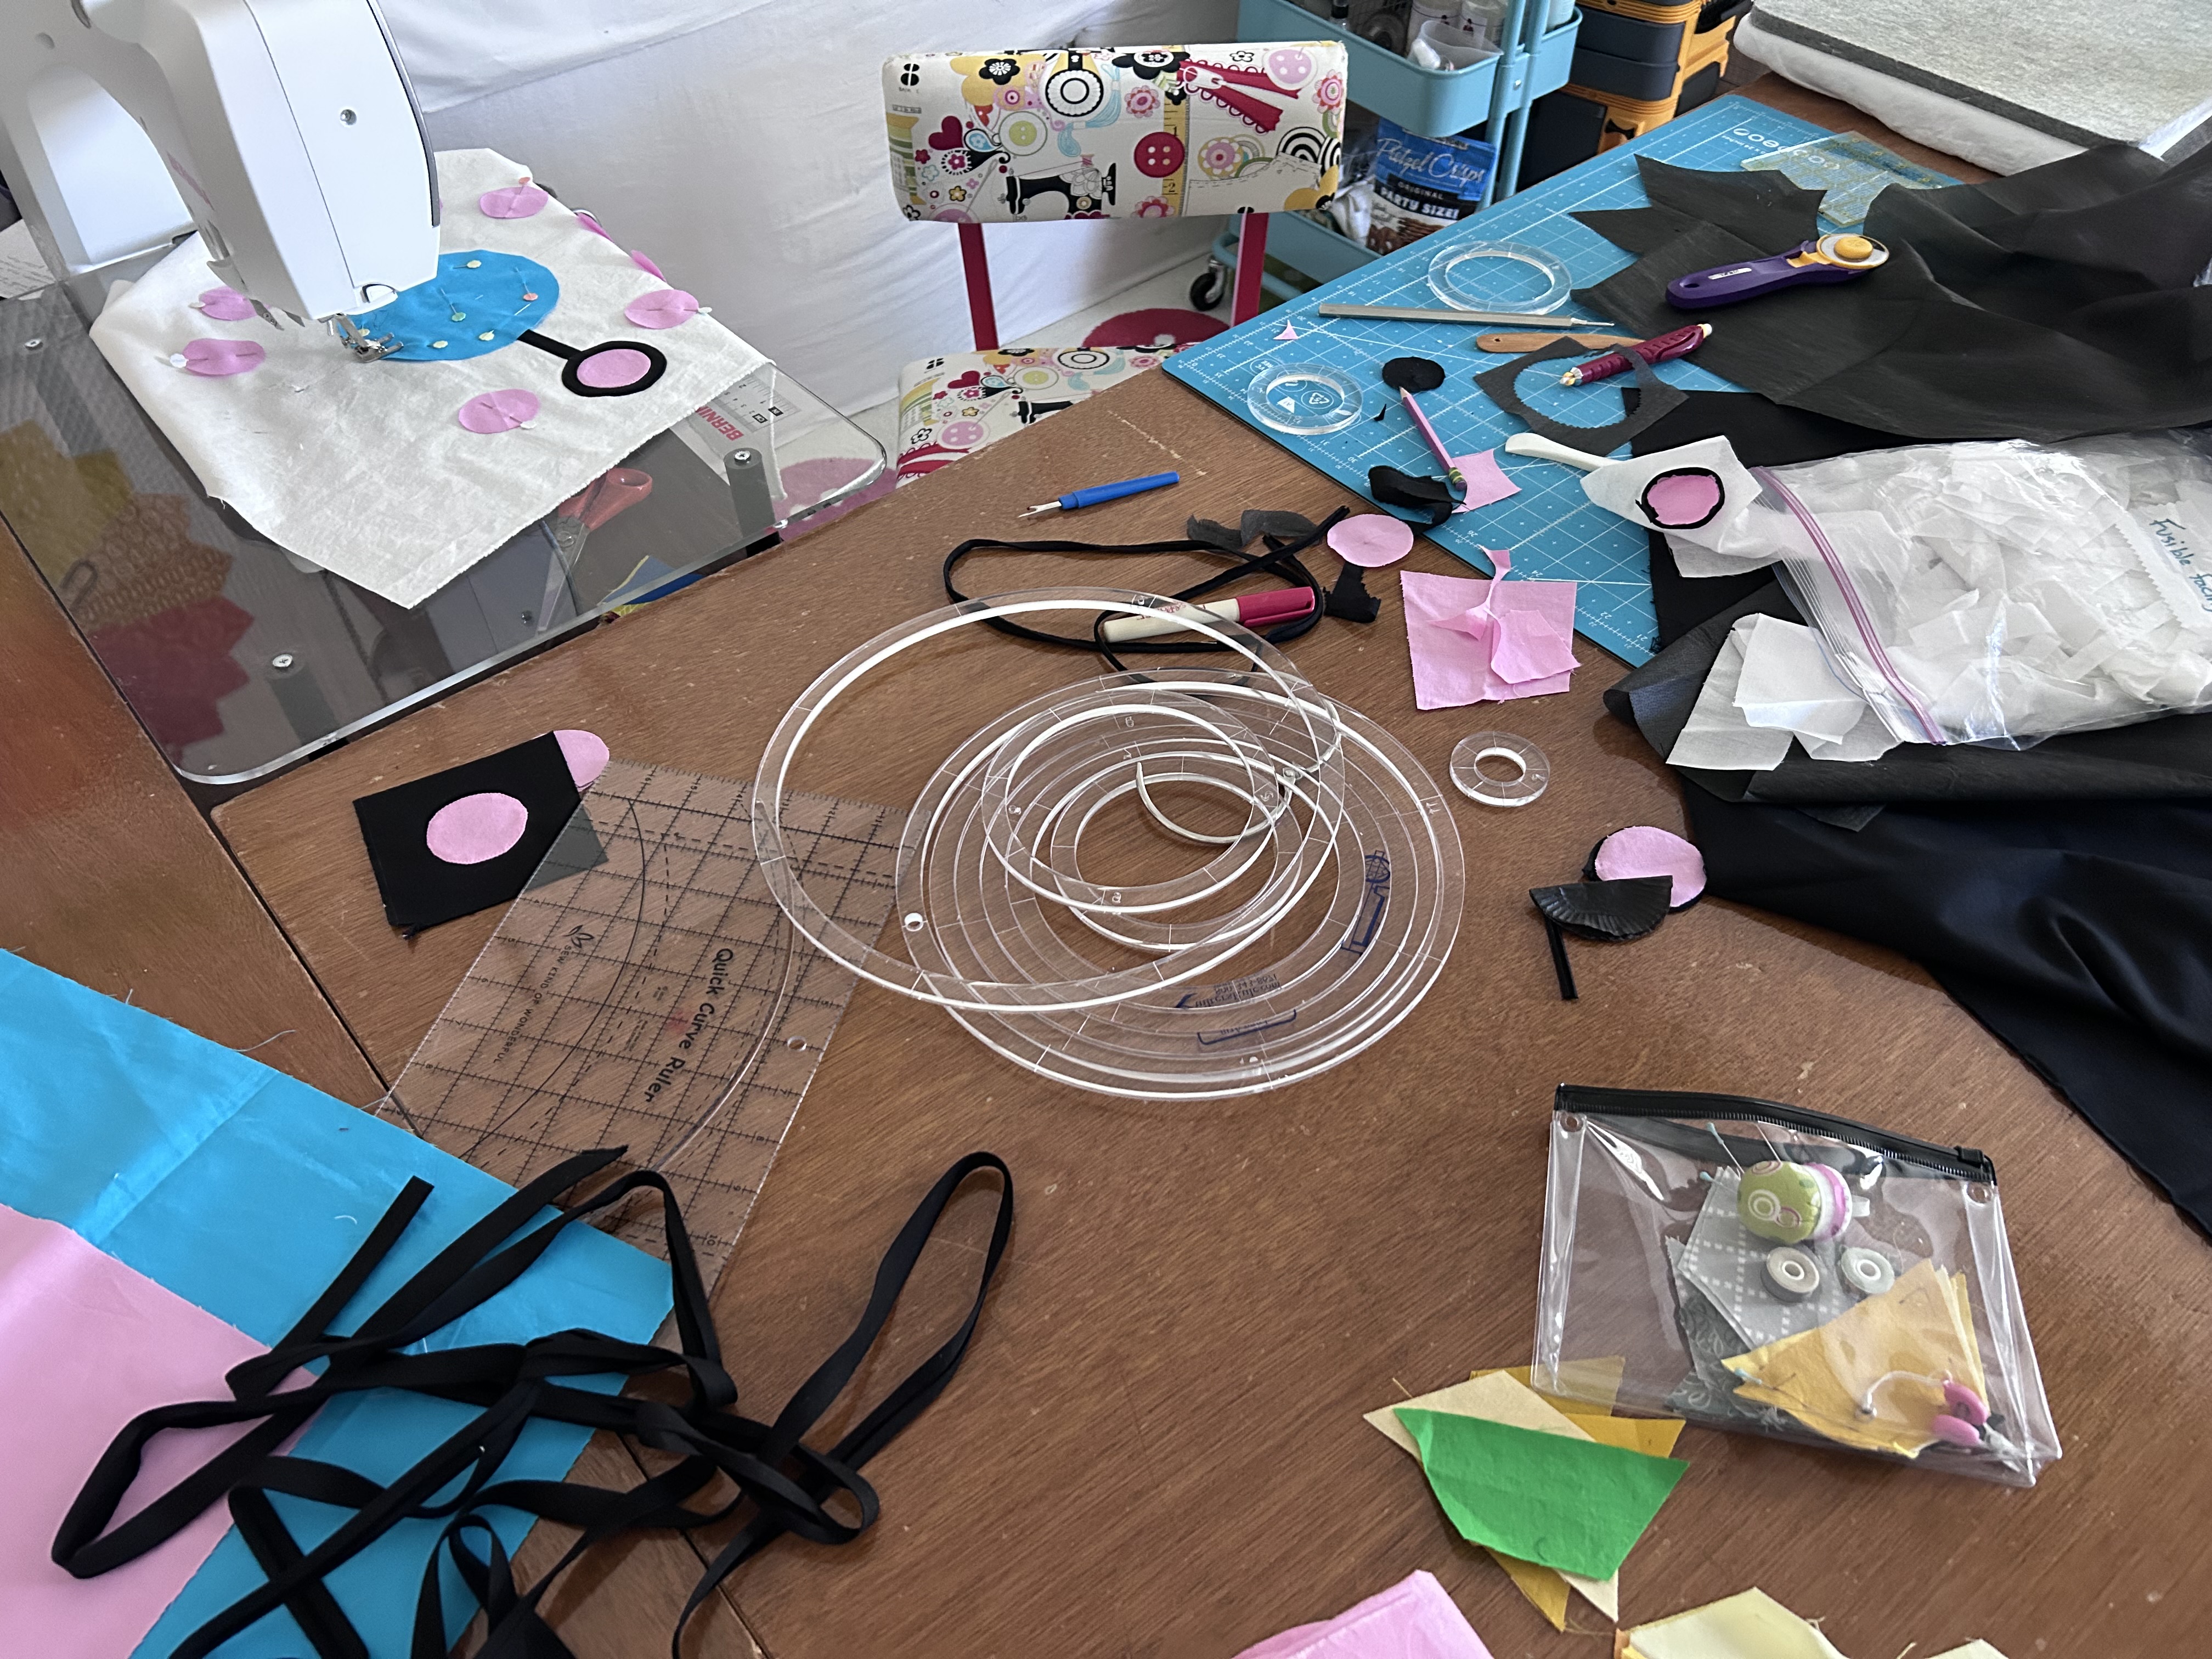
Second has been (finally) starting a large diamond painting canvas. I ordered it from Diamond Painting Pro, thinking I was getting a product shipped in the US. Turns out not all of the company's kits come from the US. The "Ocean" kit I ordered took 22 days to get to me from China, arriving the same morning Diamond Painting Club meets in the afternoon.
I quickly opened plastic bags of 40 different colors of square drills (four are AB drills - Aurora Borealis, meaning they're iridescent), labeled and filled screw-top plastic bottles, and packed-up everything for several hours of diamond painting with new friends I'm making in Diamond Painting Club.

This is the 20" X 20" canvas I'm creating.
 |
| "Ocean" diamond painting canvas |
Gosh! Another craft to be hooked on!
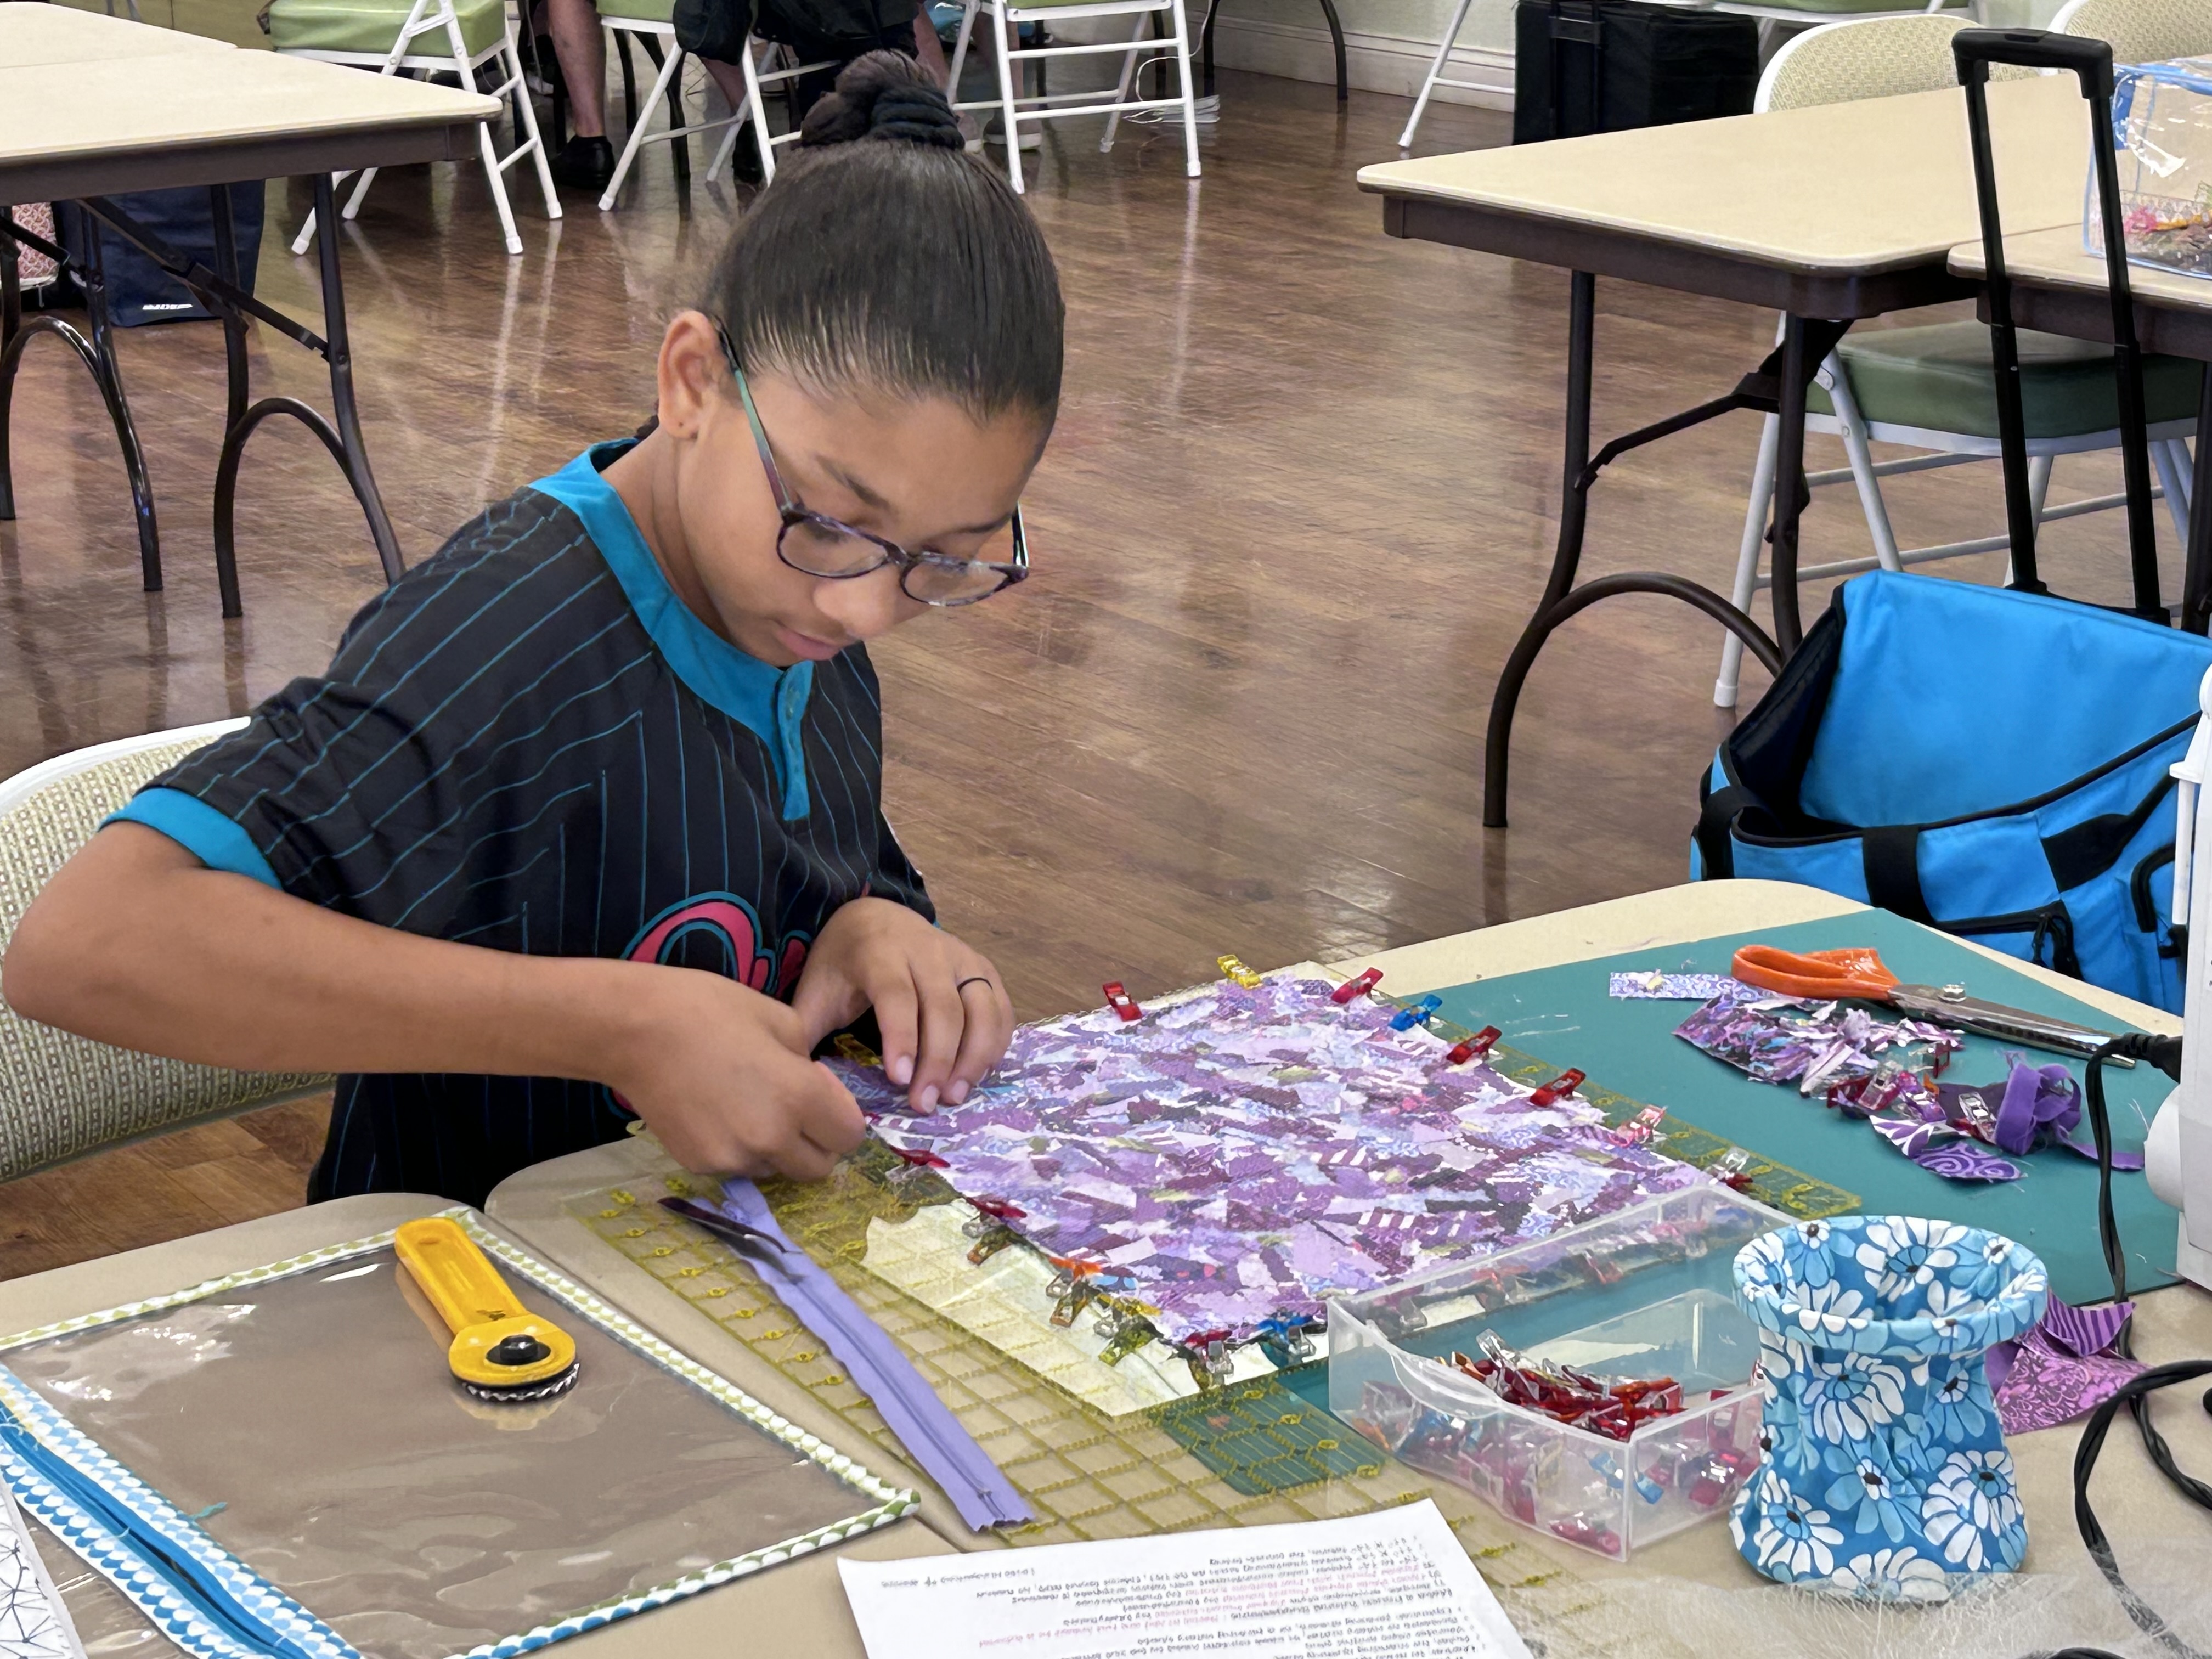
Very much like counted cross-stitch drill color placement is identified by symbols. I started positioning drills at the top left, and as recommended, I'm working in a grid pattern.

The left side is done; the right is "unpainted."

Two more kits, ordered from a US Etsy shop are due to arrive this week. Oh boy!
Book Recommendations
In June I listened to 11 audiobooks (listening and diamond painting go well together), and gave all of them a score of 4.0 or higher (out of 5.0). It's unusual for me to listen to a streak of so many good books!
These are the titles, authors, and scores, as sorted in my Numbers document.

My thoughts about some of these titles...

I absolutely admire any book written by Charles Martin, so I was delighted to see/read his relatively new release, number four in the Murphy Shepherd series - The Keeper. If you haven't read this series, begin with The Water Keeper. Perhaps I appreciate these books a little more because they first take place in Florida. But no matter where Mr. Martin takes his readers, he writes with a beautiful underlying theme. He's a top-notch author who happens to live in Jacksonville, Florida. I'm a fan.

The Housemaid, by Frieda McFadden, is #1 in The Housemaid series. I enjoyed this one enough that I'll be looking for the second book called The Housemaid's Secret.

The English Masterpiece was a good foray into the art world. The protagonist works at The Tate in London, England. I found myself pausing the book to look up the art pieces talked about in the story. It was a good read with a twist I didn't see coming.


The German Daughter... excellent! This is a post WWII story about two children born into the WWII program, Lebensborn - the Nazi plan to increase the birth rate of Aryan children. As adults, they're wondering who their parents are. This story is about an eye-opening piece of history.

The Frozen River by Ariel Lawson is getting lots of attention as one of the top ten books to read this year. It's historical fiction, but based on the real life of Martha Ballard, a Maine midwife in 1789. Much of the story is about the prevailing practice of women who have become pregnant of out wedlock being required to publicly name the father of their child.


Take a screen shot, if you wish!

I hope you find this list and brief review helpful. I'd love to know which titles you choose to read, and what you think of them! Linda